Diary of a carp farmer: Part 2
Simon Scott on how he spawns the next generation of dreams...
Carp farmer Simon Scott looks in depth at the spawning process, revealing how he's producing the next generation of dreams
n my last diary piece I outlined the procedure that we go through each year to produce the perfect situation in our fry ponds. This is an essential process that should create a predator-free, food-rich environment that ensures high survival rates and rapid growth from fry that are created in the carefully controlled surroundings within the hatchery. I also described the collection of the brood fish from their ponds and how the male and female carp are held in two separate tanks within the hatchery for a week or so before we spawn them. In this month’s diary piece I want to look at the spawning process, however, space is limited so I will try to keep things simple in order to give you an overview of what happens without going into too much depth and the science of the process.
Having held the brood fish in two separate tanks within the hatchery for a week and gradually warmed their water to 23-degrees centigrade, they looked ready to spawn. The female fish looked fit to burst, all four of them clearly carrying great ovaries full of eggs. The males also looked ready to breed. Like testosterone-fuelled rockets which jostled around in the tight confines of their tank. On their gill plates and along the leading edges of their pectoral fins a covering of spawning tubicles were now clearly visible, giving them the appearance that they had been lightly dusted with sugar or salt!
It was the last week of May and with the plankton population in the fry ponds starting to bloom, the time had come to start the ball rolling. Spawning the brood fish and then carefully rearing the fry indoors is a stressful job, which requires a great deal of attention to detail. One small error and a lot of hard work can be wasted very quickly, not to mention the number of carp that can easily be wiped out in a moment or two! Water quality, temperature, food production and feeding must all be managed perfectly to give the tiny fry the best start in life. Every year I look forward to spawning time and then fry-rearing but I also know that for two to three weeks I am going to be stuck in the hatchery every day, meticulously tending the next generation of VS Fisheries stock at the most vulnerable time in their lives.
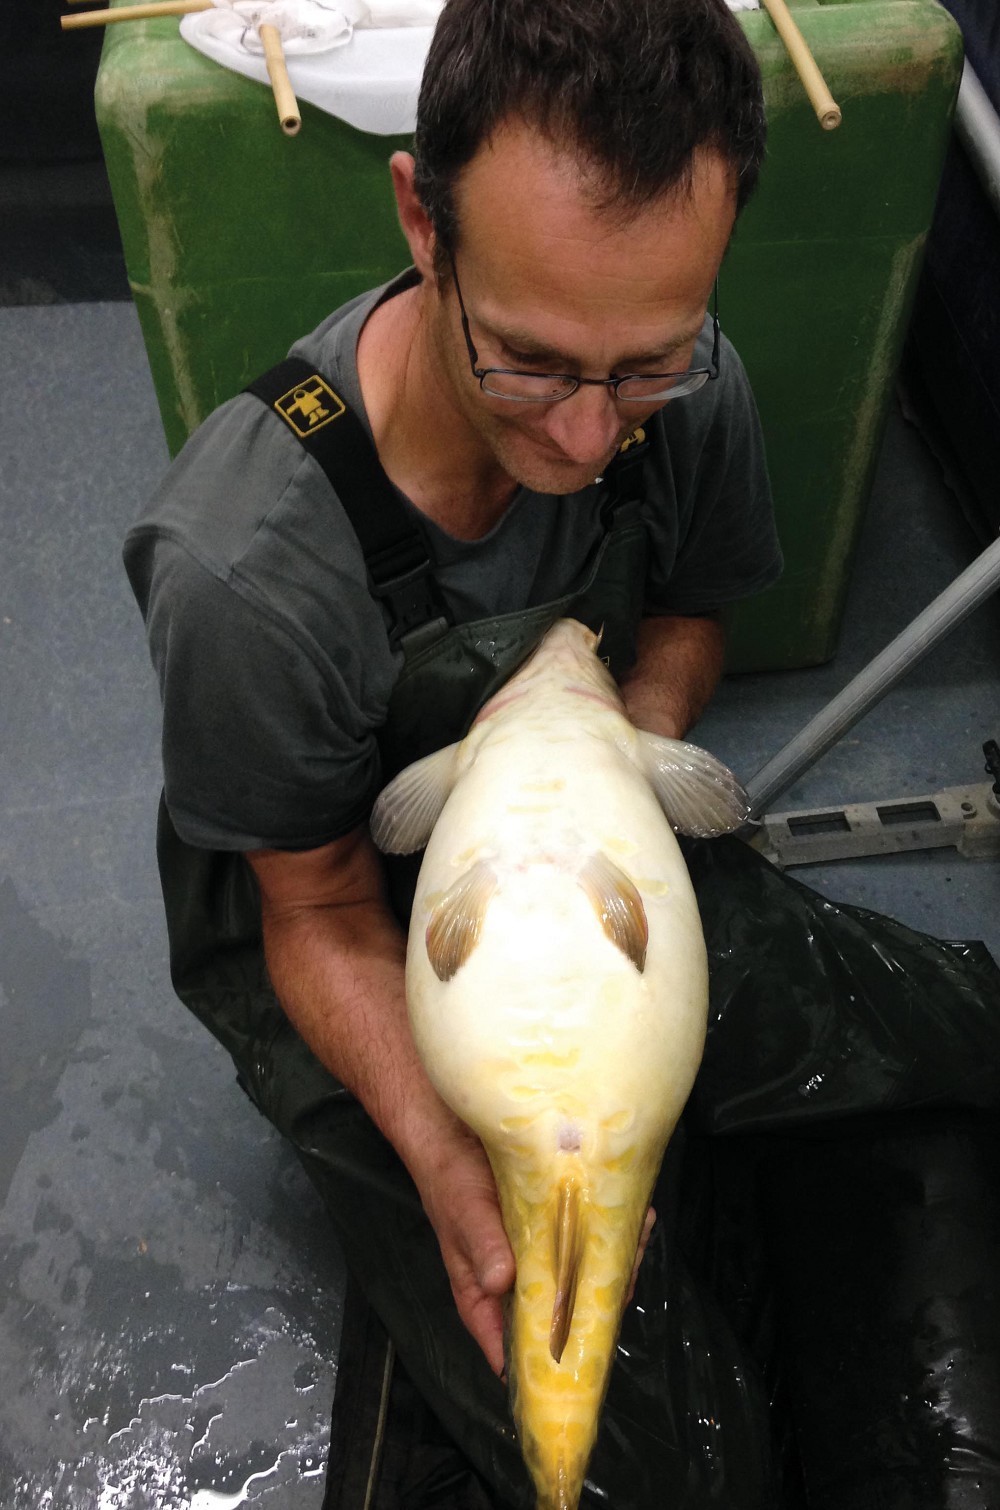
The first step in the spawning sequence is to accurately weigh all of the brood fish that are going to be used for breeding. This is done for both male and female fish and the weights are then recorded on a picture of the fish to avoid any confusion.
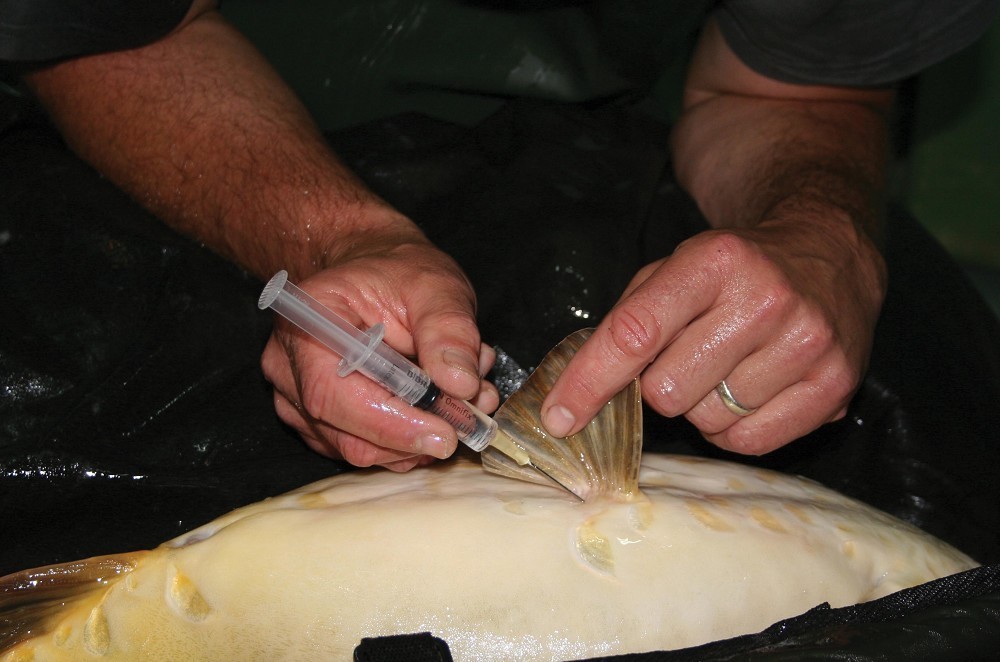
The second step in the process involves injecting the fish with a hormone treatment that stimulates the females to release their eggs and the males their sperm. Injecting fish to initiate spawning is common practice in the fish farming industry and has been used extensively across the world to improve production and stock management.
The exact dose of the hormone treatment that the fish receive is calculated based upon each fish’s weight. The heavier the brood fish, the larger the dose of treatment required to stimulate production of eggs or sperm. The hormone treatment overrides the fish’s natural hormone systems and tells the carp that it is the correct time to spawn.
In a natural spawning within the growing ponds at the farm or in a fishery, the timing of events is basically dictated by the temperature of the water, the presence of suitable spawning sites and the presence of fish of the opposite sex. When all of these factors are correctly aligned the fish start to spawn naturally through the mechanics of their internal hormone systems. The whole process ticks along to a clock that’s held by Mother Nature.
In the UK Mother Nature can be a little unreliable and water temperatures in particular can make planning or managing an outdoor natural spawning of carp tricky. Remember at this point that carp are actually non-native fish in the UK, Mother Nature has not actually designed them to live here, they were introduced by man. They originate in an area near Turkey called the Caspian Sea and actually prefer water that is slightly warmer than ours if they are going to successfully breed with any regularity. By using injected hormone treatments within the hatchery we can time the production of eggs and sperm when we want them and also pick exactly which female fish are going to have their eggs fertilised by which male fish. The use of hormone treatment therefore gives us complete control of the spawning and enables us to time fry production perfectly so that the young carp are ready to be stocked out at exactly the point when the fry ponds are at their richest in terms of grub, giving the fry the best possible start.
The female fish receive two hormone injections which are given twelve-hours
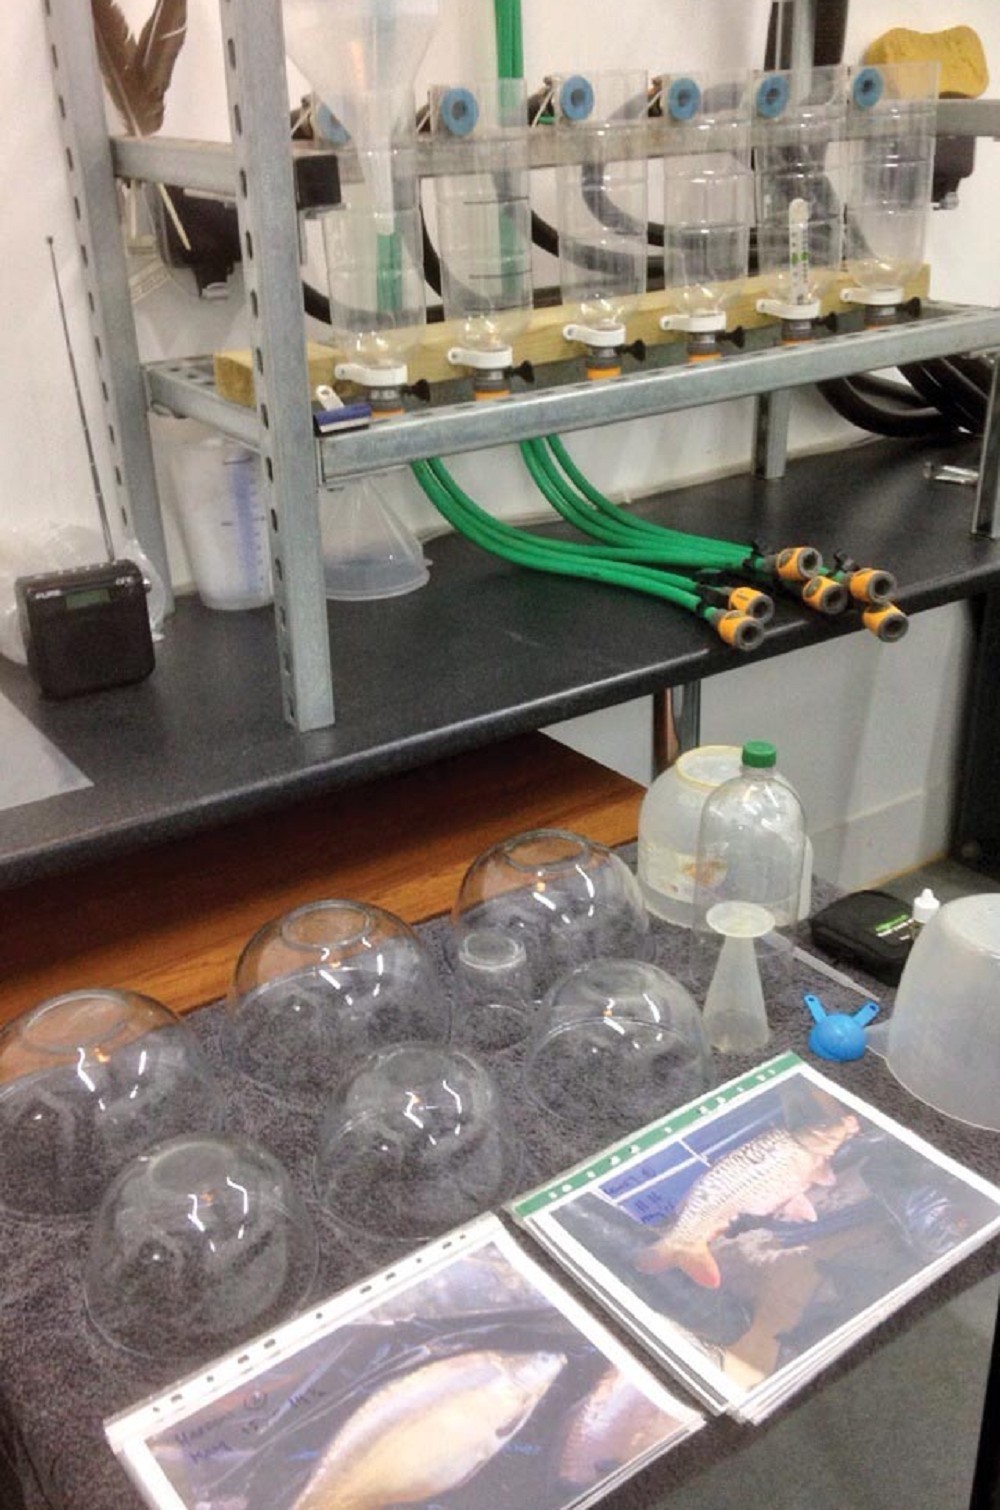 Sue and I carefully checked that everything is ready in the hatchery. Everything needs to be clean, dry and in its place ready for use
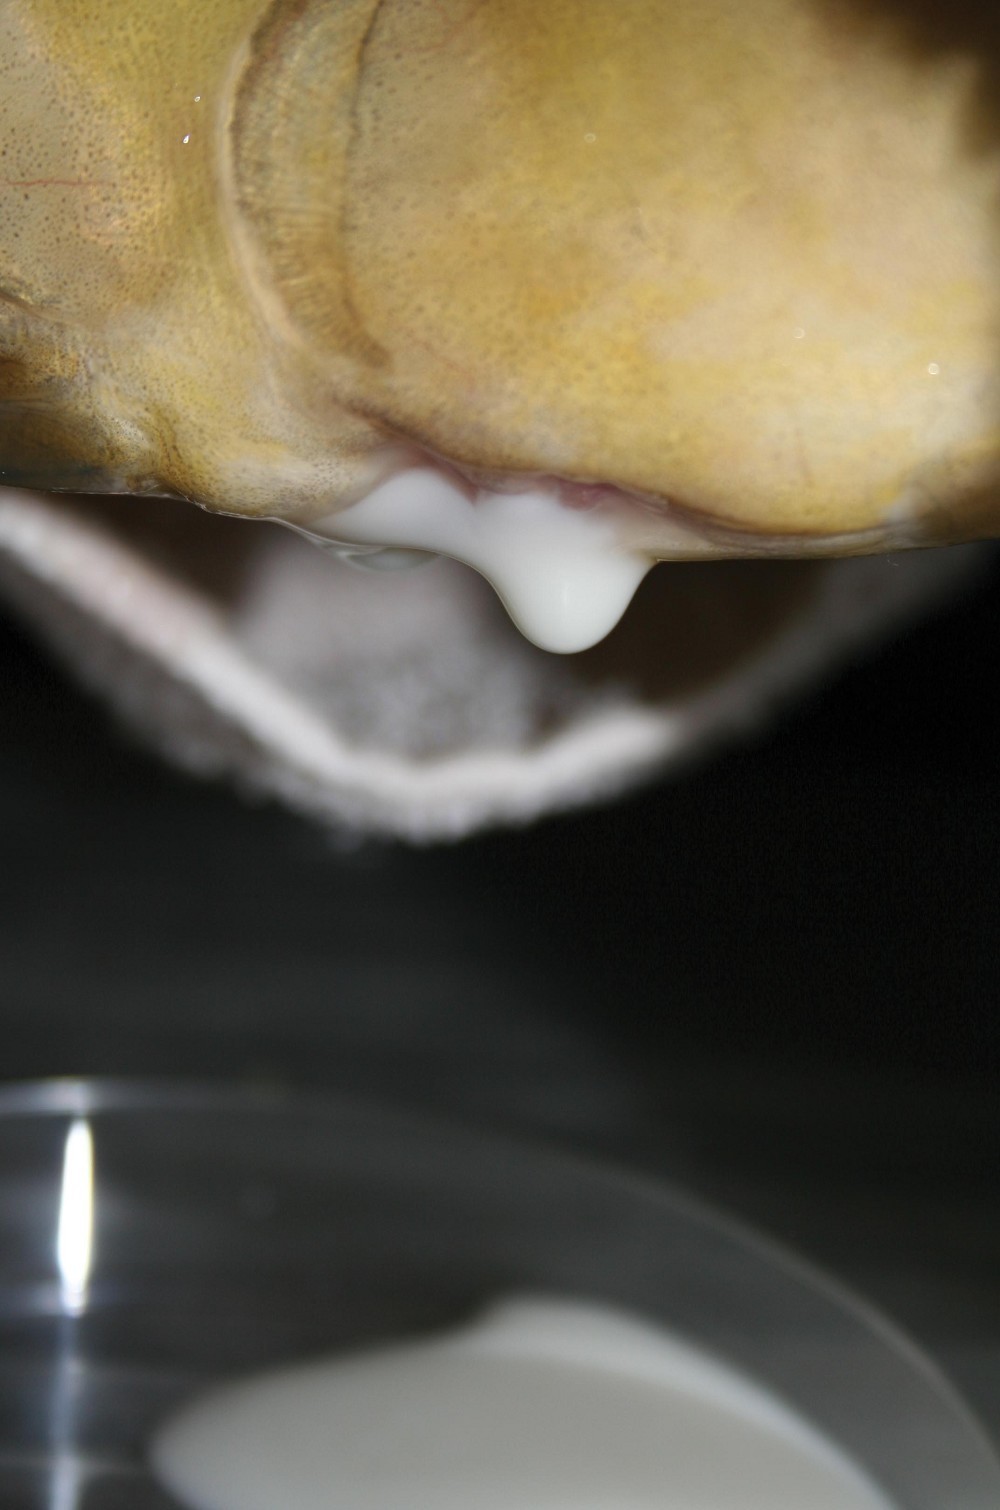
 The male fish too looked perfect and several of them were already producing sperm (milt) as we handled them
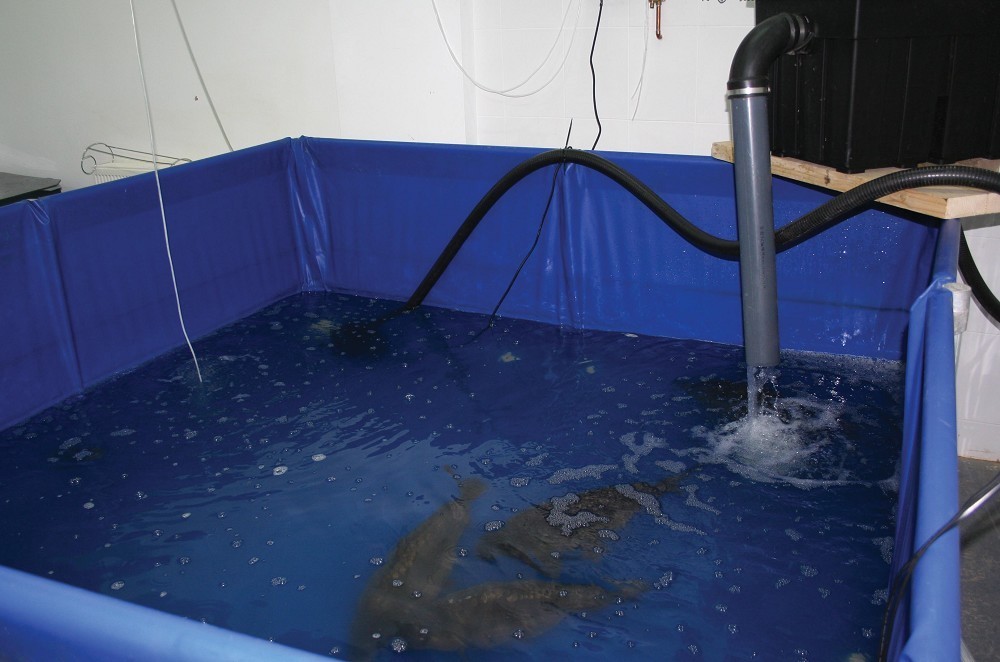 The first tell-tale sign that something was happening was the presence of foamy bubbles on the surface of the tank containing the females
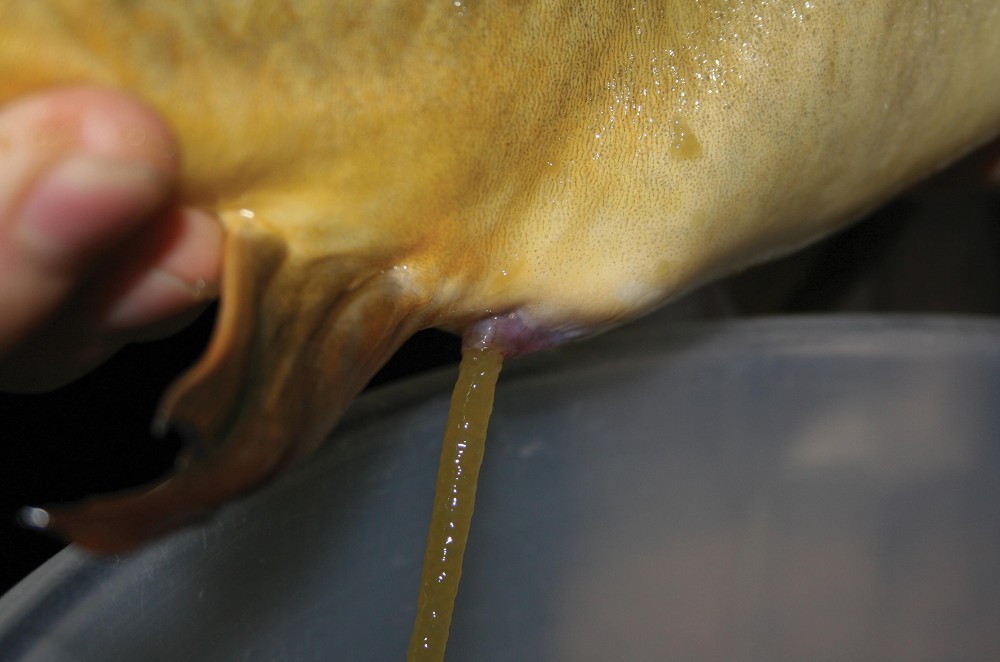
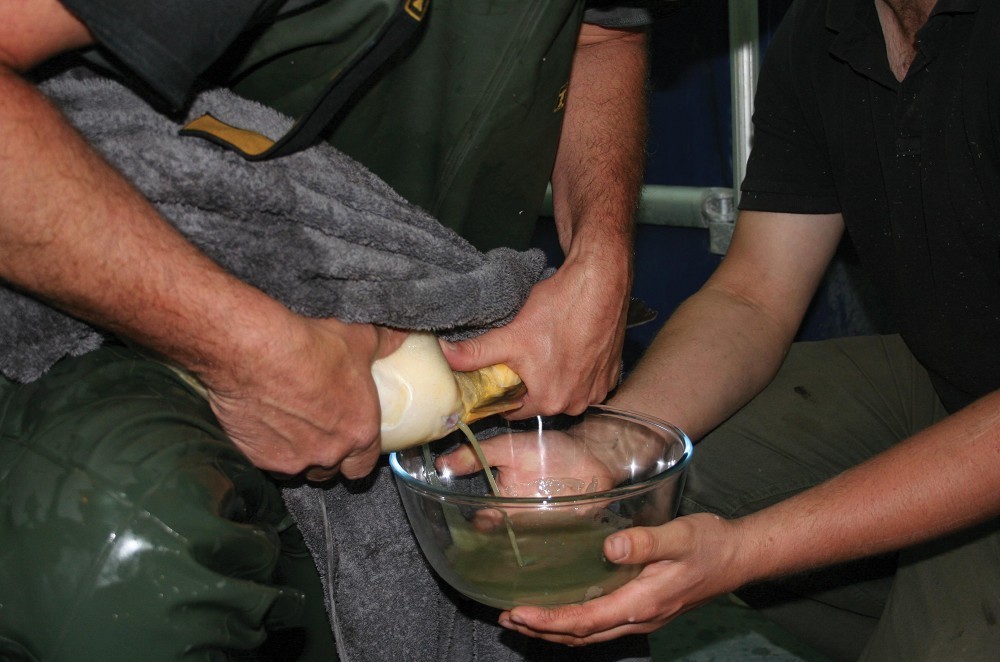 With this done, the eggs were gently stripped from the female carp by rubbing my hands along her flanks
The spawning process
Once all the injections had been administered it is really important to watch the fish like a hawk. Once ovulation occurs the egg quality is at its peak but then drops slowly and after a few hours the viability of the eggs is significantly reduced. Therefore the best time to collect the eggs is quickly after the female has ovulated.
Sue and I spent the next few hours waiting and watching for the first signs of ovulation. We would creep into the quiet hatchery every half-an-hour or so and sit quietly and watch the four female carp casually sculling around in their tank. It can be a bit like watching paint dry at times and for several hours nothing seems to occur. Time seems to go by in slow motion and you find yourself looking at your watch every two minutes wishing away the wait.
A steady stream of coffees, sandwiches and short dog walks around the ponds nearest to the hatchery helped pass the time until late in the day, several hours after the second injection the female fish started to show signs of releasing their eggs. The first tell-tale sign that something was happening was the presence of foamy bubbles on the surface of the tank containing the females. Additionally they gradually became increasingly agitated and finally the presence of an egg or two on the side of the tank was the biggest clue that something significant was happening.
As soon as the first egg or two was spotted, I contacted Martyn who was working elsewhere on the fish farm and told him to head back to the hatchery; it was all hands to the pumps! Sue and I then carefully checked that everything was ready in the hatchery. Everything needed to be clean, dry and in its place ready for use. Finally, with Martyn back at the hatchery, we netted the female that had ovulated, one of our Harrow bloodline stock, from the tank and once again placed her in the anaesthetic bath.
A few minutes later with the fish sedated I lifted her from the aesthetic bath. She was then rinsed with clean water and lightly towelled dry around her vent to prevent water contaminating the eggs. With this done the eggs were gently stripped from the female carp by rubbing my hands along her flanks and collected in several large glass bowls. The stripping process usually lasts a few minutes and should result in most of the eggs being successfully removed from the female fish. Once completely stripped of eggs she was released back into her tank to recover.
With several large bowls of eggs ready to be fertilized, the time had arrived to collect sperm samples from all of the male fish in the next-door room of the hatchery. This is done using a similar technique to the female fish. Over the course of the next twenty-minutes Sue, Martyn and I collected several shallow sample dishes of sperm from the ten male fish. Each dish was clearly labelled so that I could ensure that sperm from all of the various bloodlines was used as required to produce all of the crosses that I was hoping to create.
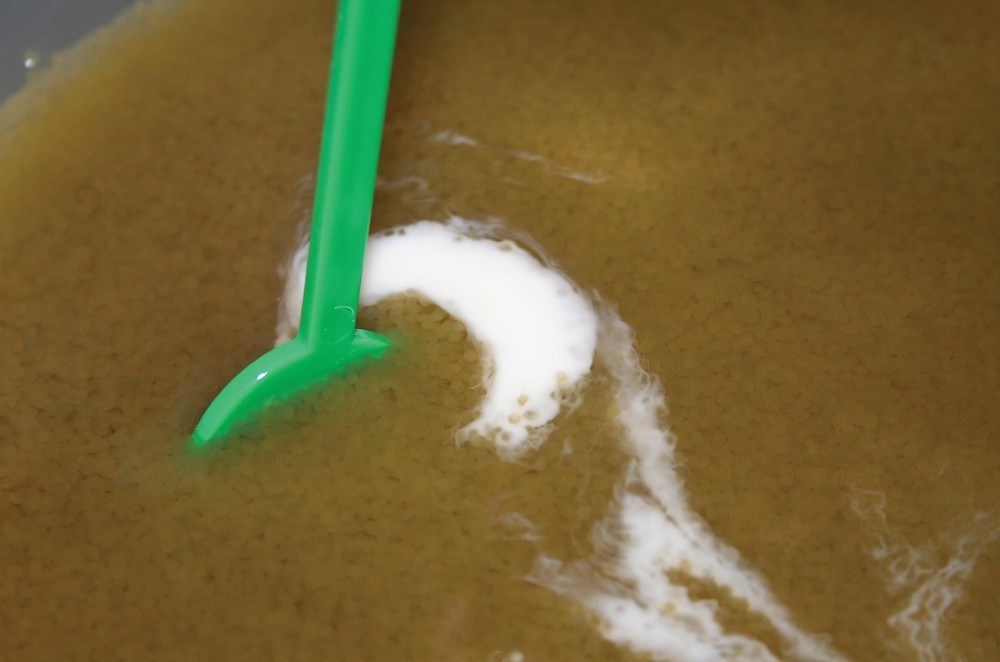
Eventually sperm was added to each of the bowls of eggs and then mixed through the eggs. Directly following fertilisation carp eggs are incredibly sticky; they stick to everything and anything they come into contact with! They are designed like this because in a natural spawning they must stick to the submerged weed that they are spawned onto if they are to prevent sinking into the watery depths where they would certainly be consumed by other fish or predators. However, in the hatchery this sticky nature is not necessary and it would cause us problems during the incubation process if it was allowed to remain. Therefore once the eggs and the sperm have been mixed, a solution of salt, urea and water is added to the bowls and the eggs are stirred continuously for over an hour to prevent them sticking to one another. After this period they are then given a further quick rinse in a weak acid solution that strips off any remaining stickiness before they are finally ready to be placed in the incubation jars or zoug jars to give them their proper name.
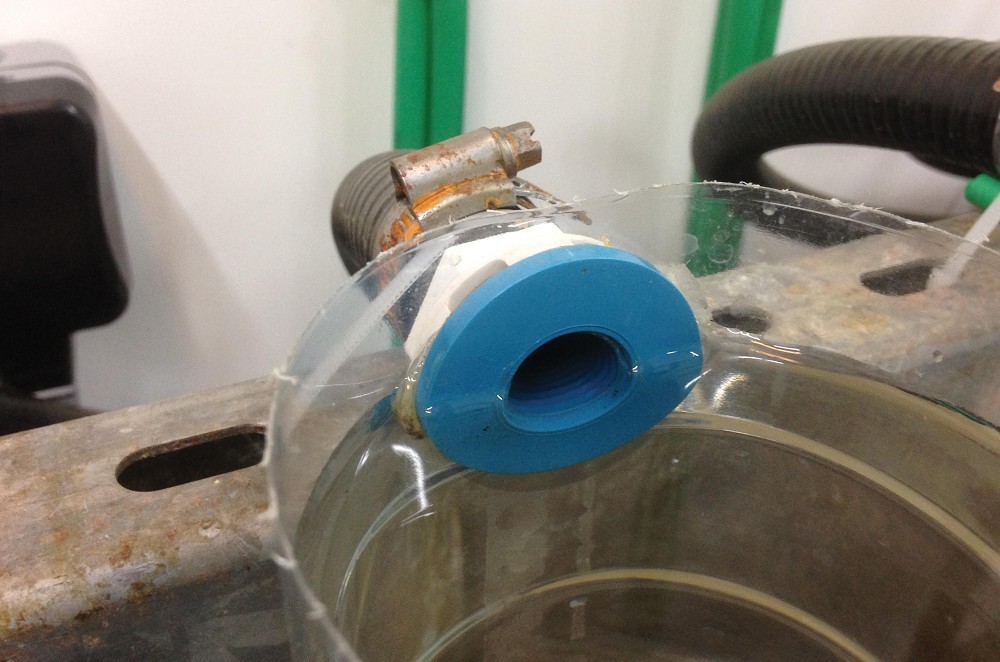
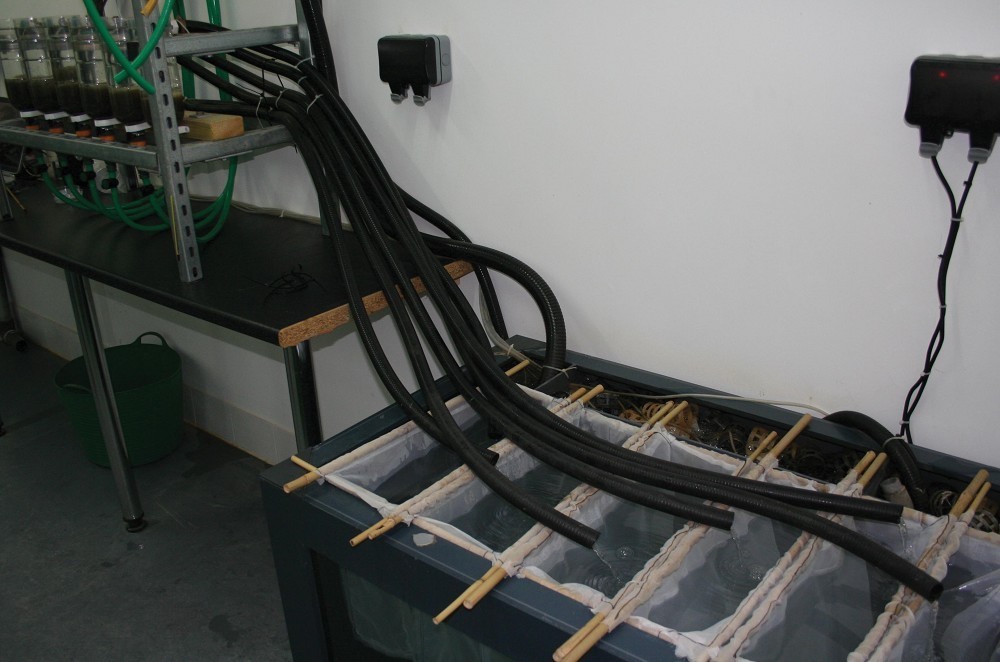
The incubator jars are designed so that water enters them through the bottom, at the neck and then rises up through the egg mass before leaving the jar to return to the water reservoir and filter system. Each of the jars on the system that I built at VS Fisheries discharges through a separate hose and this means that fry emerging from the individual jars can be collected separately in ultra-fine mesh net cages in the water holding reservoir. This is obviously really useful because it enables me to keep batches separate, so that I can see how they develop and monitor the success of individual groups of fish on the farm.
An hour-and-a-half after stripping the eggs from that first female fish we had fertile eggs in the incubator jars which represented several separate crosses. I had fertilised her eggs with sperm from three stunning heavily-plated Sutton bloodline fish, three amazing looking Leney’s, two of which were proper fully scaled corkers, a monster of a ‘Dink’ that had shoulders like a weightlifter and lastly a couple of our Harrow bloodline males. Each of these crosses was now safely stored in an incubator jar of its own so that I could keep them all separate.
Of course at this stage we still had another three female fish to spawn from so as you can imagine it was a long afternoon and a late evening. Each of the three remaining fish that I had injected ovulated really well and in every case we repeated the process that I have outlined above, fertilising the eggs with various male fish, stirring the batches of eggs for over an hour before finally rinsing them in weak acid solution and carefully placing them in the incubator jars.
Eventually the process was completed and having given the hatchery a quick clean around and checked that the water flow through each of the incubator jars was running correctly it was time to call it a day and turn the lights off. I always love the end of a spawning day when you take one last glance back at the jars that are now all full of eggs from various crosses and know that you have just created many thousands of new lives which will hopefully give many anglers a great deal of pleasure in the years to come.
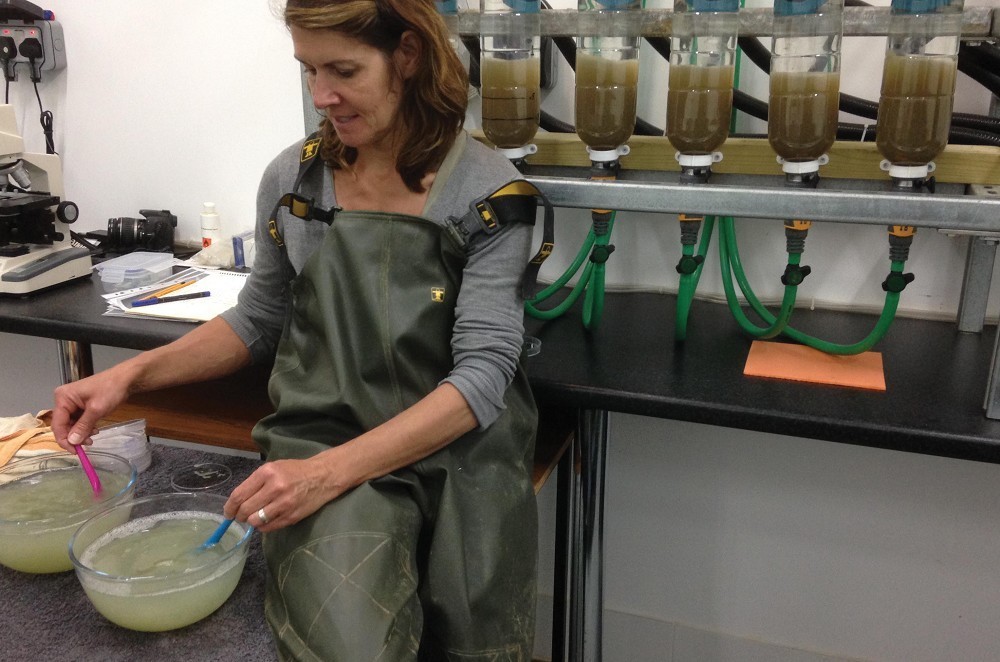 Once the eggs and the sperm have been mixed, a solution of salt, urea and water is added to the bowls and the eggs are stirred continuously for over an hour
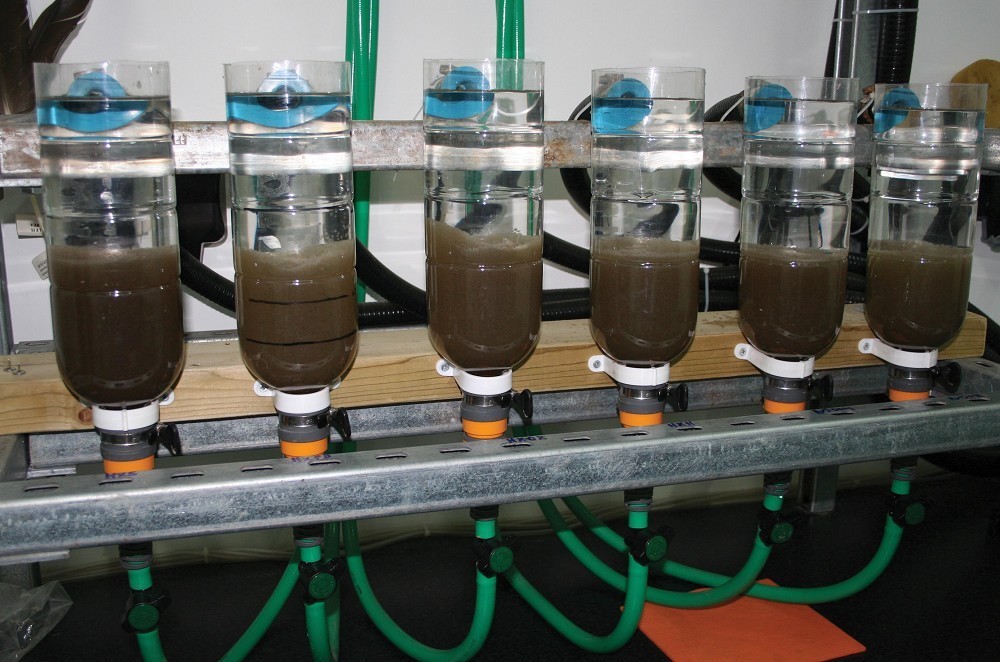 They are then ready to be placed in the incubation jars or zoug jars to give them their proper name. The incubator jars are designed so that water enters them through the bottom, at the neck, and then rises up through the egg mass
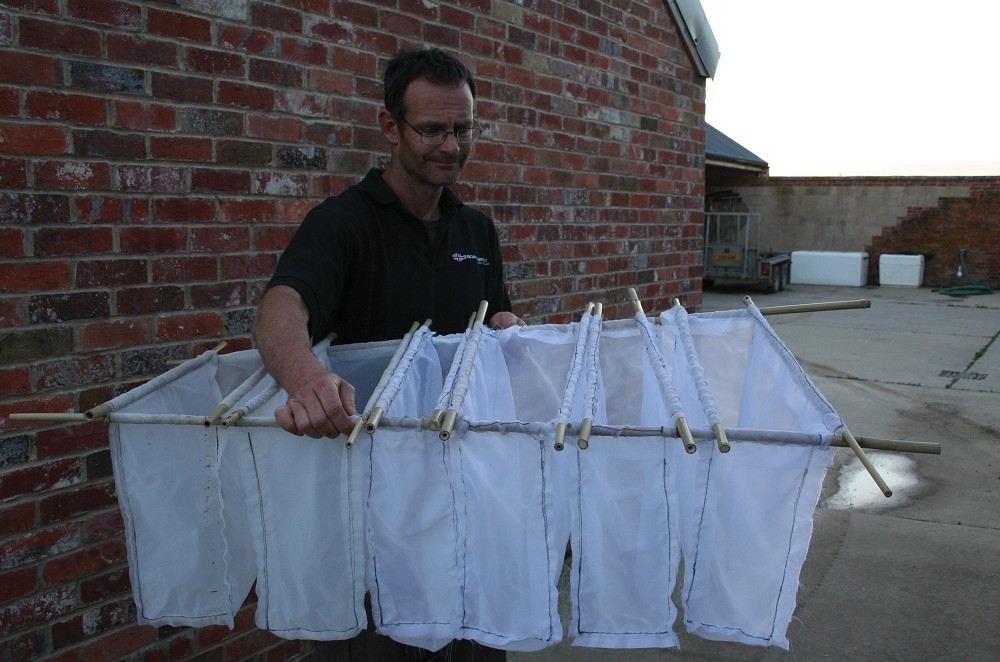 The individual jars can be collected separately in ultra-fine mesh net cages in the water holding reservoir
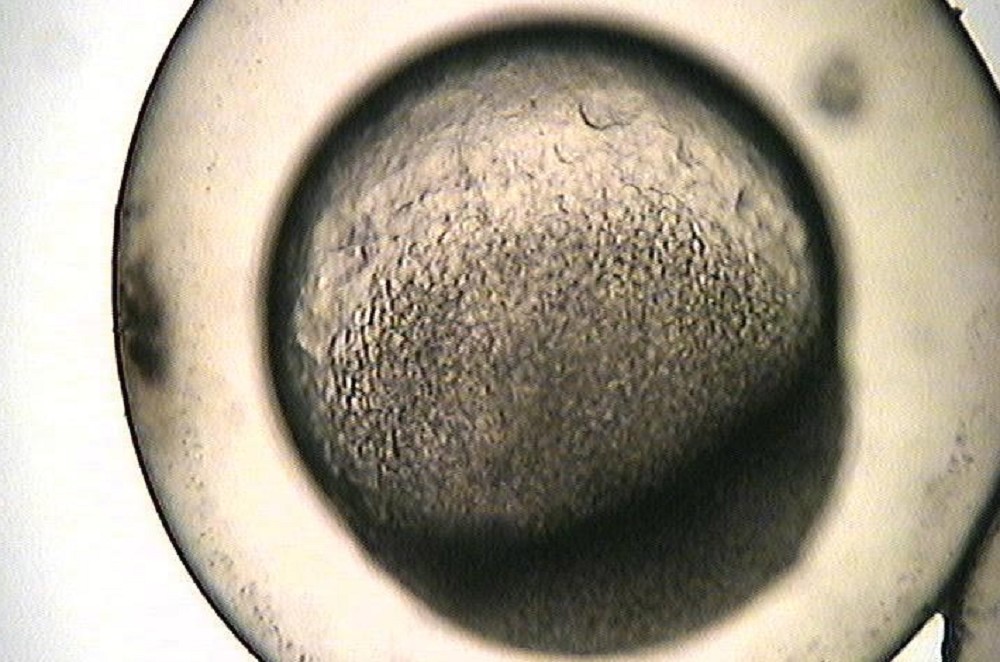
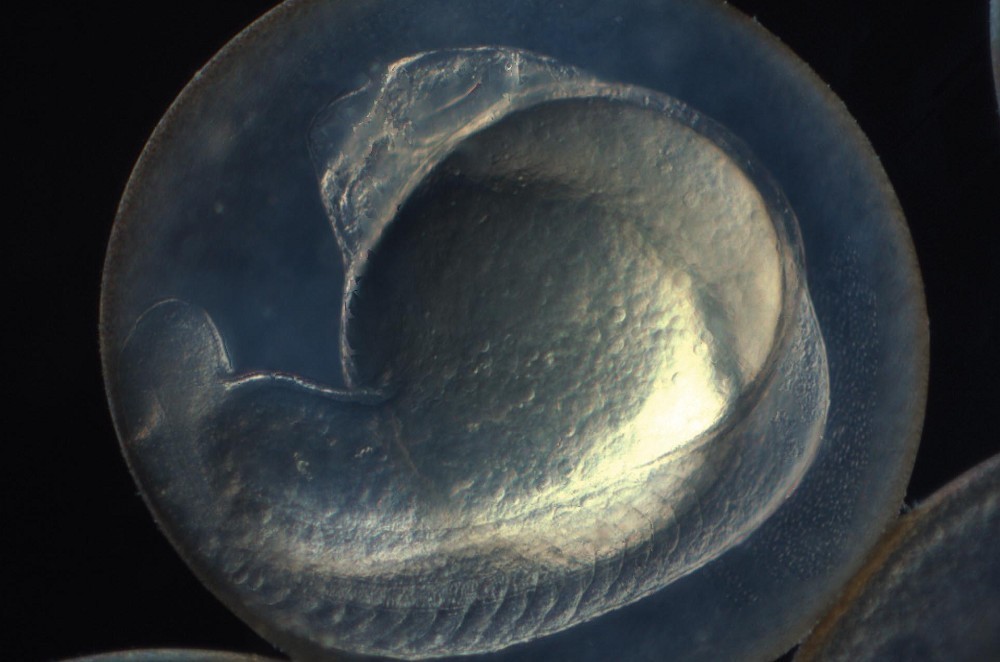
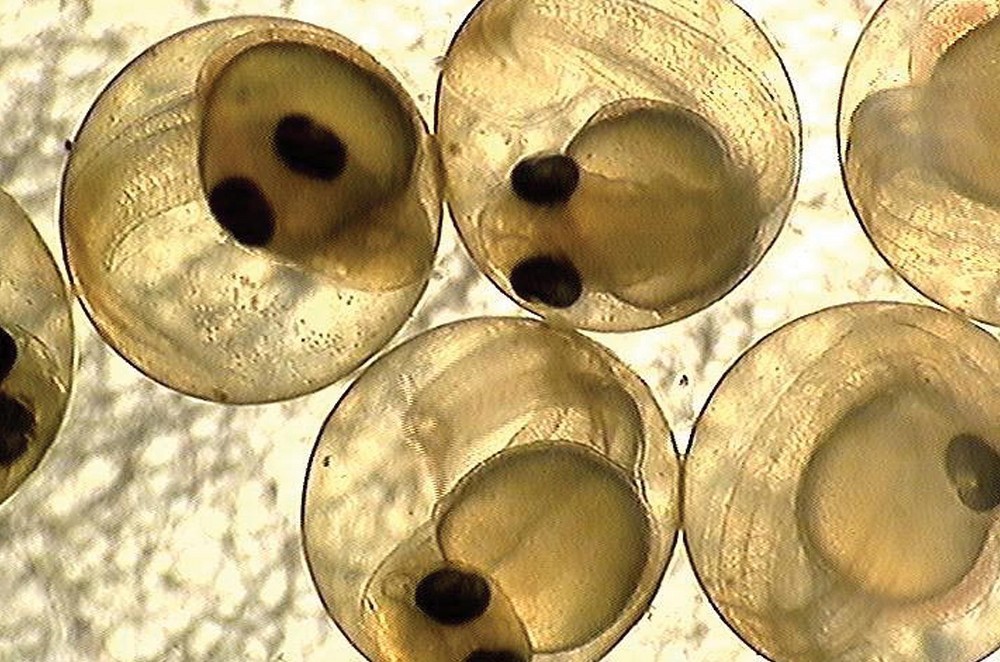
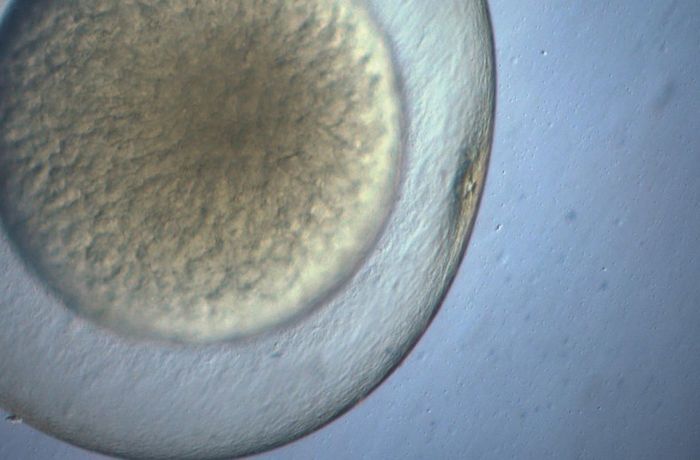
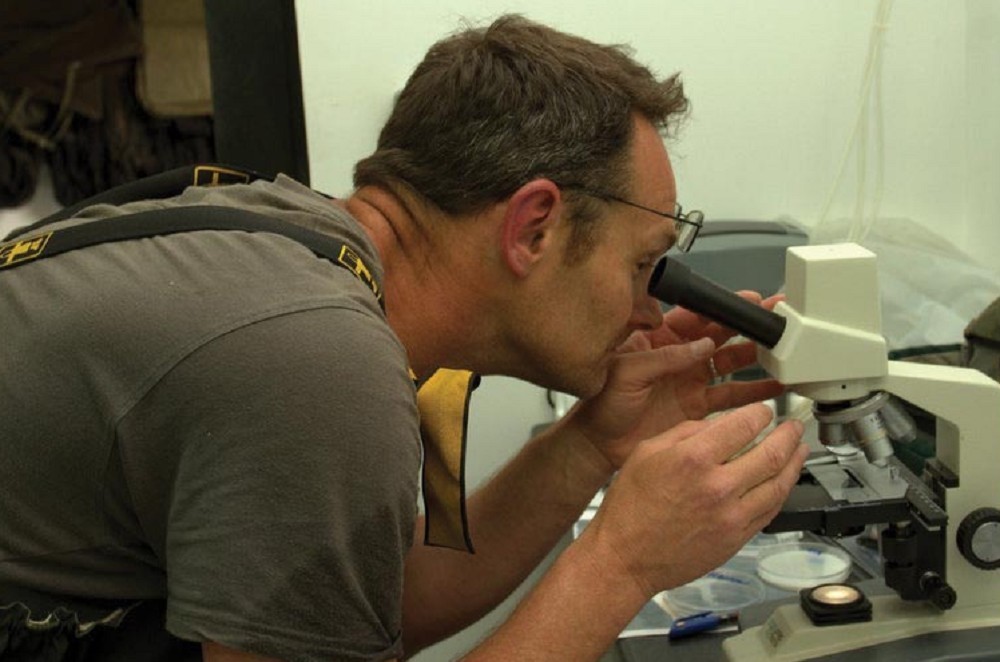 They all looked perfect and with the aid of a microscope, the developing embryos within the eggs were already clearly visible
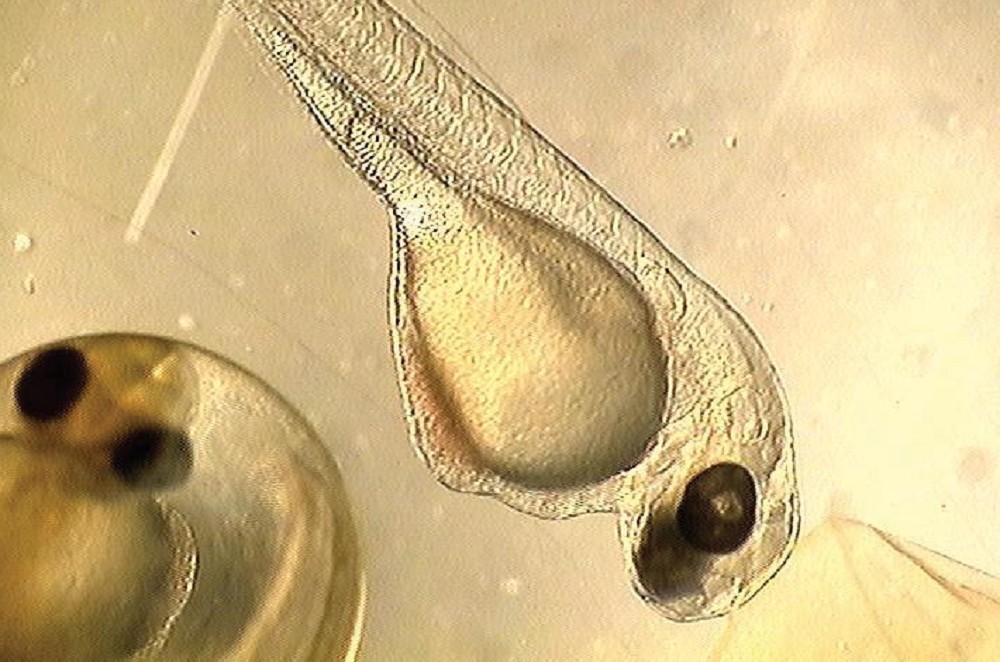
 Approximately two and a half days after we had stripped the eggs from the female carp in the hatchery they started to hatch
The next generation
At first light the next morning I was back in the hatchery to check the eggs. They all looked perfect and with the aid of a microscope, the developing embryos within the eggs were already clearly visible. Although I have spawned a fair few carp over the years it still fascinates me how quickly they develop. One day you look down the lens of a microscope at a small ordered cluster of cells. They confirm fertility but certainly give no clue as to the life form into which they are going to morph. A few short hours later and that same egg amazingly contains a tiny fish: dark eyes, a beating heart, a backbone and a twitching tail. It is a startling metamorphosis which still makes me blink in wonder and excitement as I peer down that microscope.
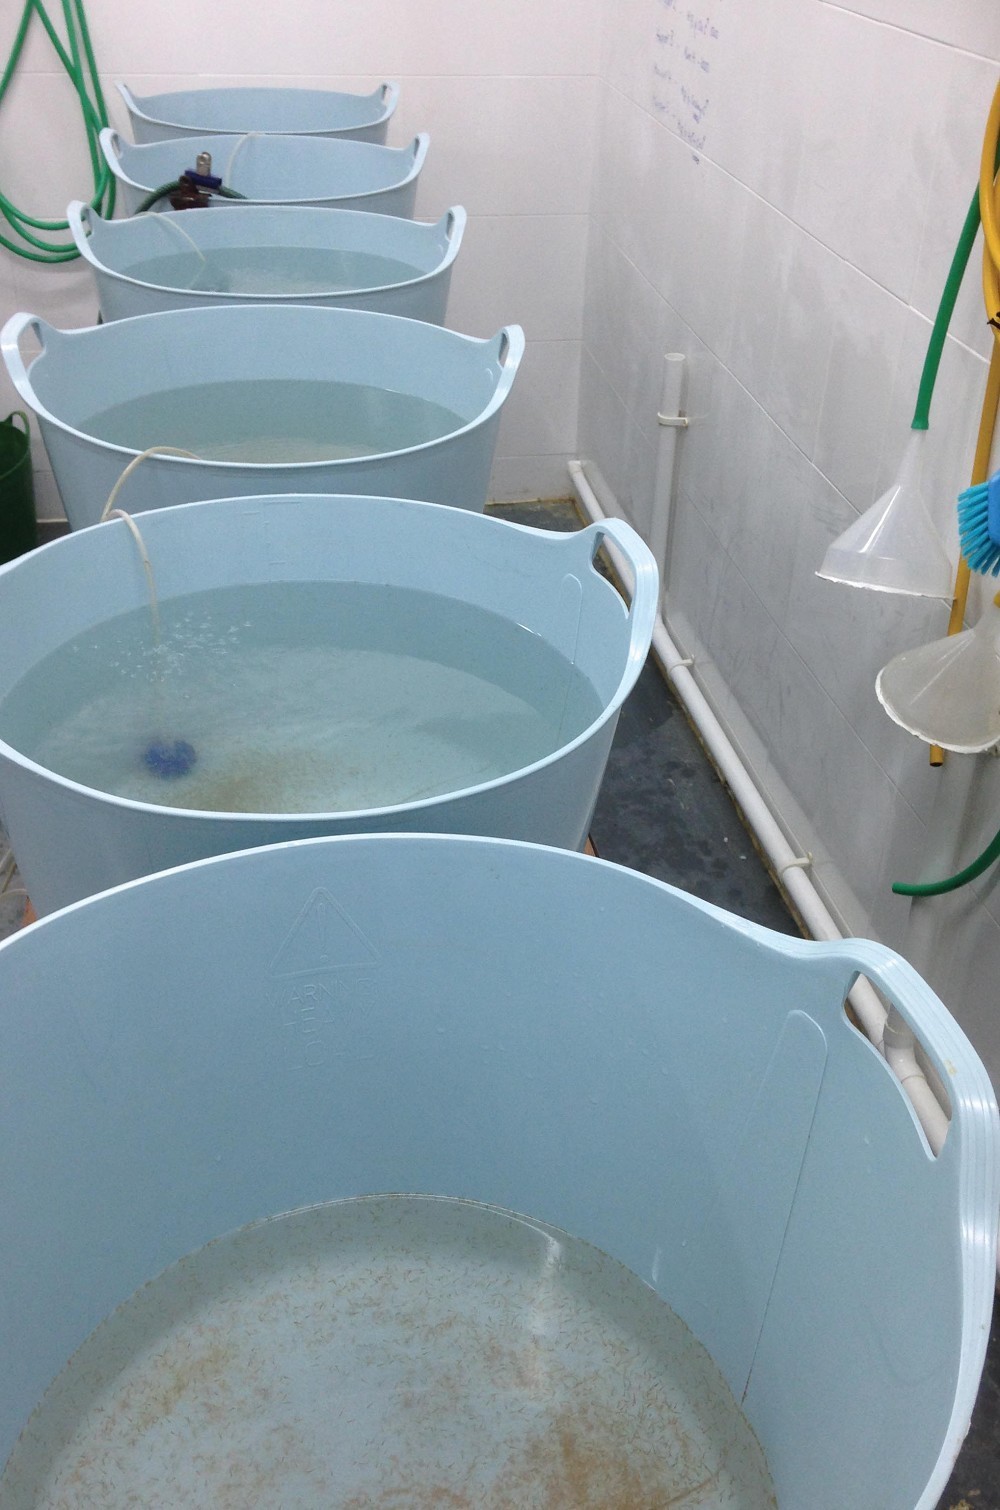
With the incubator jars full of healthy, rapidly developing eggs, the next day Sue, Martyn and I carefully removed the brood fish from the hatchery, returning them to their ponds and dismantled their holding tanks. This created plenty of room for fry rearing trugs within the hatchery and allowed me to organise an area for the hatching of their food: marine plankton called artemia. This is batch cultured from tiny cysts in vessels full of warm salt water within the hatchery. The use of artemia enables us to feed a highly nutritious live food to the carp fry which is totally disease free and perfectly suited to their miniscule mouths.
Approximately two and a half days after we had stripped the eggs from the female carp in the hatchery they started to hatch. Like thousands of shards of glass each with two tiny eyes, the miniature newly emerged fry tumbled and rolled, buoyed up by the water passing up though the incubator jars. At this stage they really do begin to look like fish when viewed through a microscope. There is no sign of any scales at all and their tiny pectoral fins look more like flippers than fins but apart from that they have many of the features of a fish.
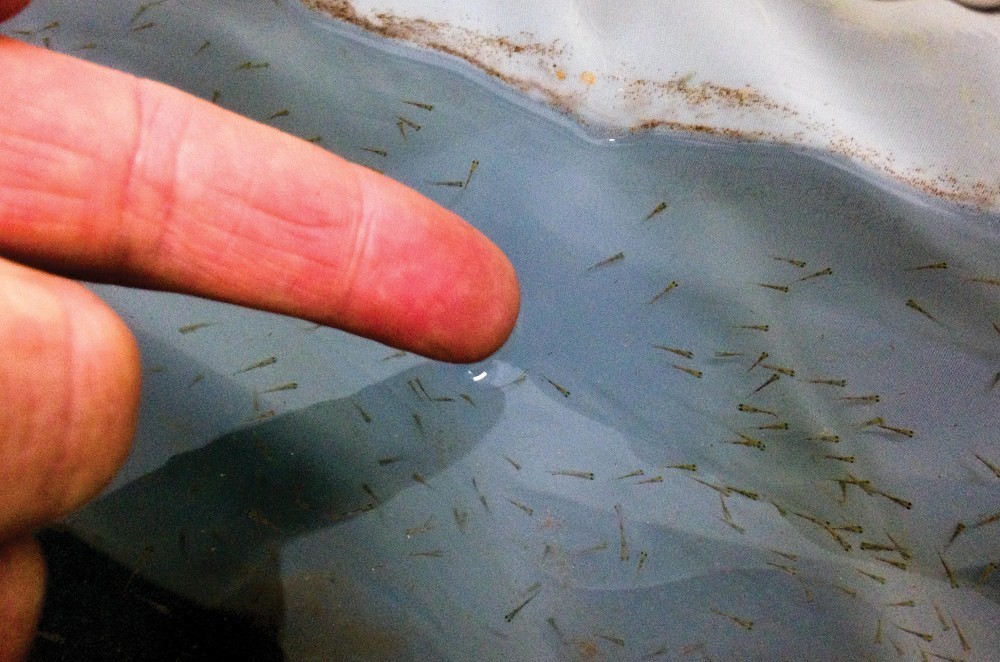
After a day or so the newly hatched fry started to swim towards the surface of the incubator jars and as they do they are swept with the flow of water out of the jars, along the discharge pipe and down to the collecting cages. Once in the cages the tiny fry remain relatively inactive for about another twenty-four hours. They spend most of the time hanging vertically from the sides of the cage and at this stage are not yet ready to start feeding. However, as they exhaust the food reserves within their yolk sacks they start to take up a horizontal swimming position and congregate towards the surface of the cage. It is at this stage that we count them and then move them from the cages to the rearing trugs.
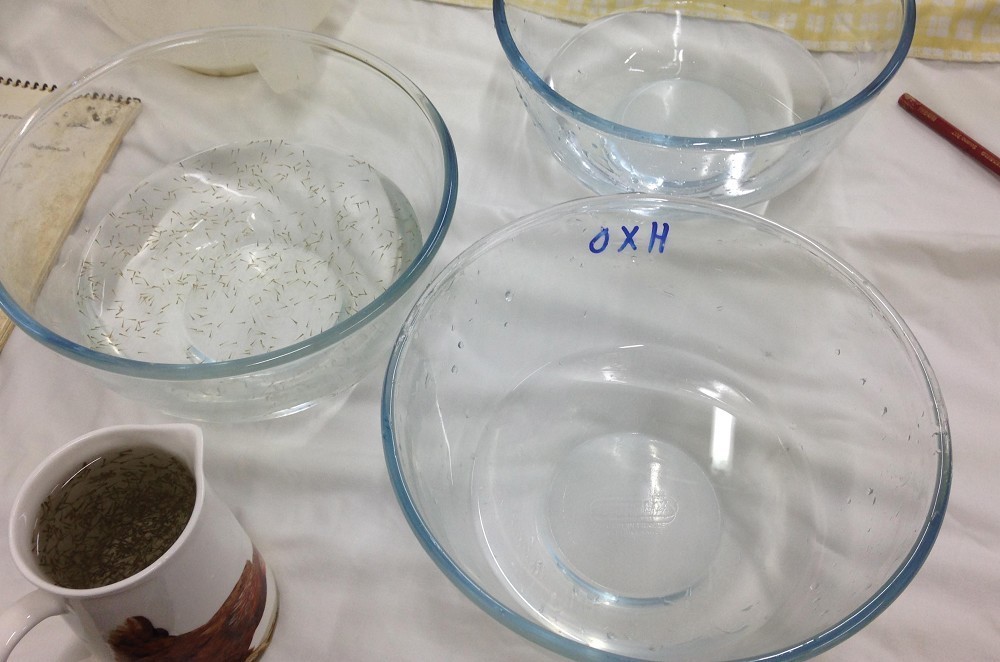 The fry are then poured via a jug into another bowl until the density of fry appears to be the same in both bowls
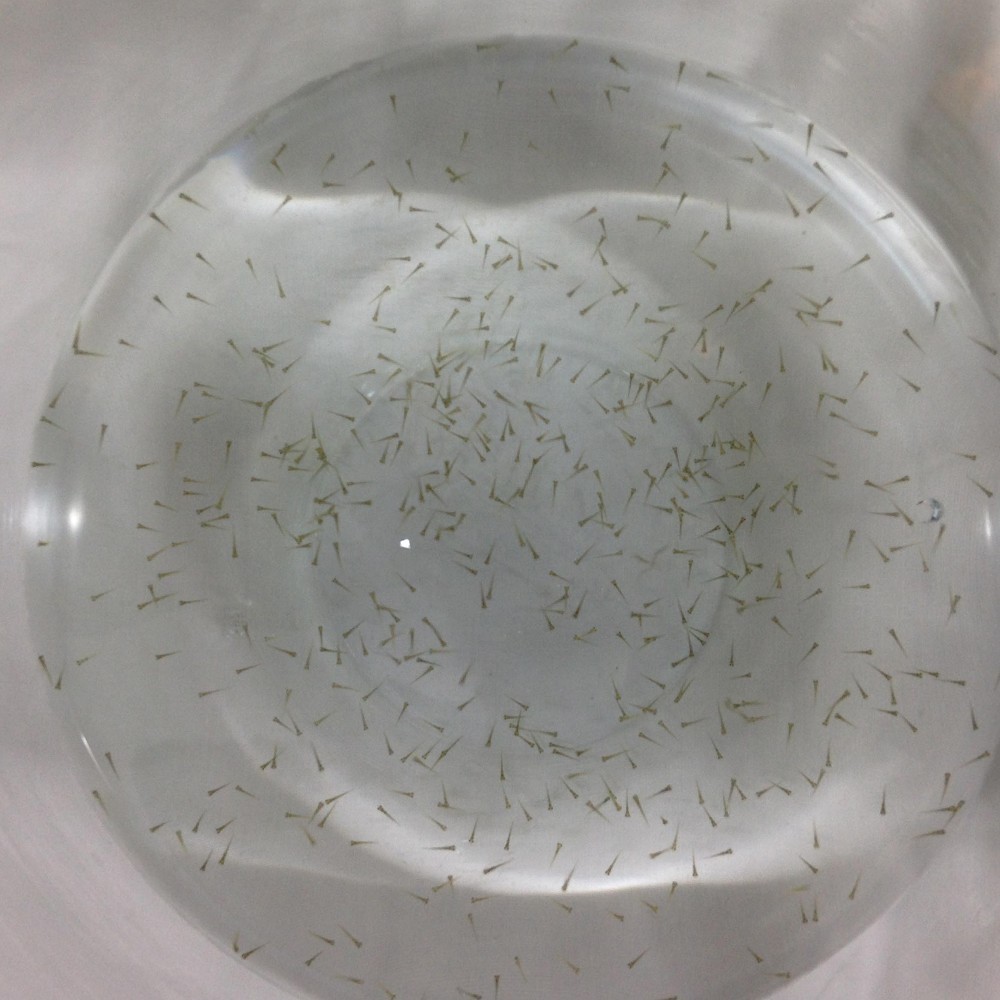 Counting the fry is done by accurately counting a certain number, normally 500, into a bowl which is then placed against a light background
Counting the fry is done by accurately counting a certain number, normally 500, into a bowl which is then placed against a light background. The fry are then poured via a jug into another bowl until the density of fry appears to be the same in both bowls. The second bowl of fry is then poured into the rearing trug and 500 is marked up for that trug. The process is then repeated several times until the required target number is reached. So, for example, if I wanted 5,000 fry for a batch in one small fry pond, I would pour out ten bowls matched to the first accurately counted one therefore giving me 5,000 fry placed into the trug. Obviously this method is never going to be 100% accurate but it certainly should put you in the right area.
At VS Fisheries we rear fry in several fry ponds which allows us to keep individual batches of fish, that come about from the various crosses, separate. This means that the technique of counting that I have outlined above is repeated many times until we have fry in all of the rearing trugs and also some spare back up fry held in the cages within the incubator system.
Once all the fry have been counted and placed in their appropriate spots they are then ready for their first meal; this will be the marine plankton called artemia that I mentioned previously.


