How to tie a Clone Rig
Follow these 11 simple steps to tie the devastatingly effective Clone Rig...
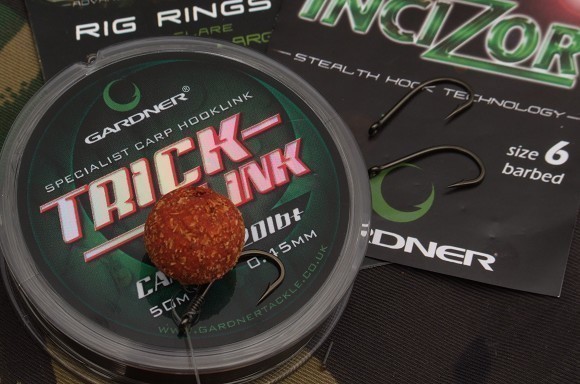
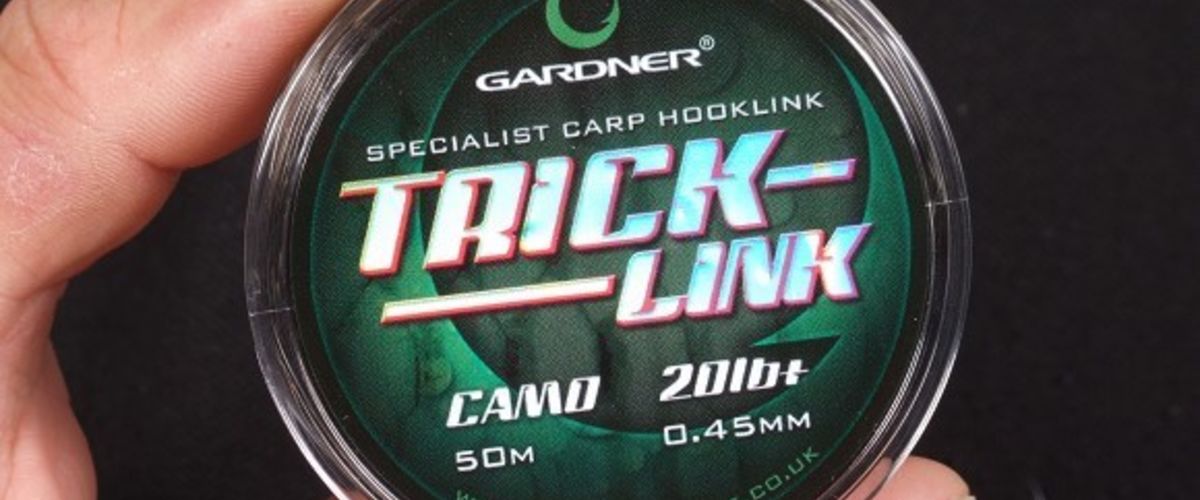
1. The Clone Rig can be tied with all sorts of monofilamants, but here we are using Trick Link material - it's made for the job.
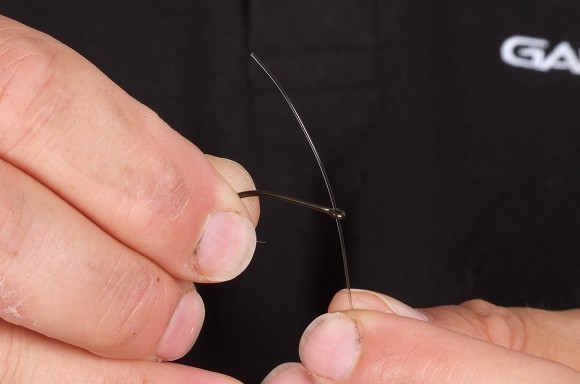
2. Thread on your chosen hook. Here we are using a Gardner Incizor.
3. All you need to do is tie the hook on using a simple (reliable) Knotless Knot.
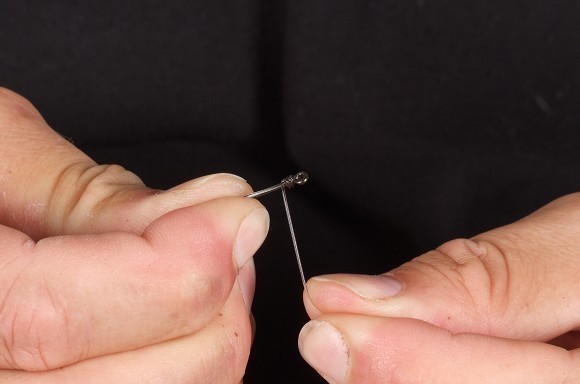
4. The finished knot should look like this, with between 6 and 8 wraps and the hooklink exiting the inside of the hook eye.
5. Thread a large Covert Rig Ring onto the tag left from the Knotless Knot. You will attach your hookbait to this rig ring later.
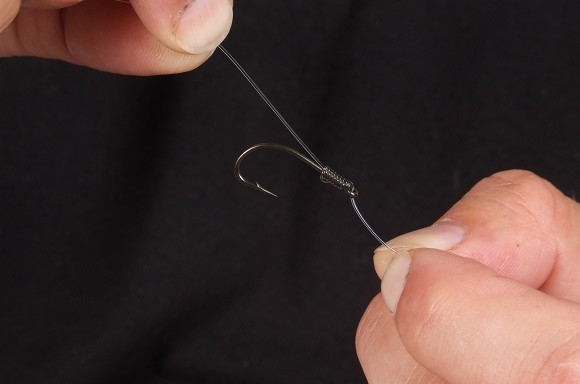
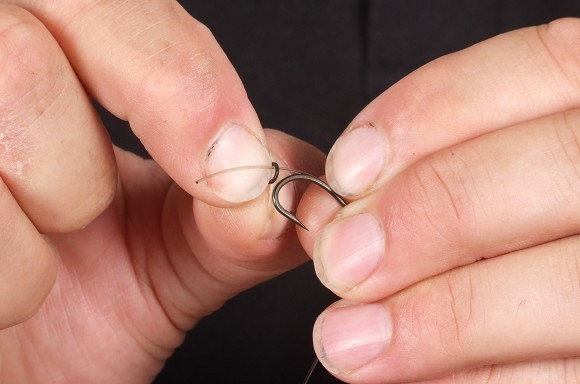
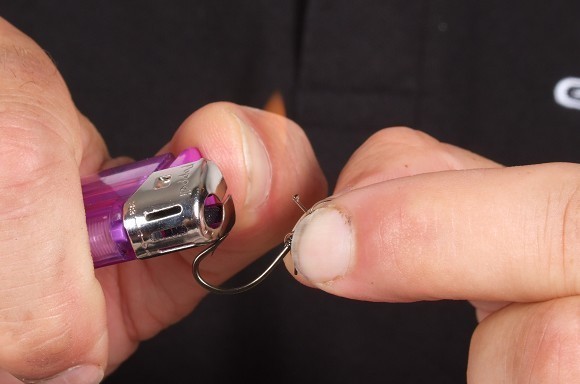
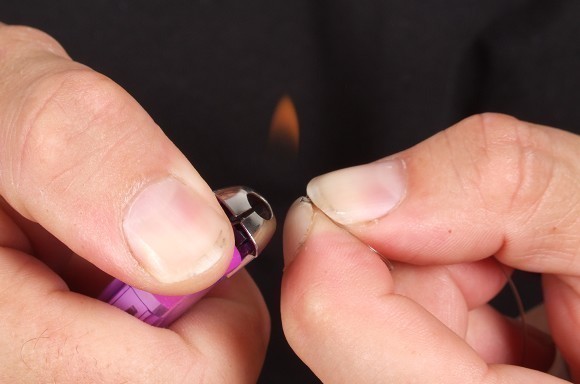
6. Create a 'D' in the monofilament by passing it back through the eye of the hook and 'blobbing' the end with a lighter. Take care not to burn or damage the hooklink or the knot itself.
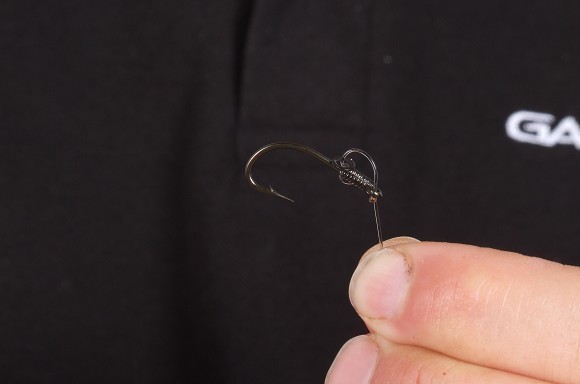
7. The hook and 'D' should look a little like this. A nice tidy D that sits squarely on the back of the hook shank. If it's twisted (after pulling the knot tight) simply turn it so it isn't.
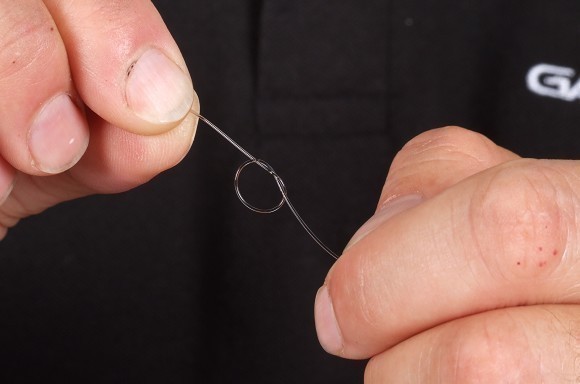
8. We favour a non-slip loop knot at the lead end of the hooklink as it offers a little more free movement to the hook bait when it's inhaled by feeding carp. Start with an Overhand Knot.
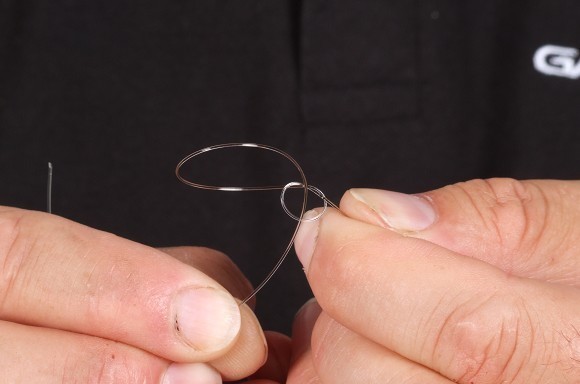
9. Create a loop and pass the tag end through the Overhand Knot in the opposite direction and finish off with a Blood Knot (tag passed through original overhand and tightened using tag only).
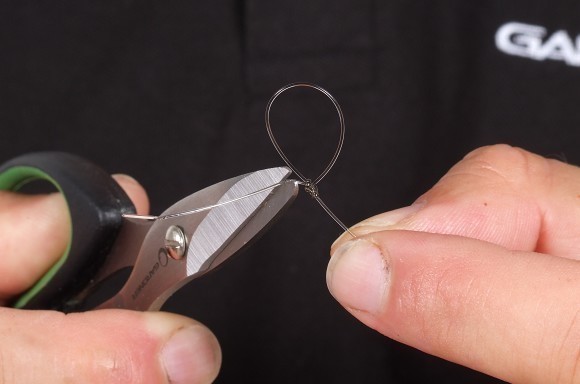
10. You should be left with a really nice loop knot like the one shown (if the loop twists you have pulled on the loop whilst tightening down). Trim off the tag 2-3mm from the knot.
11. Use your nails to sheath the knot and hooklink and carefully blob the tag of the loop knot. This secures the knot in the event of you applying very heavy pressure.
The finished rig. If you use a slow (balanced) sinking hookbait the rig will always lay out nicely and reset if a fish samples it.


