Shotting out your hooklink
How to get your hooklink to fall perfectly every time
One of the most important aspects in end tackle is to have your rig and end tackle laying flush and perfectly on the lakebed. It is definitely apparent that with the added pressure on the carp that they are getting increasingly wary when it comes to recognising and spotting rigs.
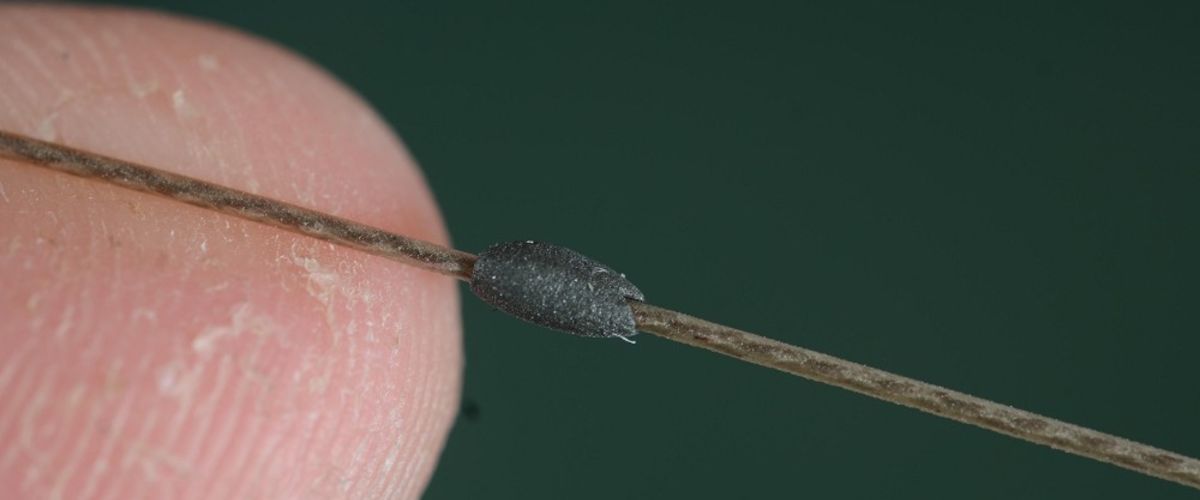
So as anglers, we need to do everything we can to make our rigs flawless! One thing that can be applied to hooklinks to make them lay perfectly is to ‘shot’ them out properly with your pieces of rig putty. This is similar to how you would set up a float for long-trotting on the rivers, with the weight on the line decreasing the closer you get to the hook.
001 First of all, take a large lump of putty (this will be your largest on the rig) and mould this near the top of your hooklink material.
002 Now take another lump of putty that is slightly smaller than the first piece you moulded and position this onto the middle of your hooklink.
003 Finally, take your third and final piece (make sure this is the smallest yet) and mould this onto your hooklink closest to your hook.
004 It is essential that the putty goes from the heaviest closest to the lead and the lightest near the hook and they are all evenly spaced out.


