Step-by-step: How to tie the Claw Rig
The rig to be on when it comes to bottom baits...
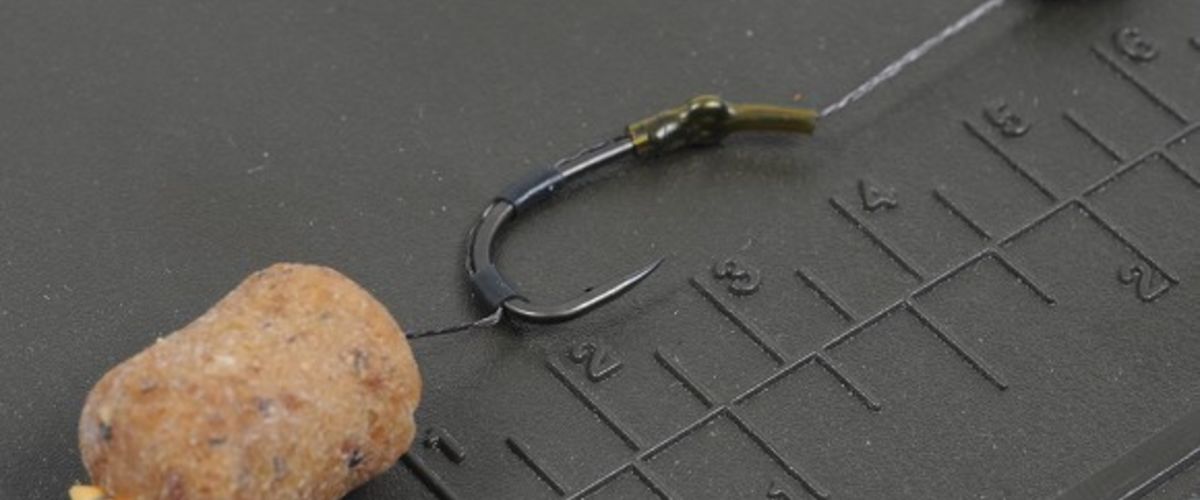
The Claw Rig is perfect for fishing with straight-out-of-the-bag bottom baits. The pieces of silicon positioning the Hair around the hooks shank, coupled with the shrink tubing and large piece of putty make this rig extremely effective.
01 This is all of the terminal tackle you need to create the Claw Rig – the super effective bottom bait rig.
02 Now strip several inches of coating off so you are just left with the inner supple braid for your Hair.
03 Tie a Hair loop to attach your bait and then thread your bait onto a baiting needle and onto the Hair.
04 Once the bait is in position you need to secure it using a bait stop. You can then gauge the Hair length.
05 Cut two short pieces (5mm) of silicone tubing and thread it onto the hooklink material like so.
06 Take your hook, in this case a Korda Kaptor and remove the protective cap and discard it.
07 Pass the hook point through the two pieces of silicone (be careful not to split it) and pass the end through the eye.
08 Set the Hair length at an inch to two-inches and secure the hook using the Knotless Knot set-up.
09 Thread a 1.5cm piece of shrink tubing down the hooklink and position it over the eye of your hook.
10 Very carefully shrink the tubing down by placing it in boiling water or using the steam from a kettle.
11 Now thread on a Korda Sinker to where the coating separates from the supple braided section.
12 Take a piece of rig putty, flatten it between your fingers and hold it underneath the Korda Sinker.
13 Wrap the rig putty neatly and evenly around the Sinker, making sure it is really neat and balanced.
14 Trim the hooklink to the length you want and tie a Figure-Of-Eight-Loop Knot in the end like so.
15 And finally: make sure the silicon is right around the bend of the hook: it kicks over far quicker like this.


