Scott K's Reverse Combi Rig
A set-up that will see you keep your head, perhaps, whilst all around others are losing theirs...
This dark horse of a rig is a great option when the going gets really tough, when carp are getting away after picking up and ejecting other presentations. Not only is it an ideal rig to sneak onto marginal spots when mounted on a nice, big inline lead, it also casts cleanly and is tangle-resistant when used in conjunction with a helicopter-style lead arrangement, thanks to the fluorocarbon boom.
The combi-rig format, with the hook tied to a short section of braid attached to the Tint Link via an Albright Knot, essentially adds flexibility, the hook and hookbait can then move and twist unhindered, whatever direction a carp approaches the hookbait from.
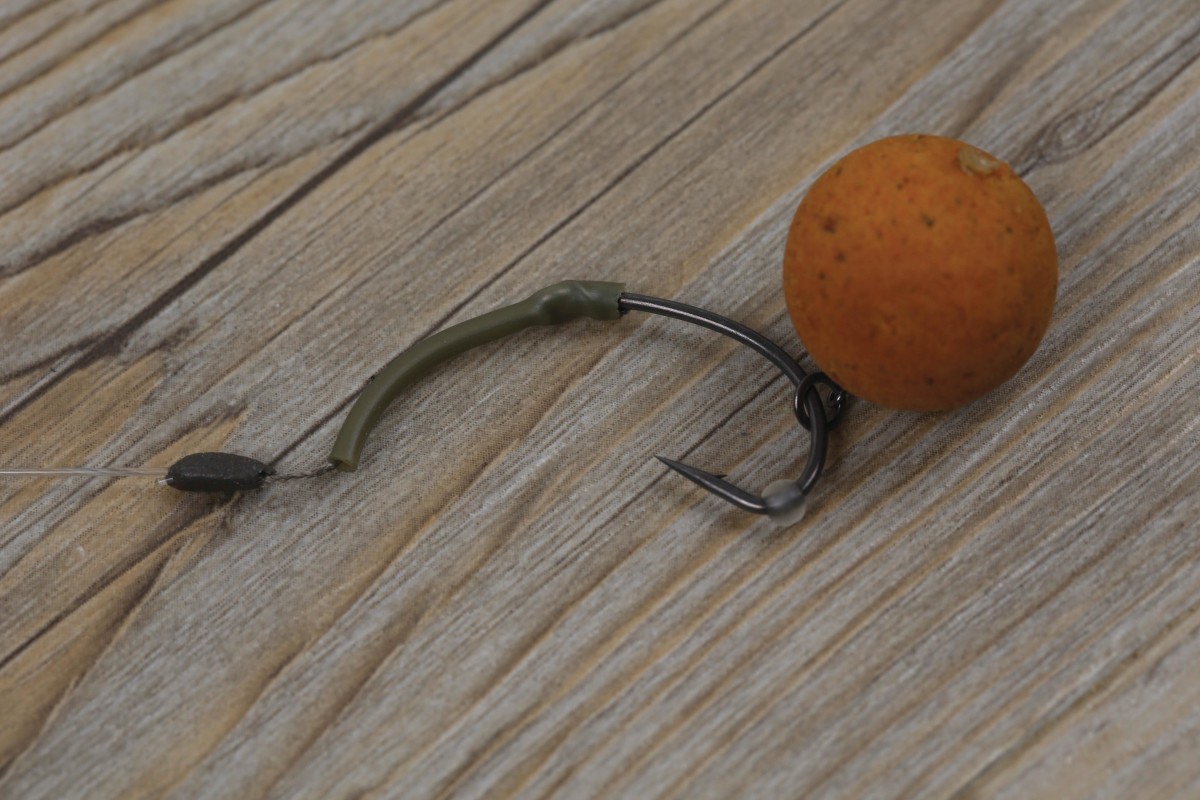
The aggressively curved kicker acts almost like a clamp, and as the hook point pricks the carp’s lip, the shrink tubing turns on the edge of the mouth, forcing the hook to rotate instantly. It then effectively holds the hook in position, making it almost impossible for the carp to shake the hook off, as the shrink tube curls over the lip. The tubing flexes outwards as the hooklink tightens, imparting a gripping, claw-like action that draws the hook even further, and more securely into place.
On venues where the carp have seen it all and are often faced with the more conventional, stiffer hooklinks, this can really be a game changer. The Reverse Combi Rig is a great option on barbless hook venues, too, as the combination of a curved, beaked point hook and the curved kicker tend to produce very stable hook-holds, as the hook will always want to rotate in, to then hold deeply. This rig is best suited to shingly, gravel spots, or firm sand, clay, or silt. The combination of a curve point hook and curved kicker help protect the hook point when you position your hookbait on cleaned-off gravelly areas.
HOW TO TIE IT:
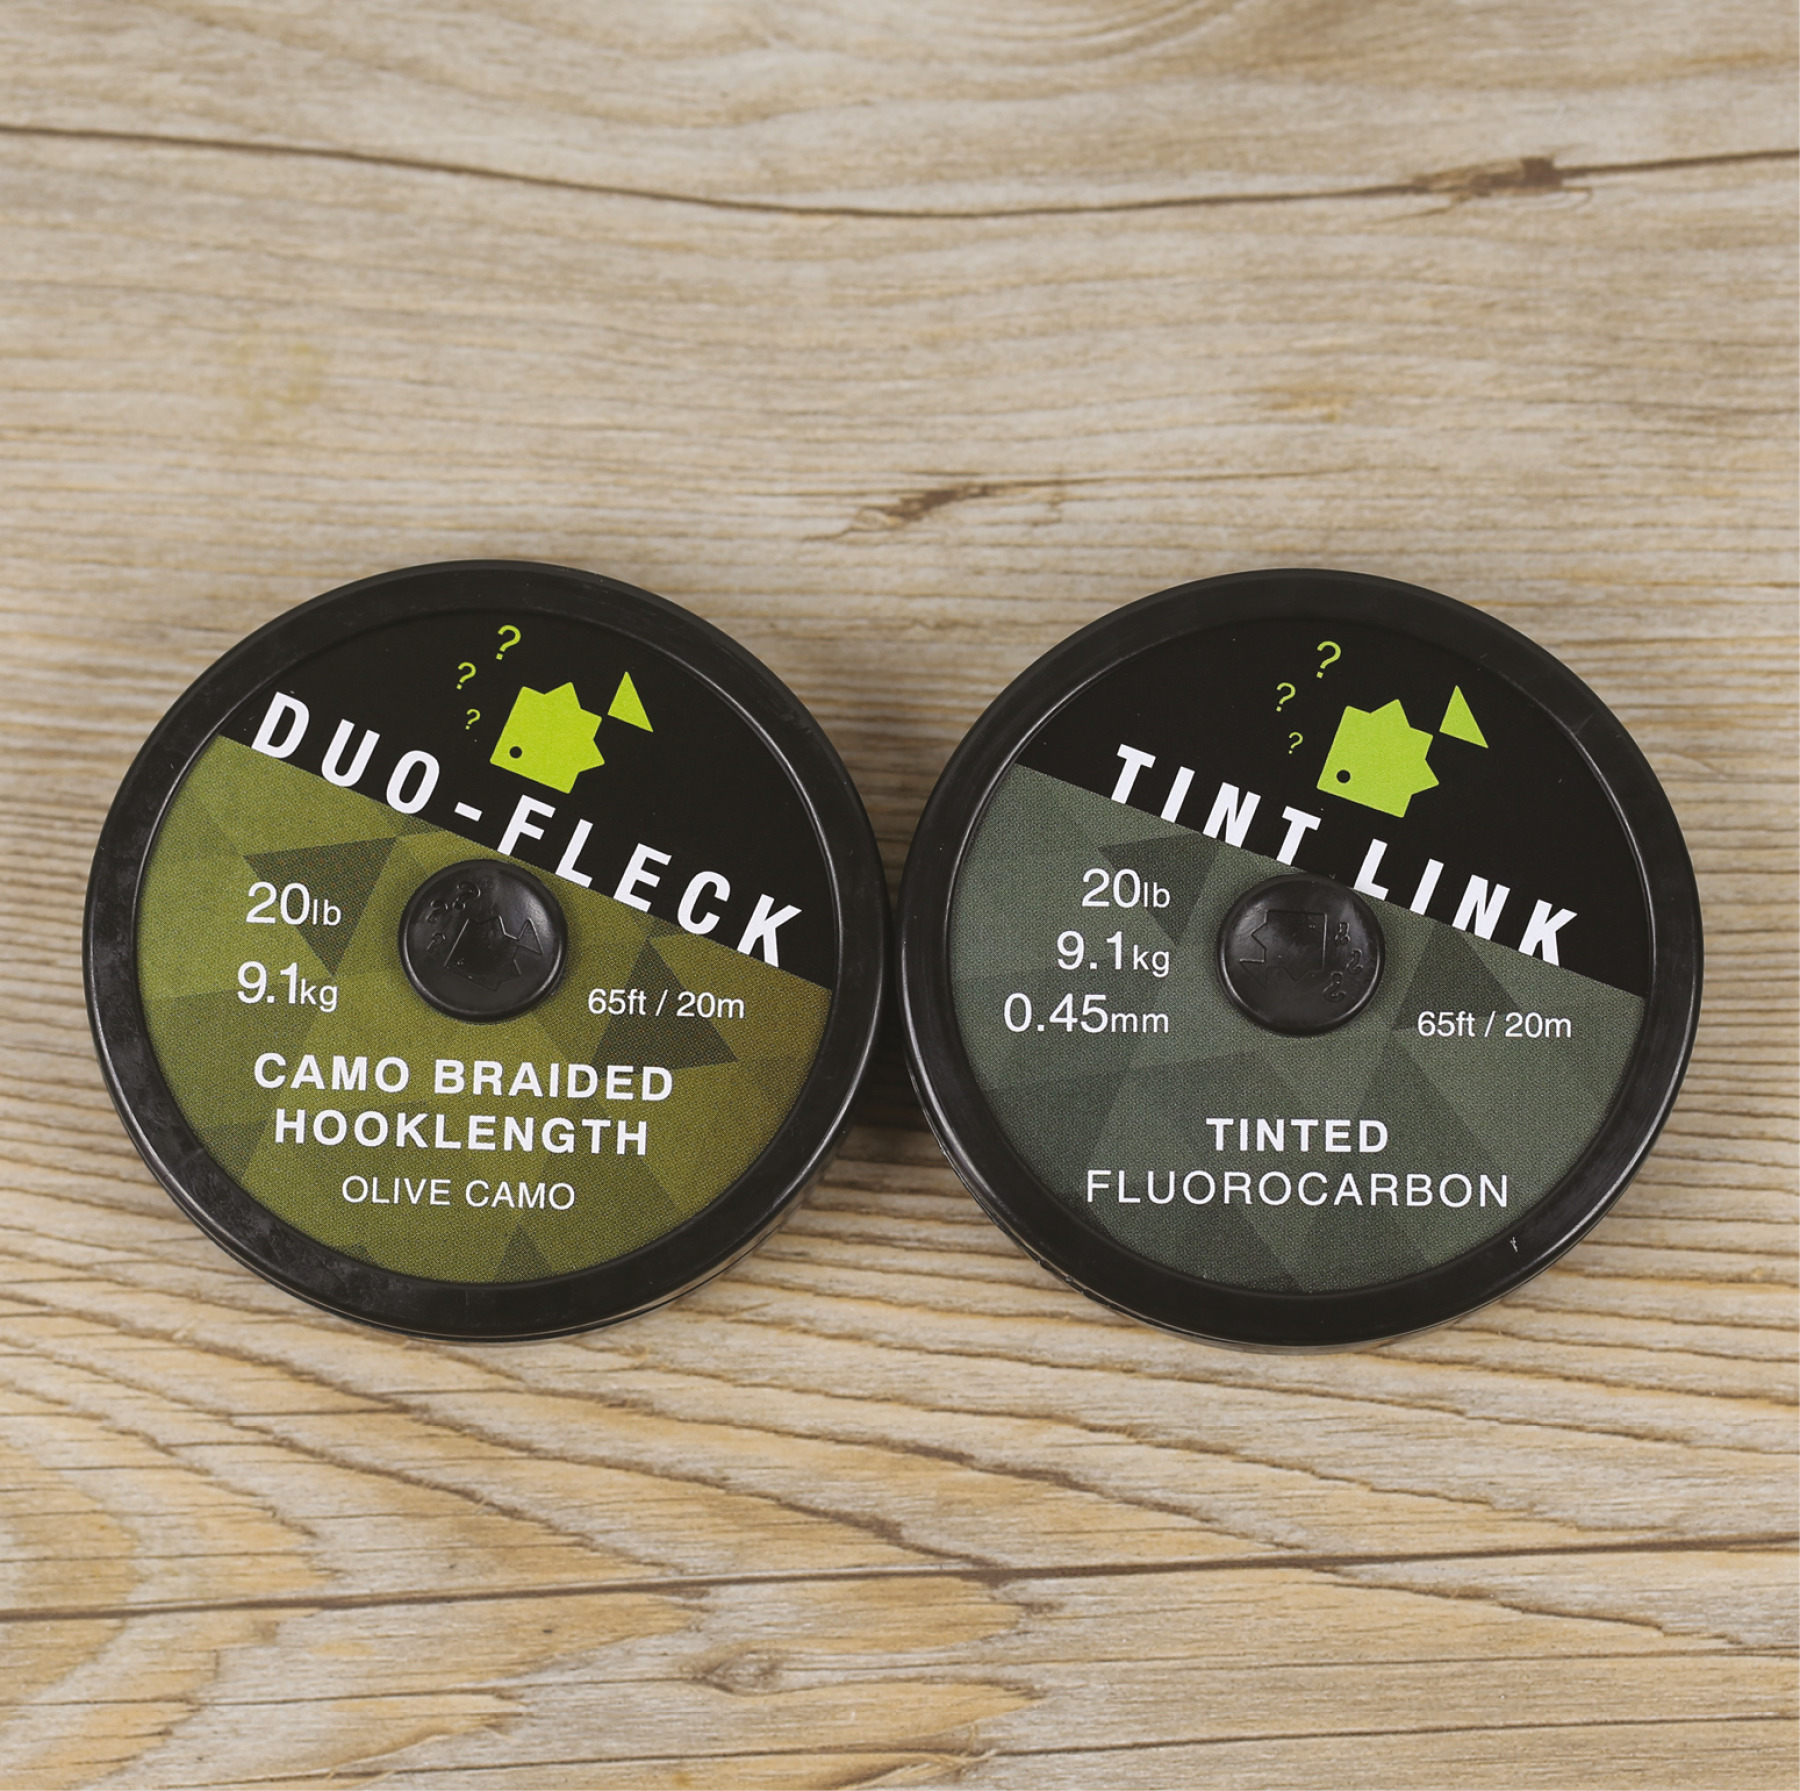
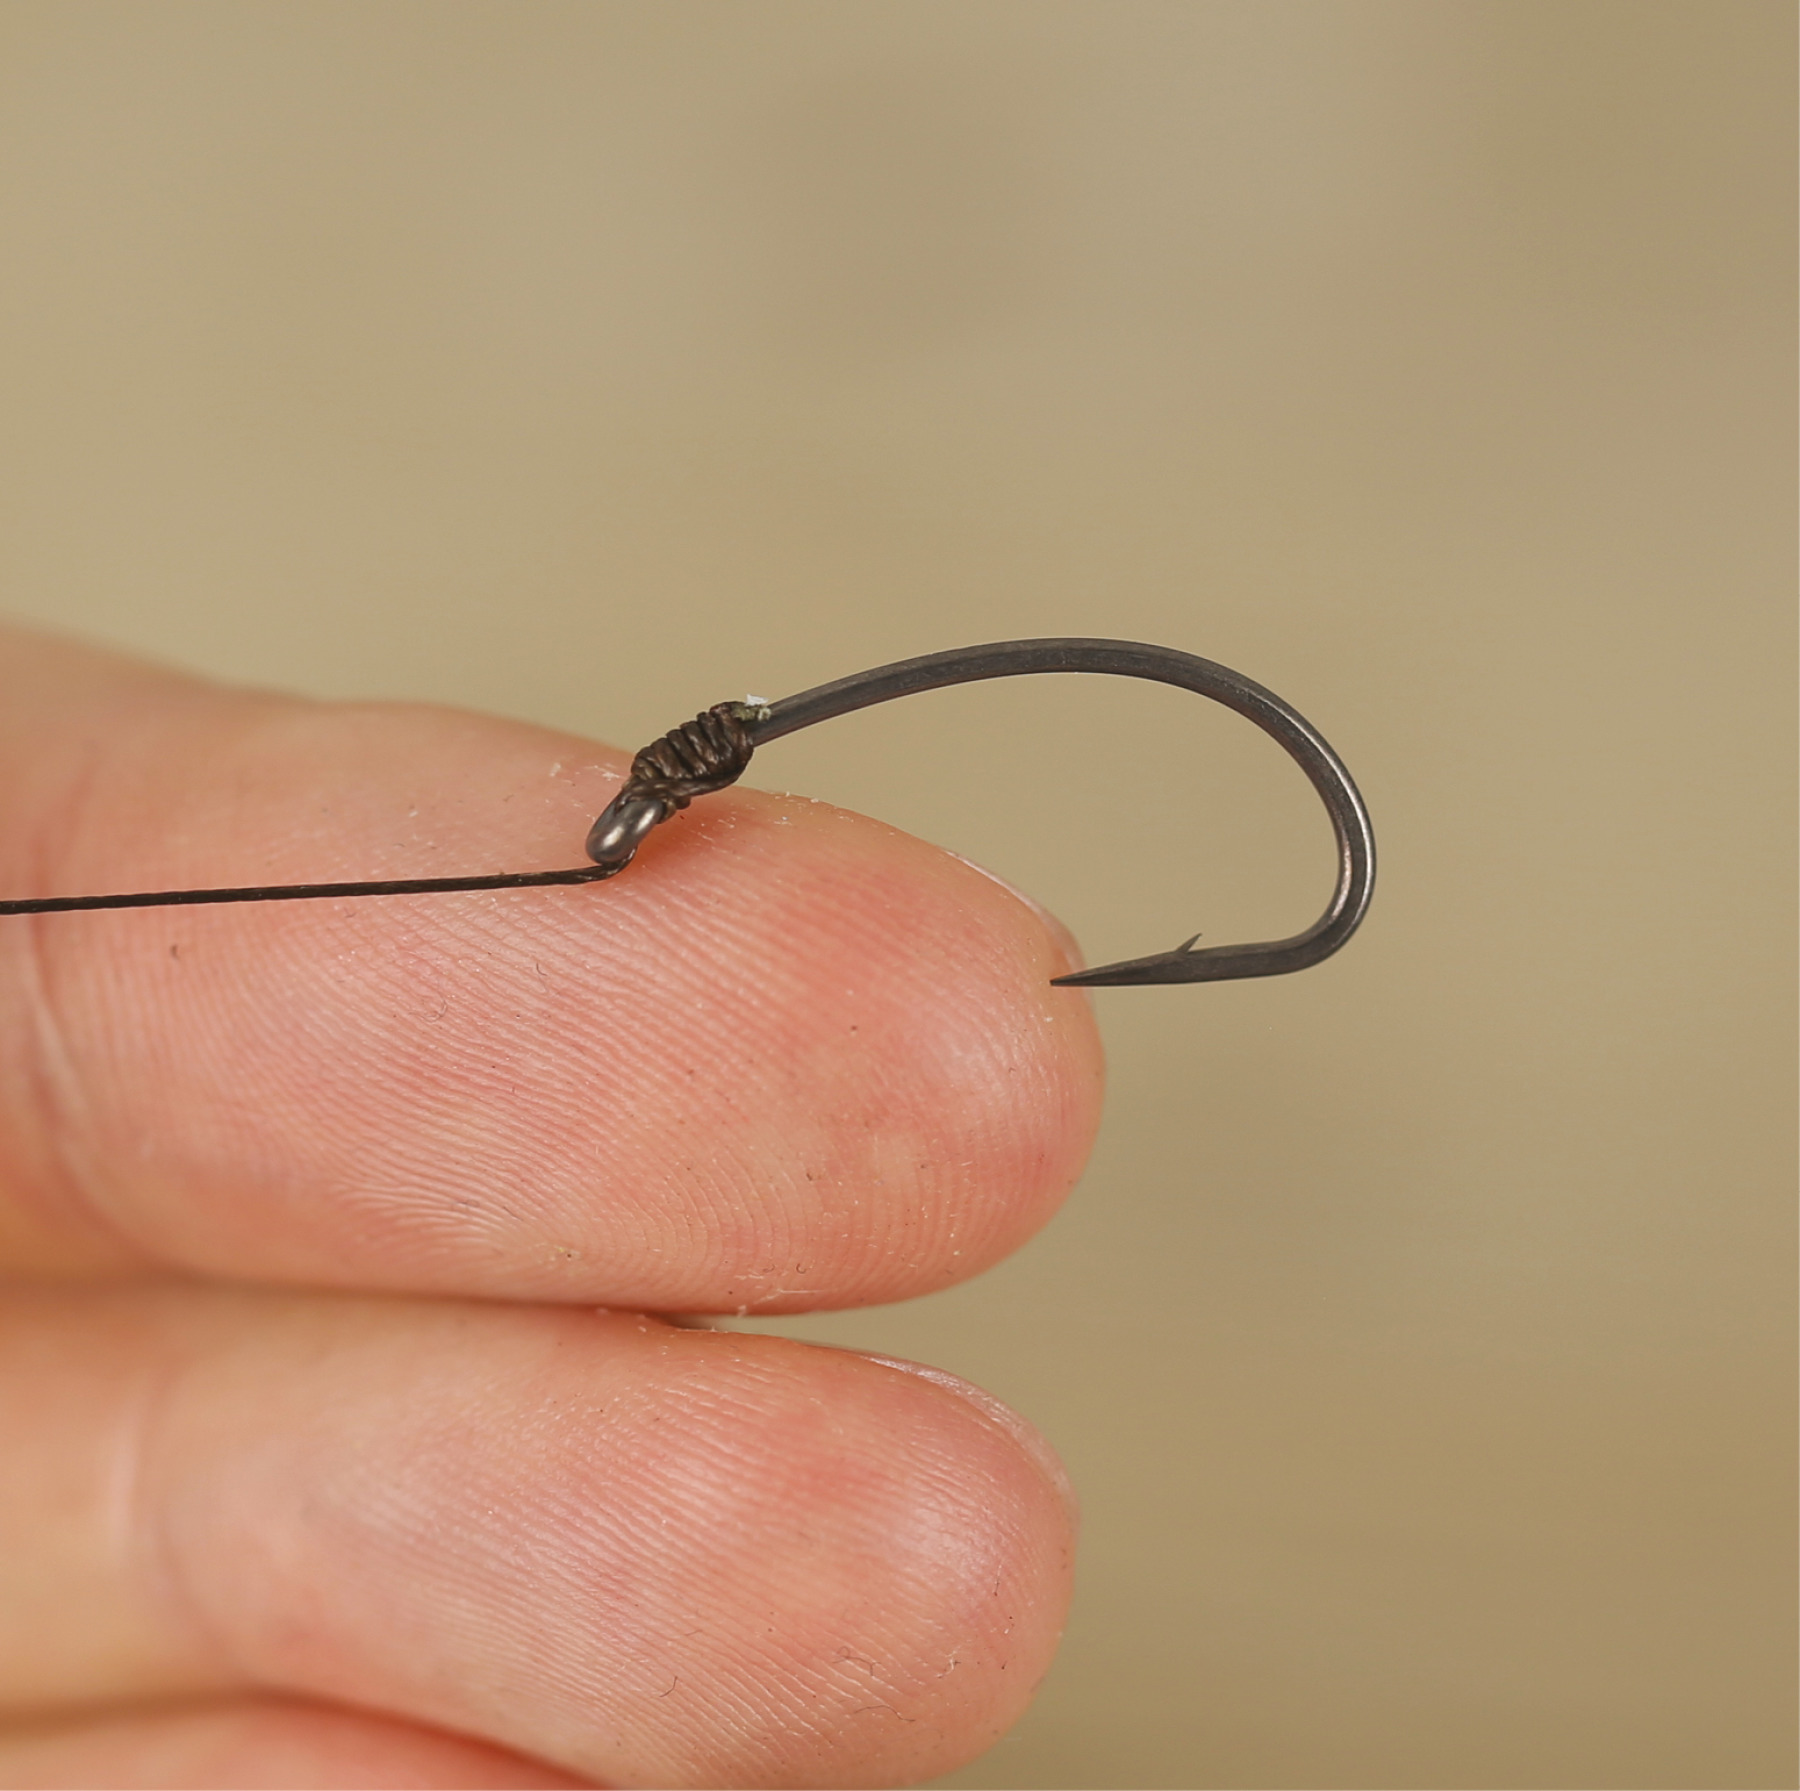
1. Scott’s chosen hooklink materials for his Reverse Combi Rig. Start by tying your chosen hook (Scott uses a curve shank pattern) to a length of the braid. We’ve used a Knotless Knot, trimming the tag end and then blobbing with a lighter.
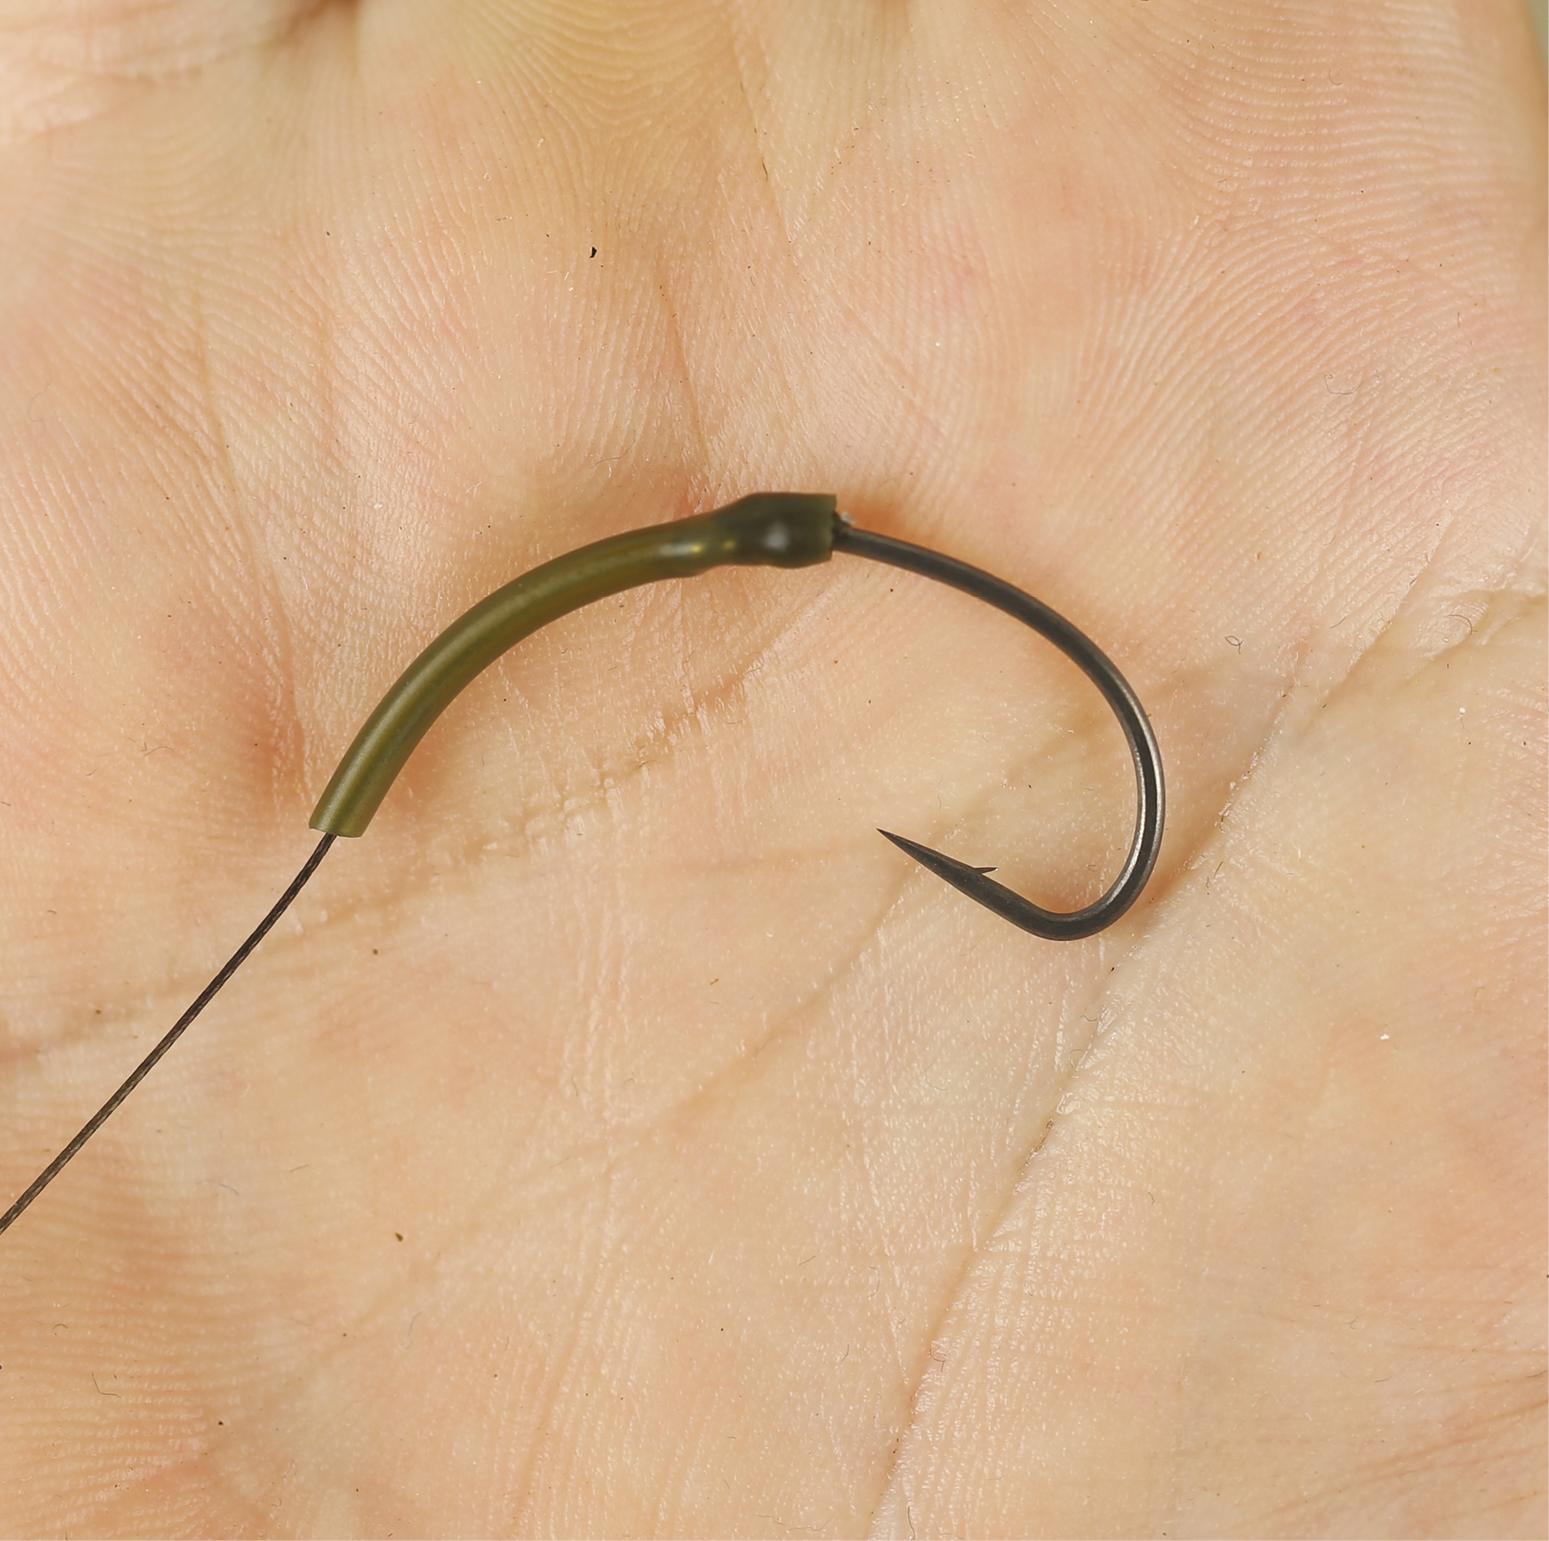
2. Slide on a length (around an inch) of shrink tube, position it just over the eye and then steam, adding in a lovely smooth curve like so.
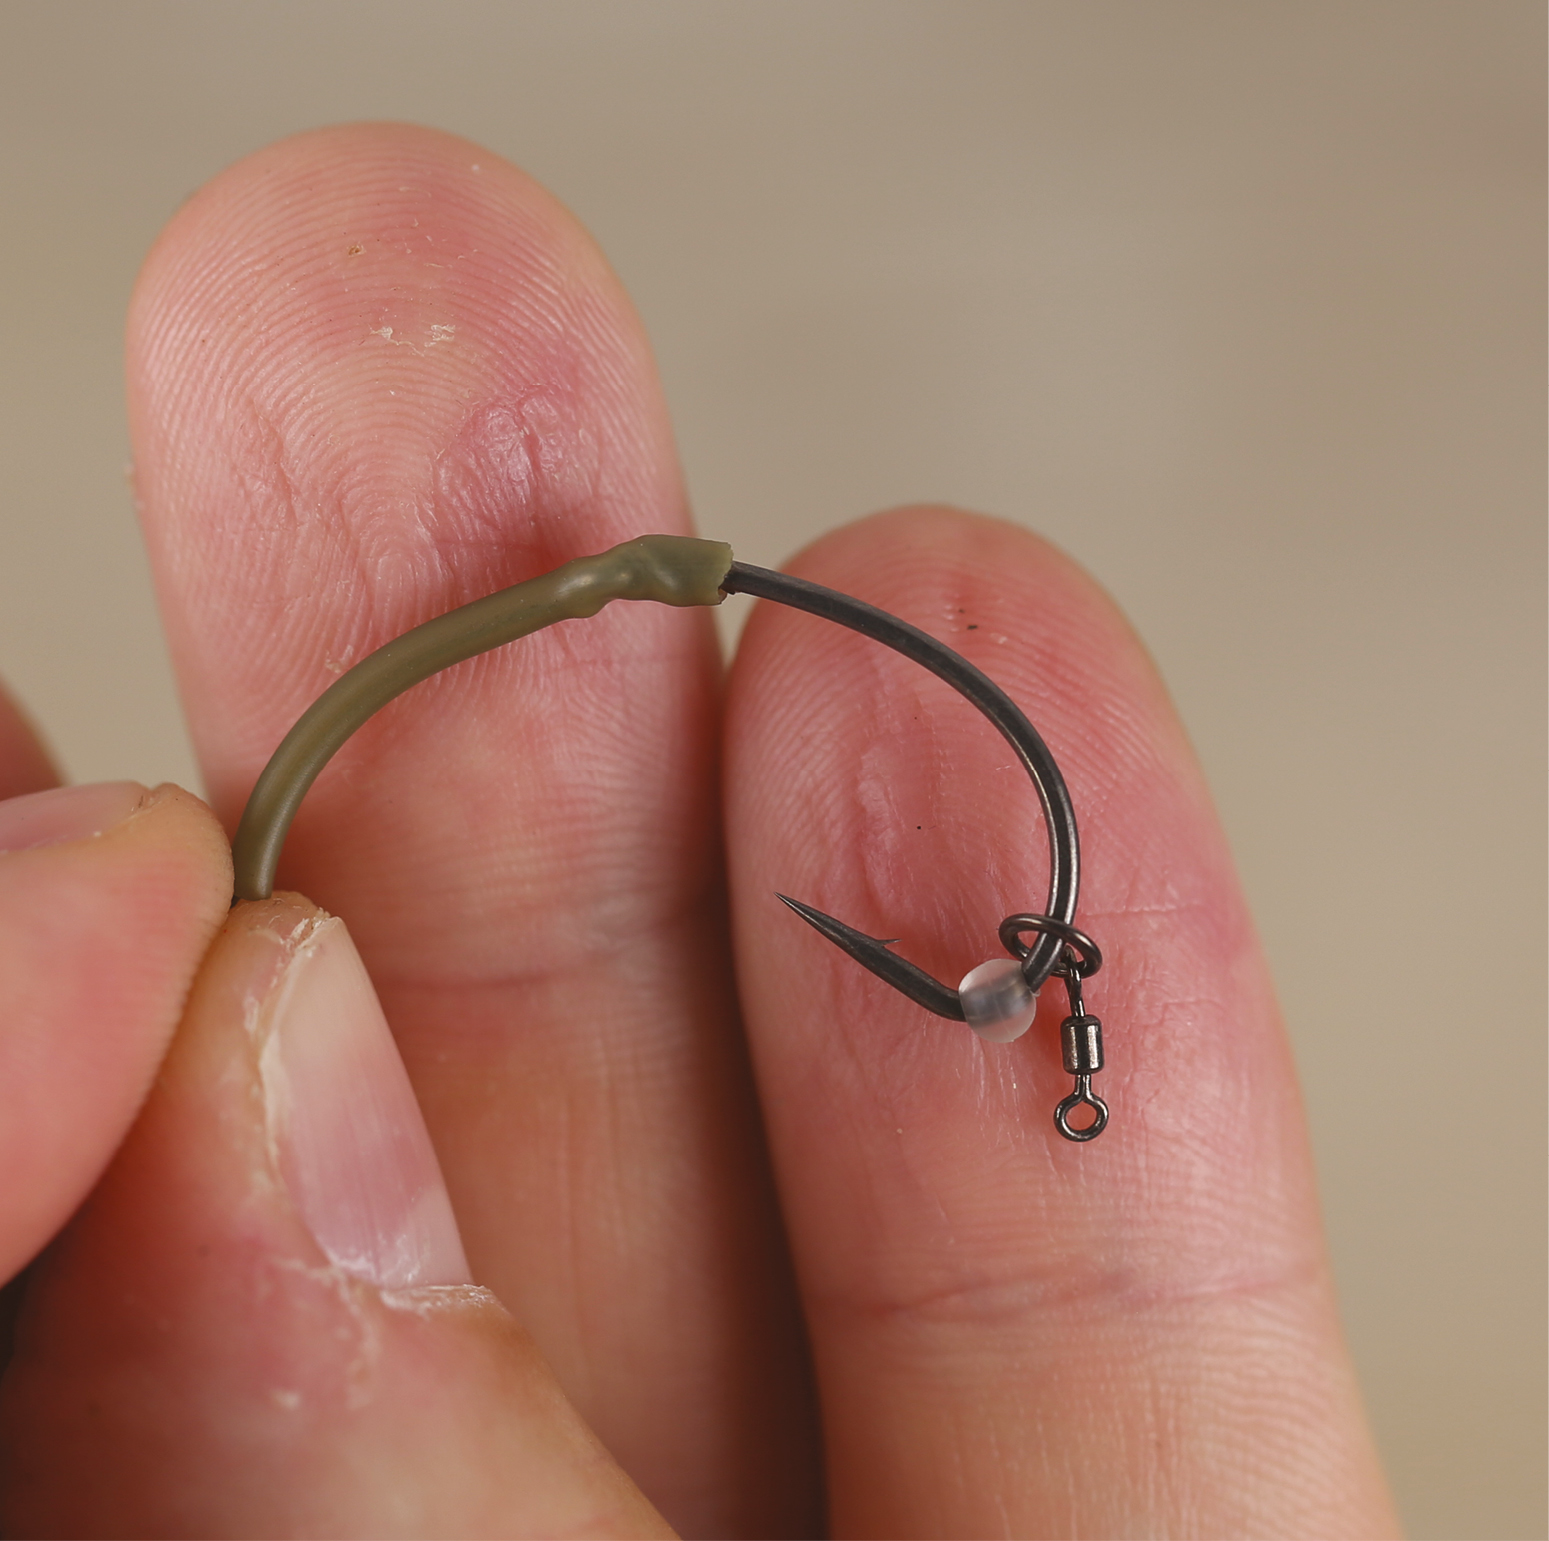
3. Follow this with a Hook Ring Swivel and position a Hook Bead right at the base of the hook point.
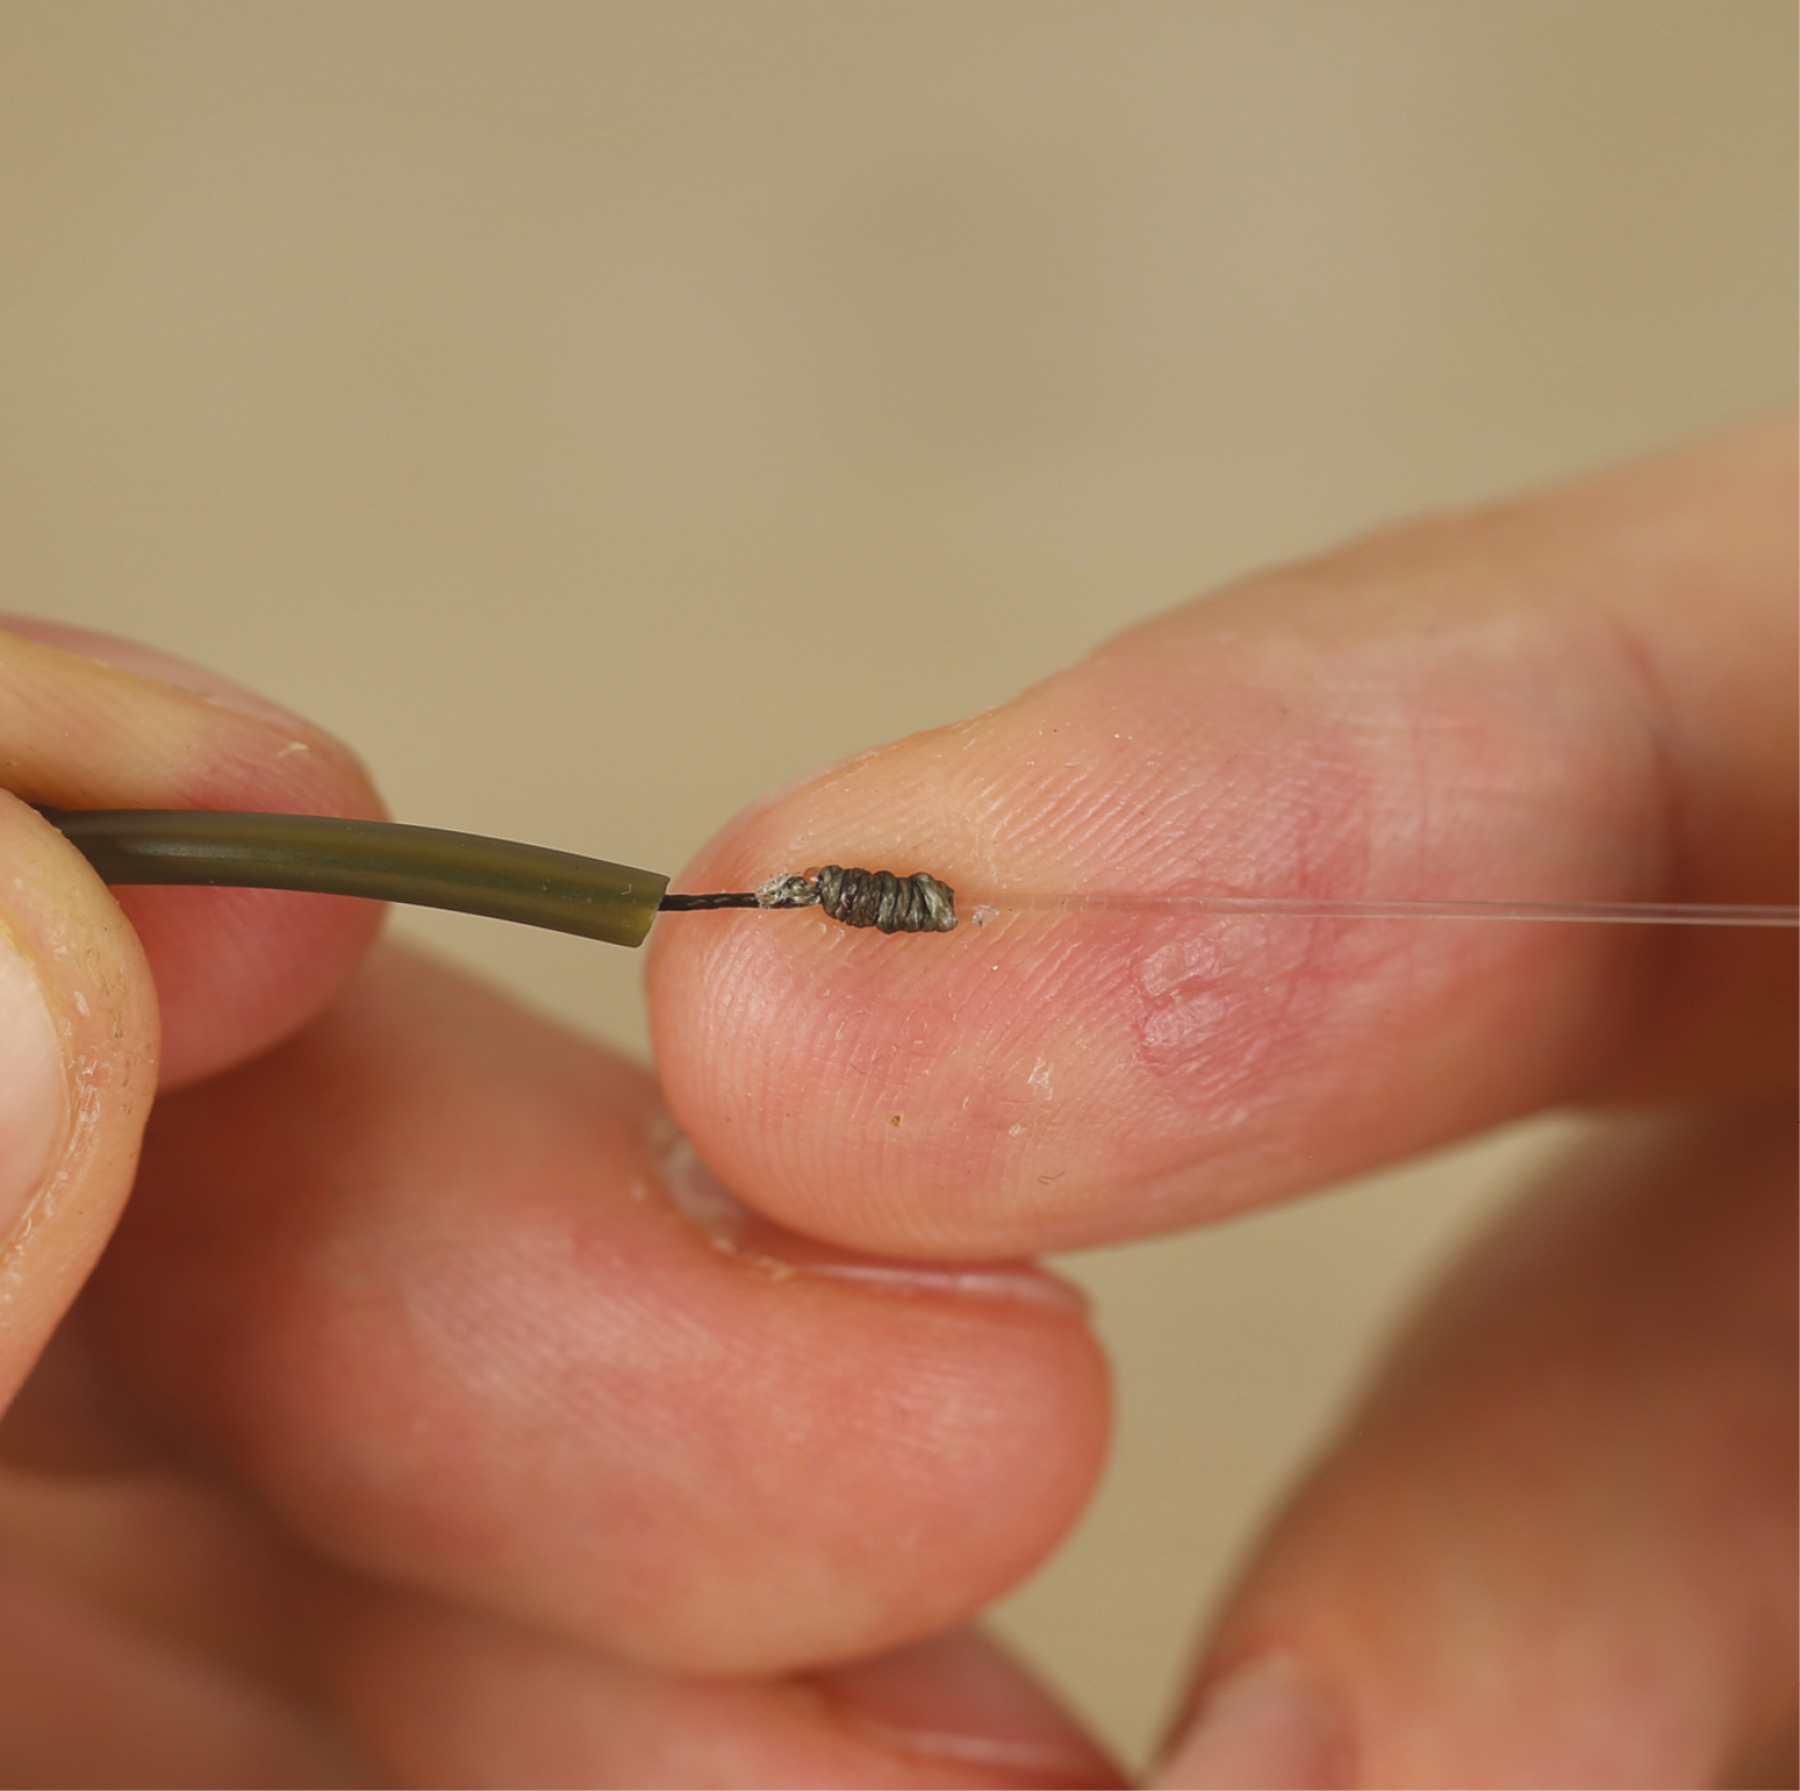
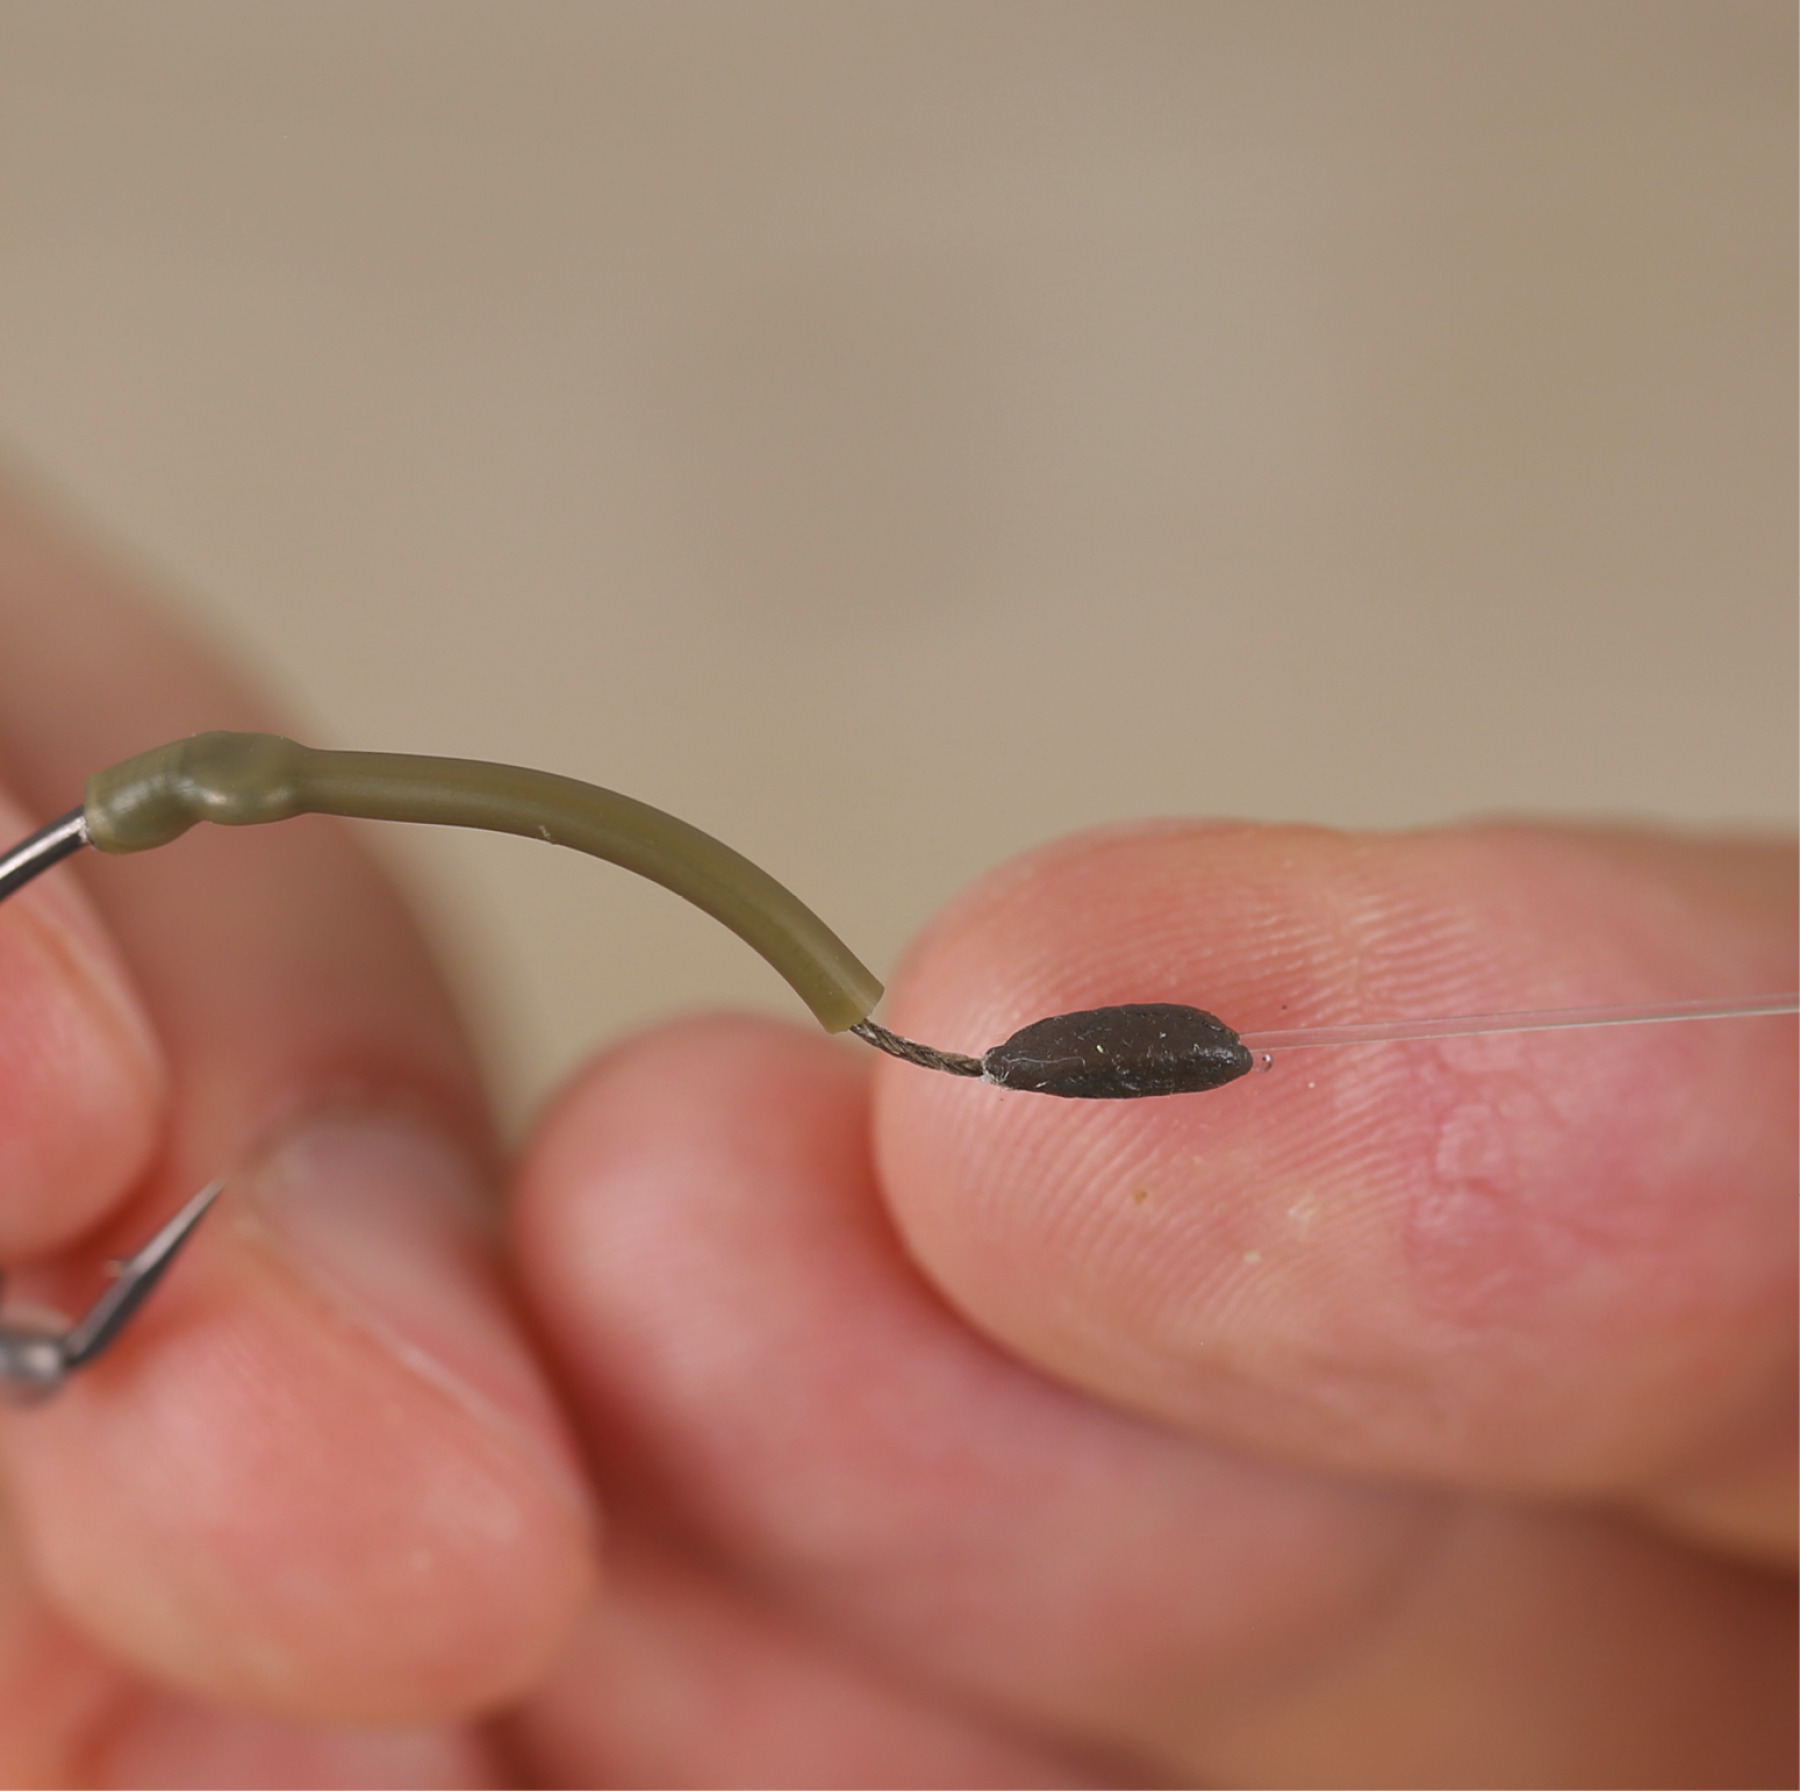
4. To connect the two materials together, Scott uses an Albright knot. To neaten it up, he adds a small amount of putty over the knot.
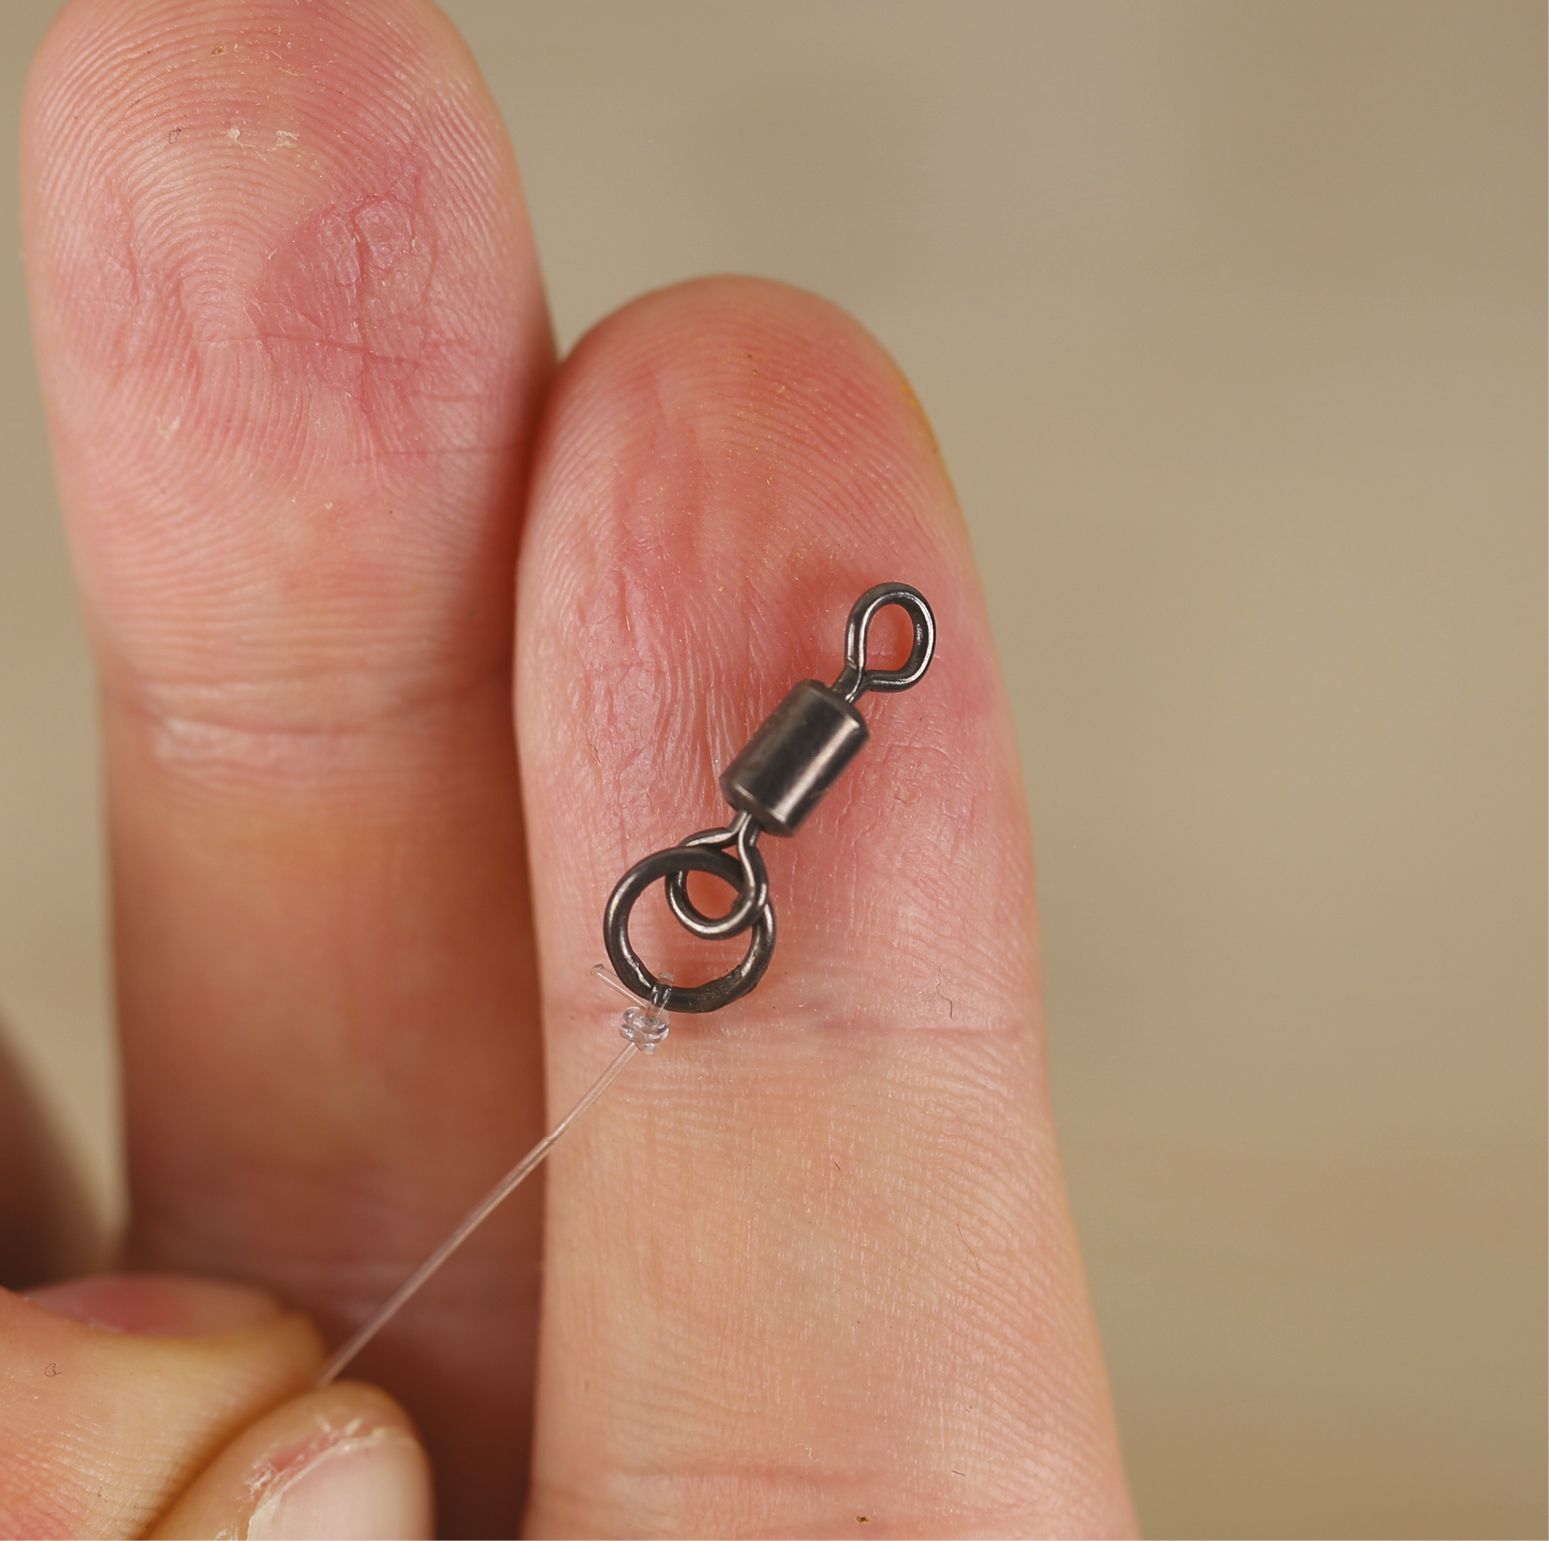
6. At the other end, tie on a Flexi-Ring Swivel using a Three-Turn Blood knot.