Ultimate Guide To 'Special' Hookbait Making
Looking to mix, roll, and boil the ultimate hookbaits—whether they’re high-viz or match-the-hatch? Here’s how to do it...
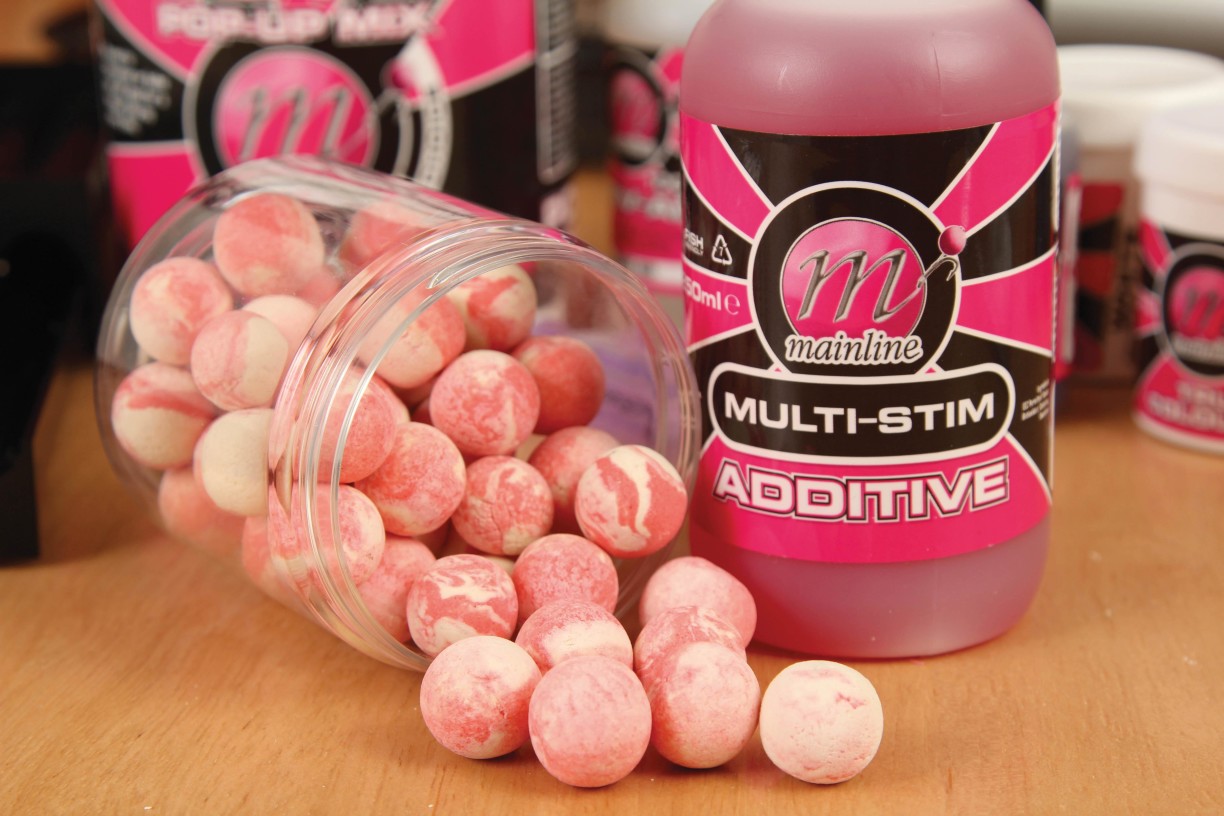
EQUIPMENT YOU’LL NEED
22 items to make your bait rolling so much easier
1. Digital kitchen scales
These should weigh in increments of one gram and have a tare function. Via the tare function, you can zero the scales after the base mix has been weighed. This makes the whole process easier and allows you to retain accuracy when adding ingredients. (Visit Argos or Tesco.)
2. Glass measuring jug
Glass is best. It doesn’t taint like plastic and whisking the eggs is made easier. You can measure volume added, rather than the number of eggs.
3. Silicone balloon whisk
Again, silicone doesn’t taint, and they seem to be much better than the metal versions as you look to whisk the eggs fully. They’re also unaffected by some of the more acidic flavours used.
4. Silicone spatula
Again, taint-proof, and unquestionably the best material for achieving the perfect dough texture. They’re also easy to work in the mixing bowl, which makes for a good mix, every time.
5. Glass or stainless steel mixing bowl
A really important choice: taint-proof, best for all base mixes, nice and smooth and stands the test of time with anything used. Ideally, opt for one with a two-litre capacity.
6. Saucepan and integral sieve
7. Flour sieve
Nylon or stainless steel. Important for sieving out coarse base mixes and lumpy ingredients when looking to achieve a fine, balanced hookbait base mix—so important with corkball baits.
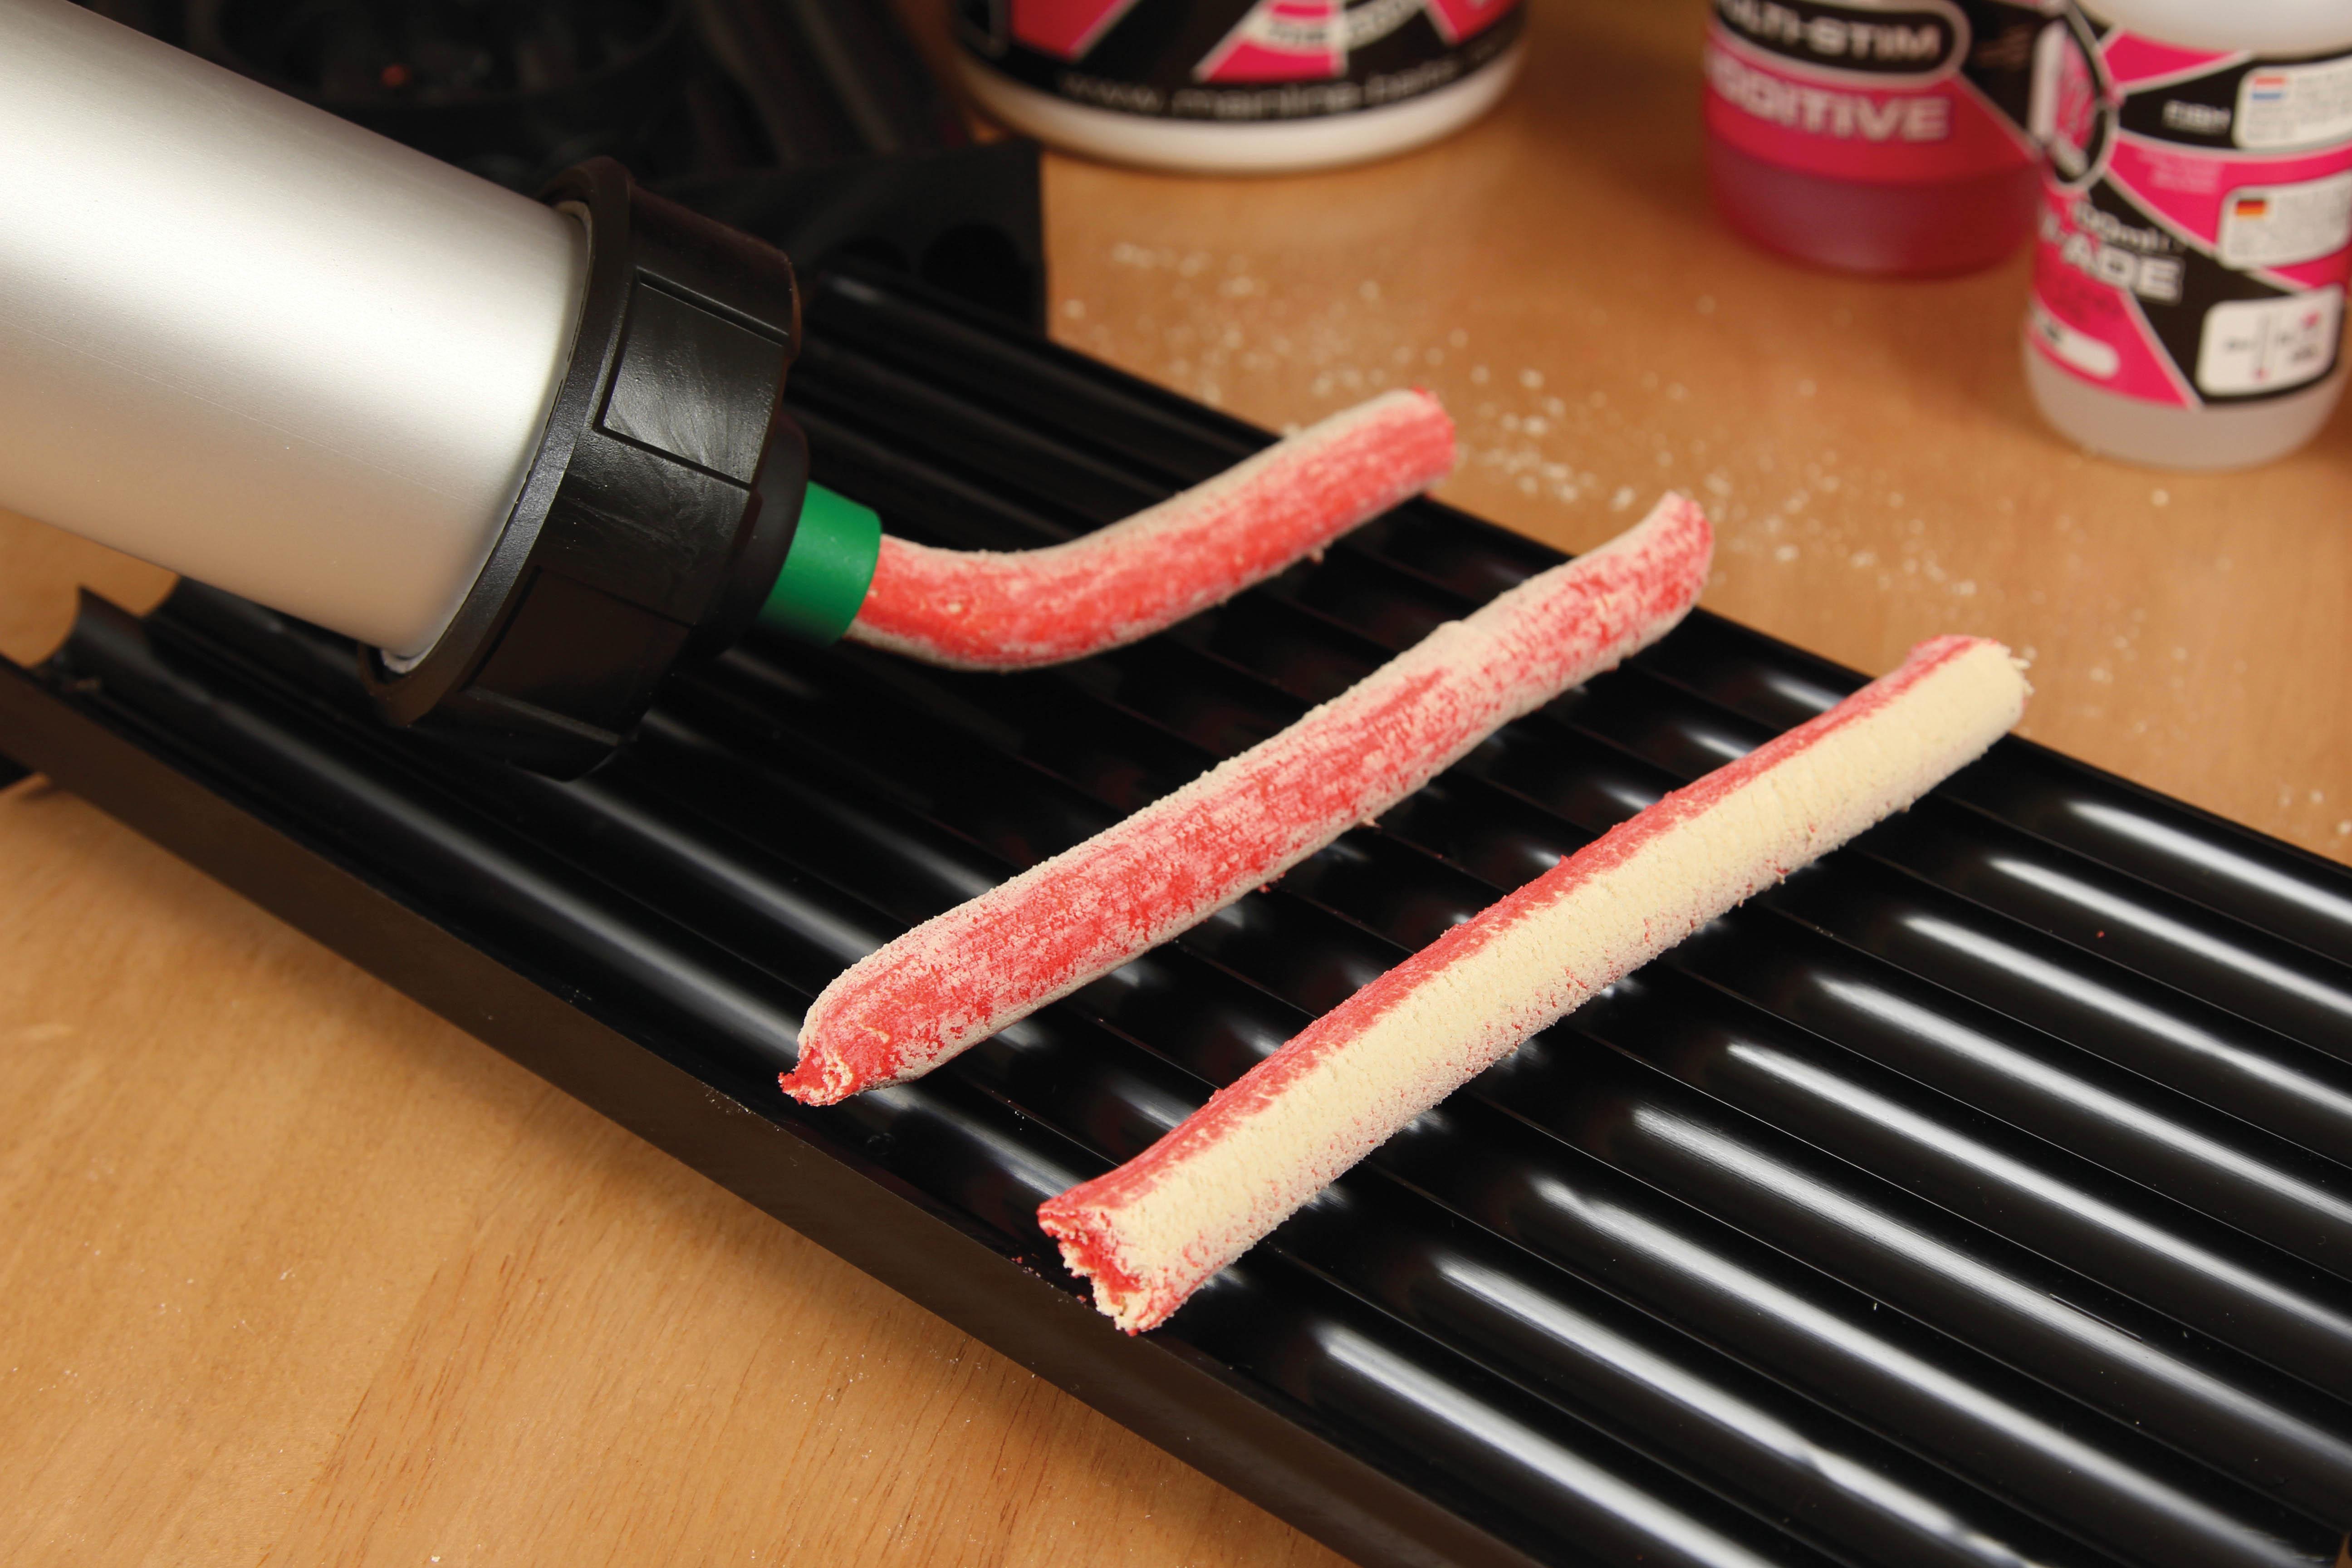
8. Gardner Tackle Sausage Gun
Deluxe version produces perfect, consistent sausages. Built to last and makes extruding the dough easier and faster when using rolling tables. Nozzles can be
cut to size.
9. Gardner Tackle Rollaball Longbase Baitmaker
Available in a good range of sizes, but the long-base version makes the task of rolling a doddle when married up with a gun. Perfect for all hookers, be they round or barrel-shaped.
10. Gardner Tackle Rolling Tables
These make the task of producing the perfect sausages quick and easy, and they come into their own with slightly more difficult mixes. They complement the boilie tables and are cheaper.
11. Wallpaper pasting brush
Makes handling the finished boilies in the rollers much easier. With just a flick, they can be transferred to the tray prior to boiling. Can also be used to brush baits into the saucepan.
12. Gardner Tackle Air-Dry Trays
These plastic-dipped trays are the best. They’re stackable, which makes the task of drying finished hookbaits easier—a good investment and a must-have item for hookbait making.
13. Bait tubs
Fox and Korda—to name but two—make pots with mesh inners, and these allow baits to be glugged and drained off. Alternatively, any small pots are ideal for storing your hookers.
14. Yolk Hero Egg Separator
A fun and highly effective device for separating egg yolk from the white when you’re looking to make harder hookbaits. No mess, no fuss!
15. ESP, Gardner Tackle or Thinking Anglers corkballs
These are consistent and can be slightly roughened with sandpaper to improve paste adhesion. Use for 8–16mm baits when making pop-ups or balanced offerings.
16. Polythene pipettes
Available from tackle shops or eBay, these disposable, low-volume pipettes are ideal for measuring small amounts of liquid additive. A 1ml and a 5ml model will cover everything.
17. Syringes
Important: don’t use those with a rubber-tipped plunger, as they will soon perish after frequent use with liquid flavours. Also, be aware that the markings will come off!
18. Biodegradable film
This keeps the paste mix stable, which is vital in hot weather. It prevents it from drying and cracking, and becoming unmanageable. Some mixes need to stand, so it’s ideal for all manner of jobs.
19. Frylight Cooking Spray
The easiest way to lubricate a non-stick tray for your baits to sit on prior to cooking. A light film prevents the baits from clinging together. Clean and easy!
20. Non-stick baking tray
Lightly oil, then brush your baits straight out of the rolling table onto the tray ready for the cooking process. After a quick swirl around, they are ready to go.
21. Disposable plastic spoons
Available from the supermarket and perfect for adding any powdered additives or food colourants to base mixes. A 5ml spoon is a versatile size.
22. Kitchen towel
The ideal medium for drying baits and removing any excess moisture after cooking. Gently pat baits before leaving them on the towel or placing them on your Gardner Air-Dri Tray.
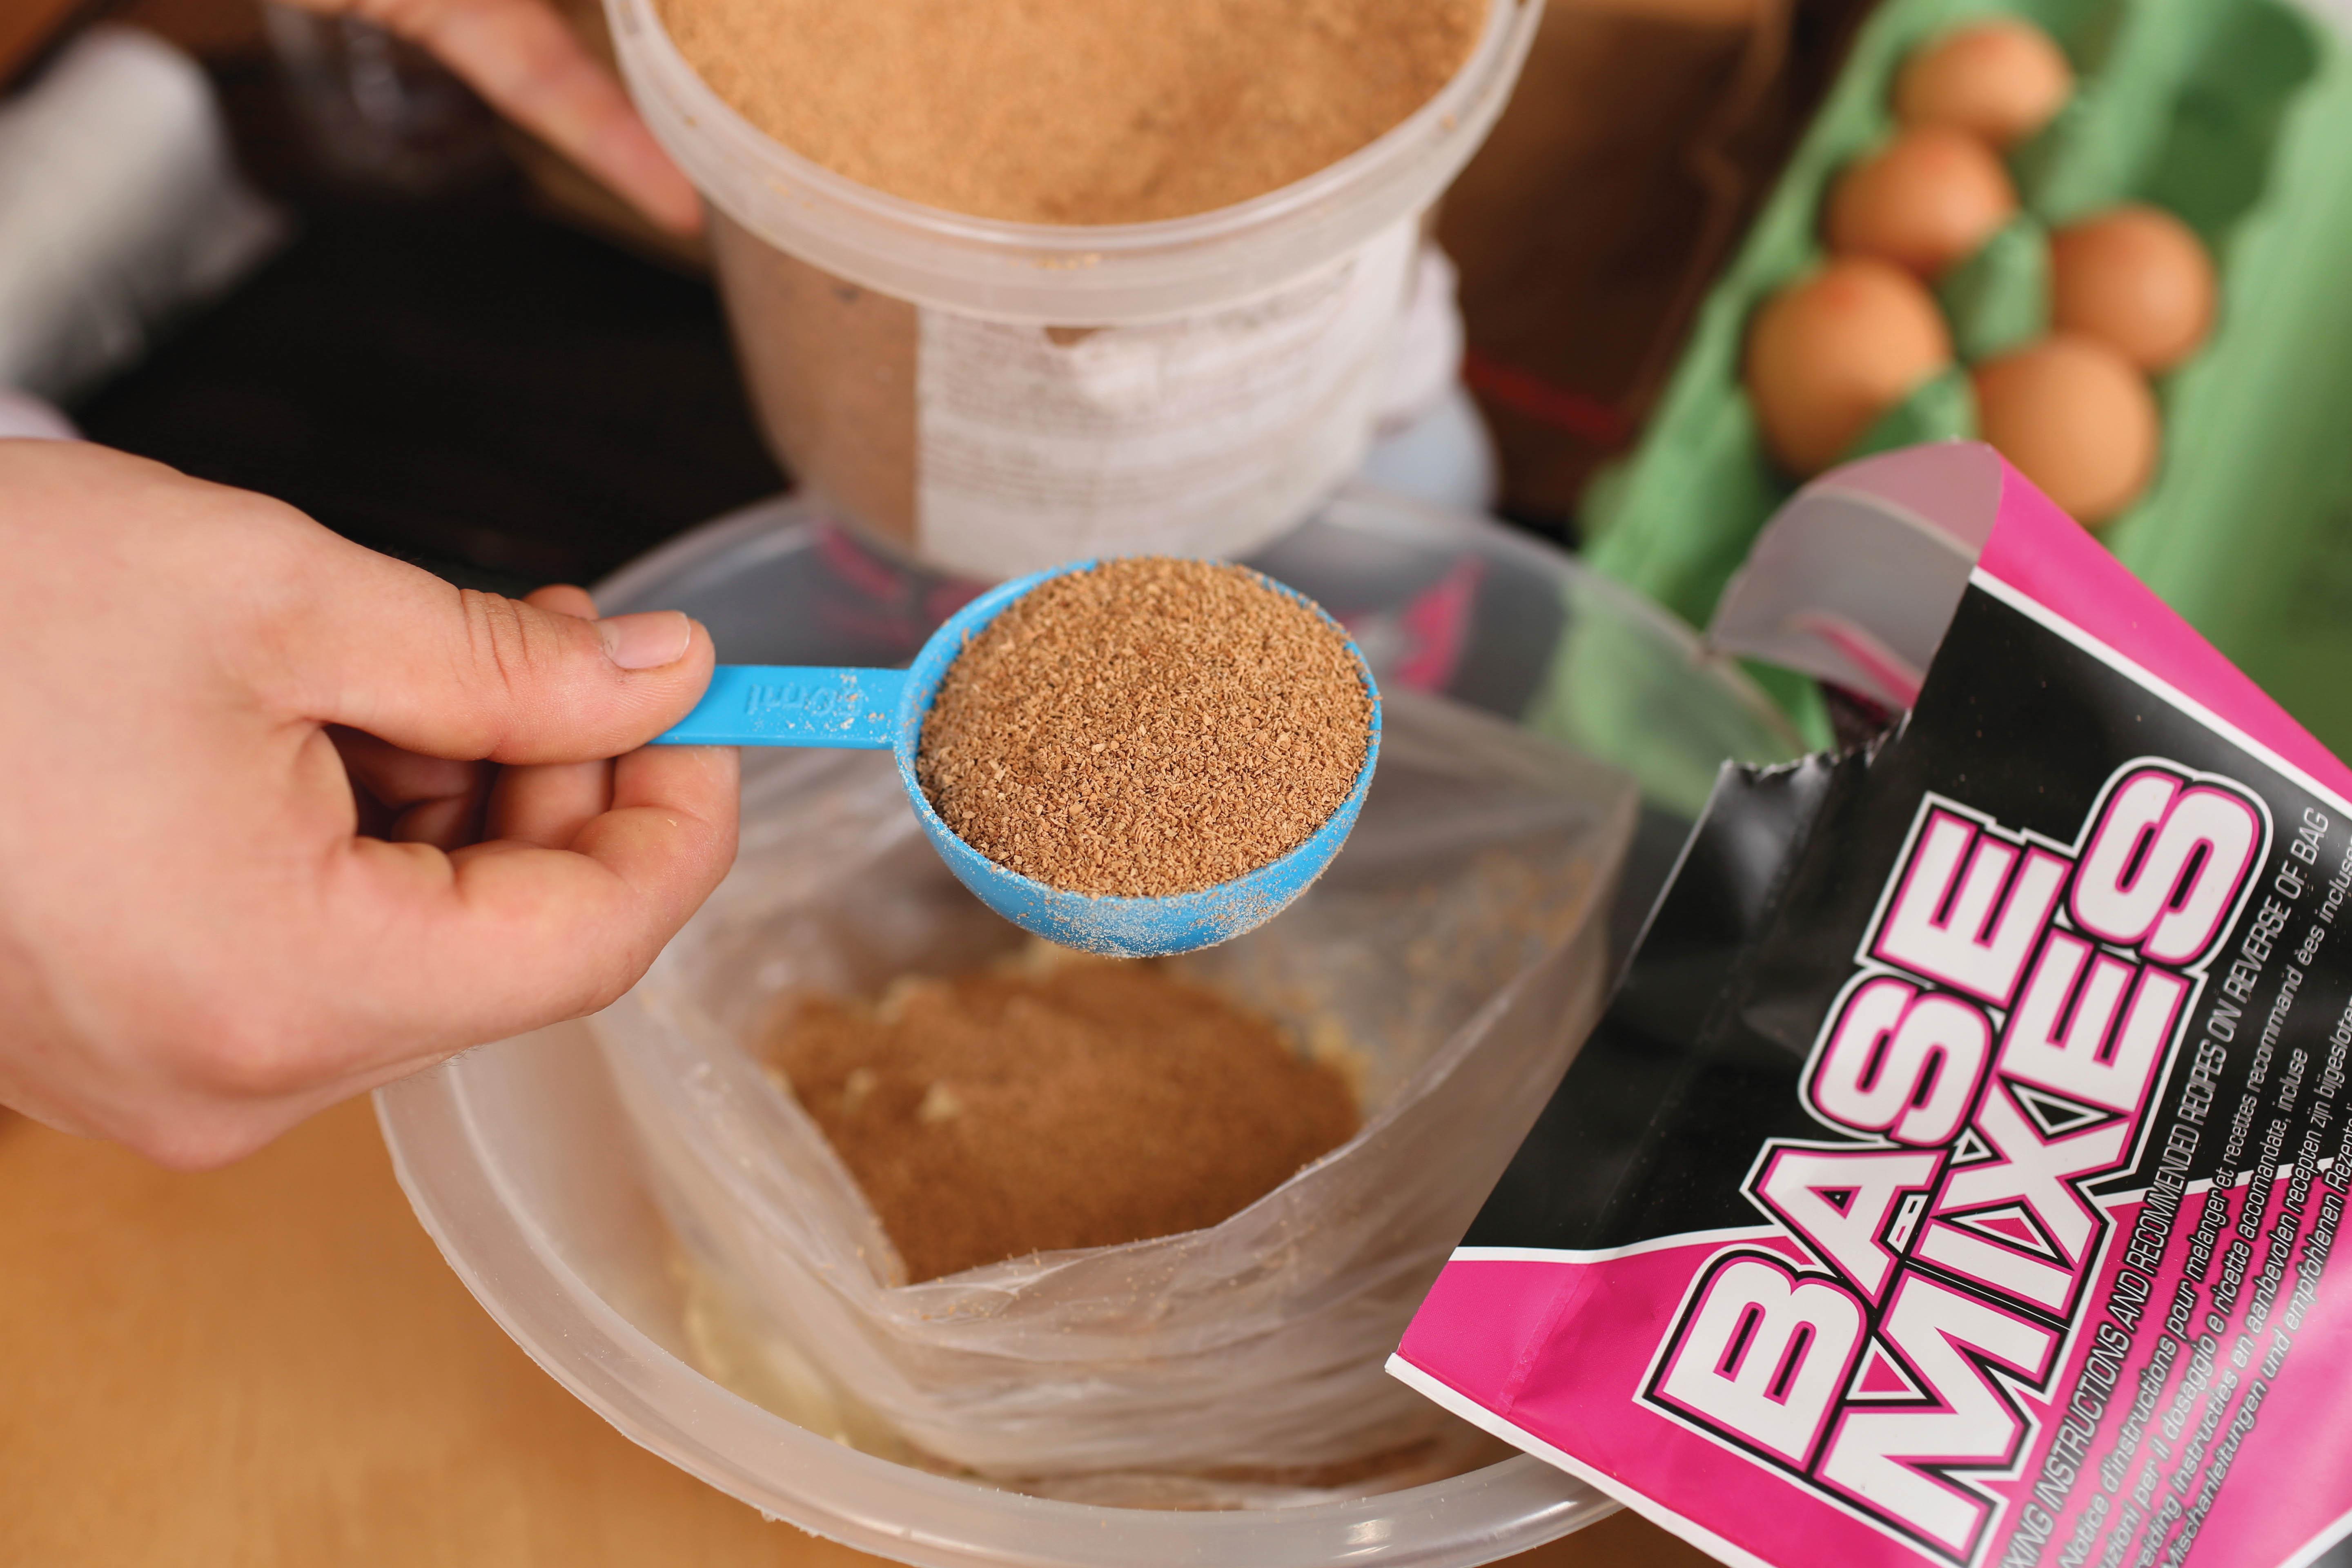
THE ART OF KNEADING
1. Use eggs at room temperature and of one size, or measure volume of egg used.
2. Use a balloon whisk to thoroughly beat the eggs in a measuring jug.
3. Accurately add the flavours to the egg mix and thoroughly blend.
4. Add any powder colours or attractors to the pop-up mix. Mix well in a polythene bag.
5. Weigh the base mix out into the mixing bowl.
6. Slowly add the egg-and-flavour mix, and blend with the spatula.
7. Pause and allow the mix to stand for a short while—timescale will come with experience.
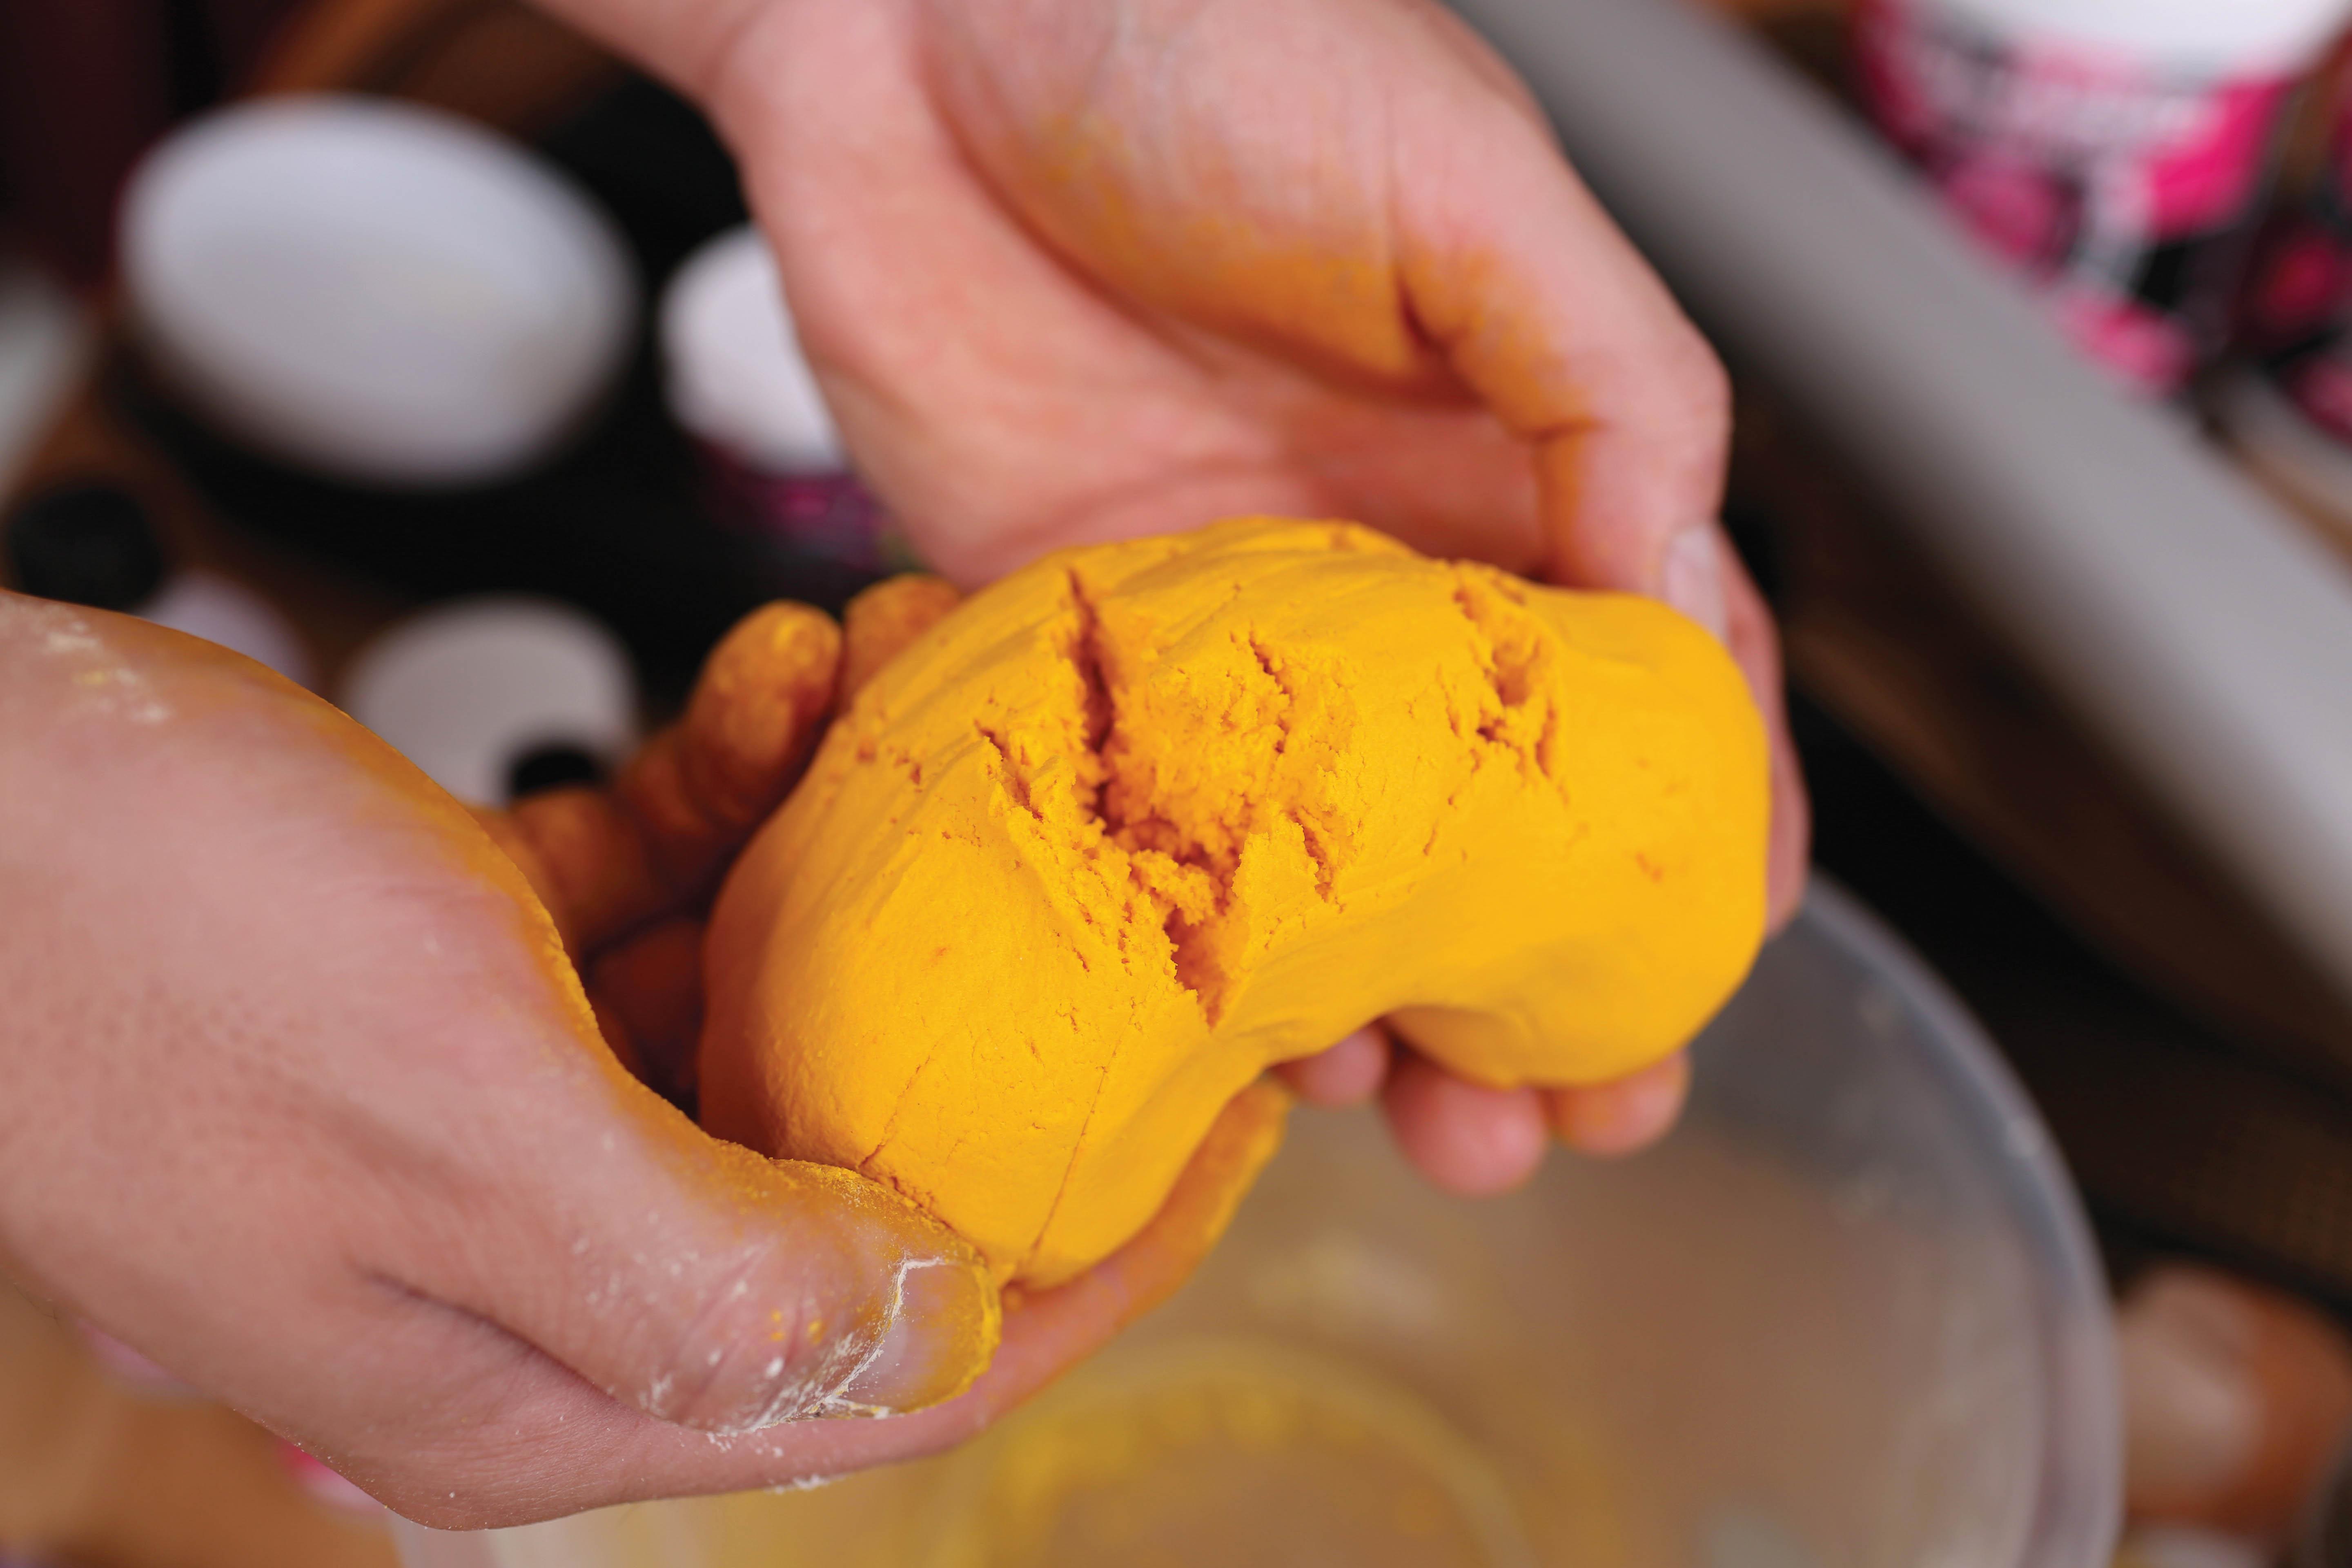
8. Finally, knead with your hands to achieve the correct texture and consistency.
9. Your paste is now ready for ‘gunning out’ and for your rolling table.
FOLLOW THE KNEAD WITH THE FOLLOWING TIPS…
Rolling perfect (needle-friendly) stabbers
1. For a harder bait, add egg albumen or 90-mesh acid casein.
2. The more of these powders you use, the less buoyant your finished bait will be.
3. Remember, this may lead to the bait drying out, so mix softer.
4. Use a sausage gun and table for perfectly round baits.
5. Spray the baking tray with a fine mist of oil, and then brush on the baits.
Rolling perfect ‘tie-ons’
1. Using your boilie mix, sieve well to remove any large ingredients.
2. A harder bait can be achieved by adding blood plasma or casein (10–20%).
3. Use an egg yolk separator and add yolk to your hookbait mix.
4. The egg white is used for mixing your flavours before adding them to your base mix.
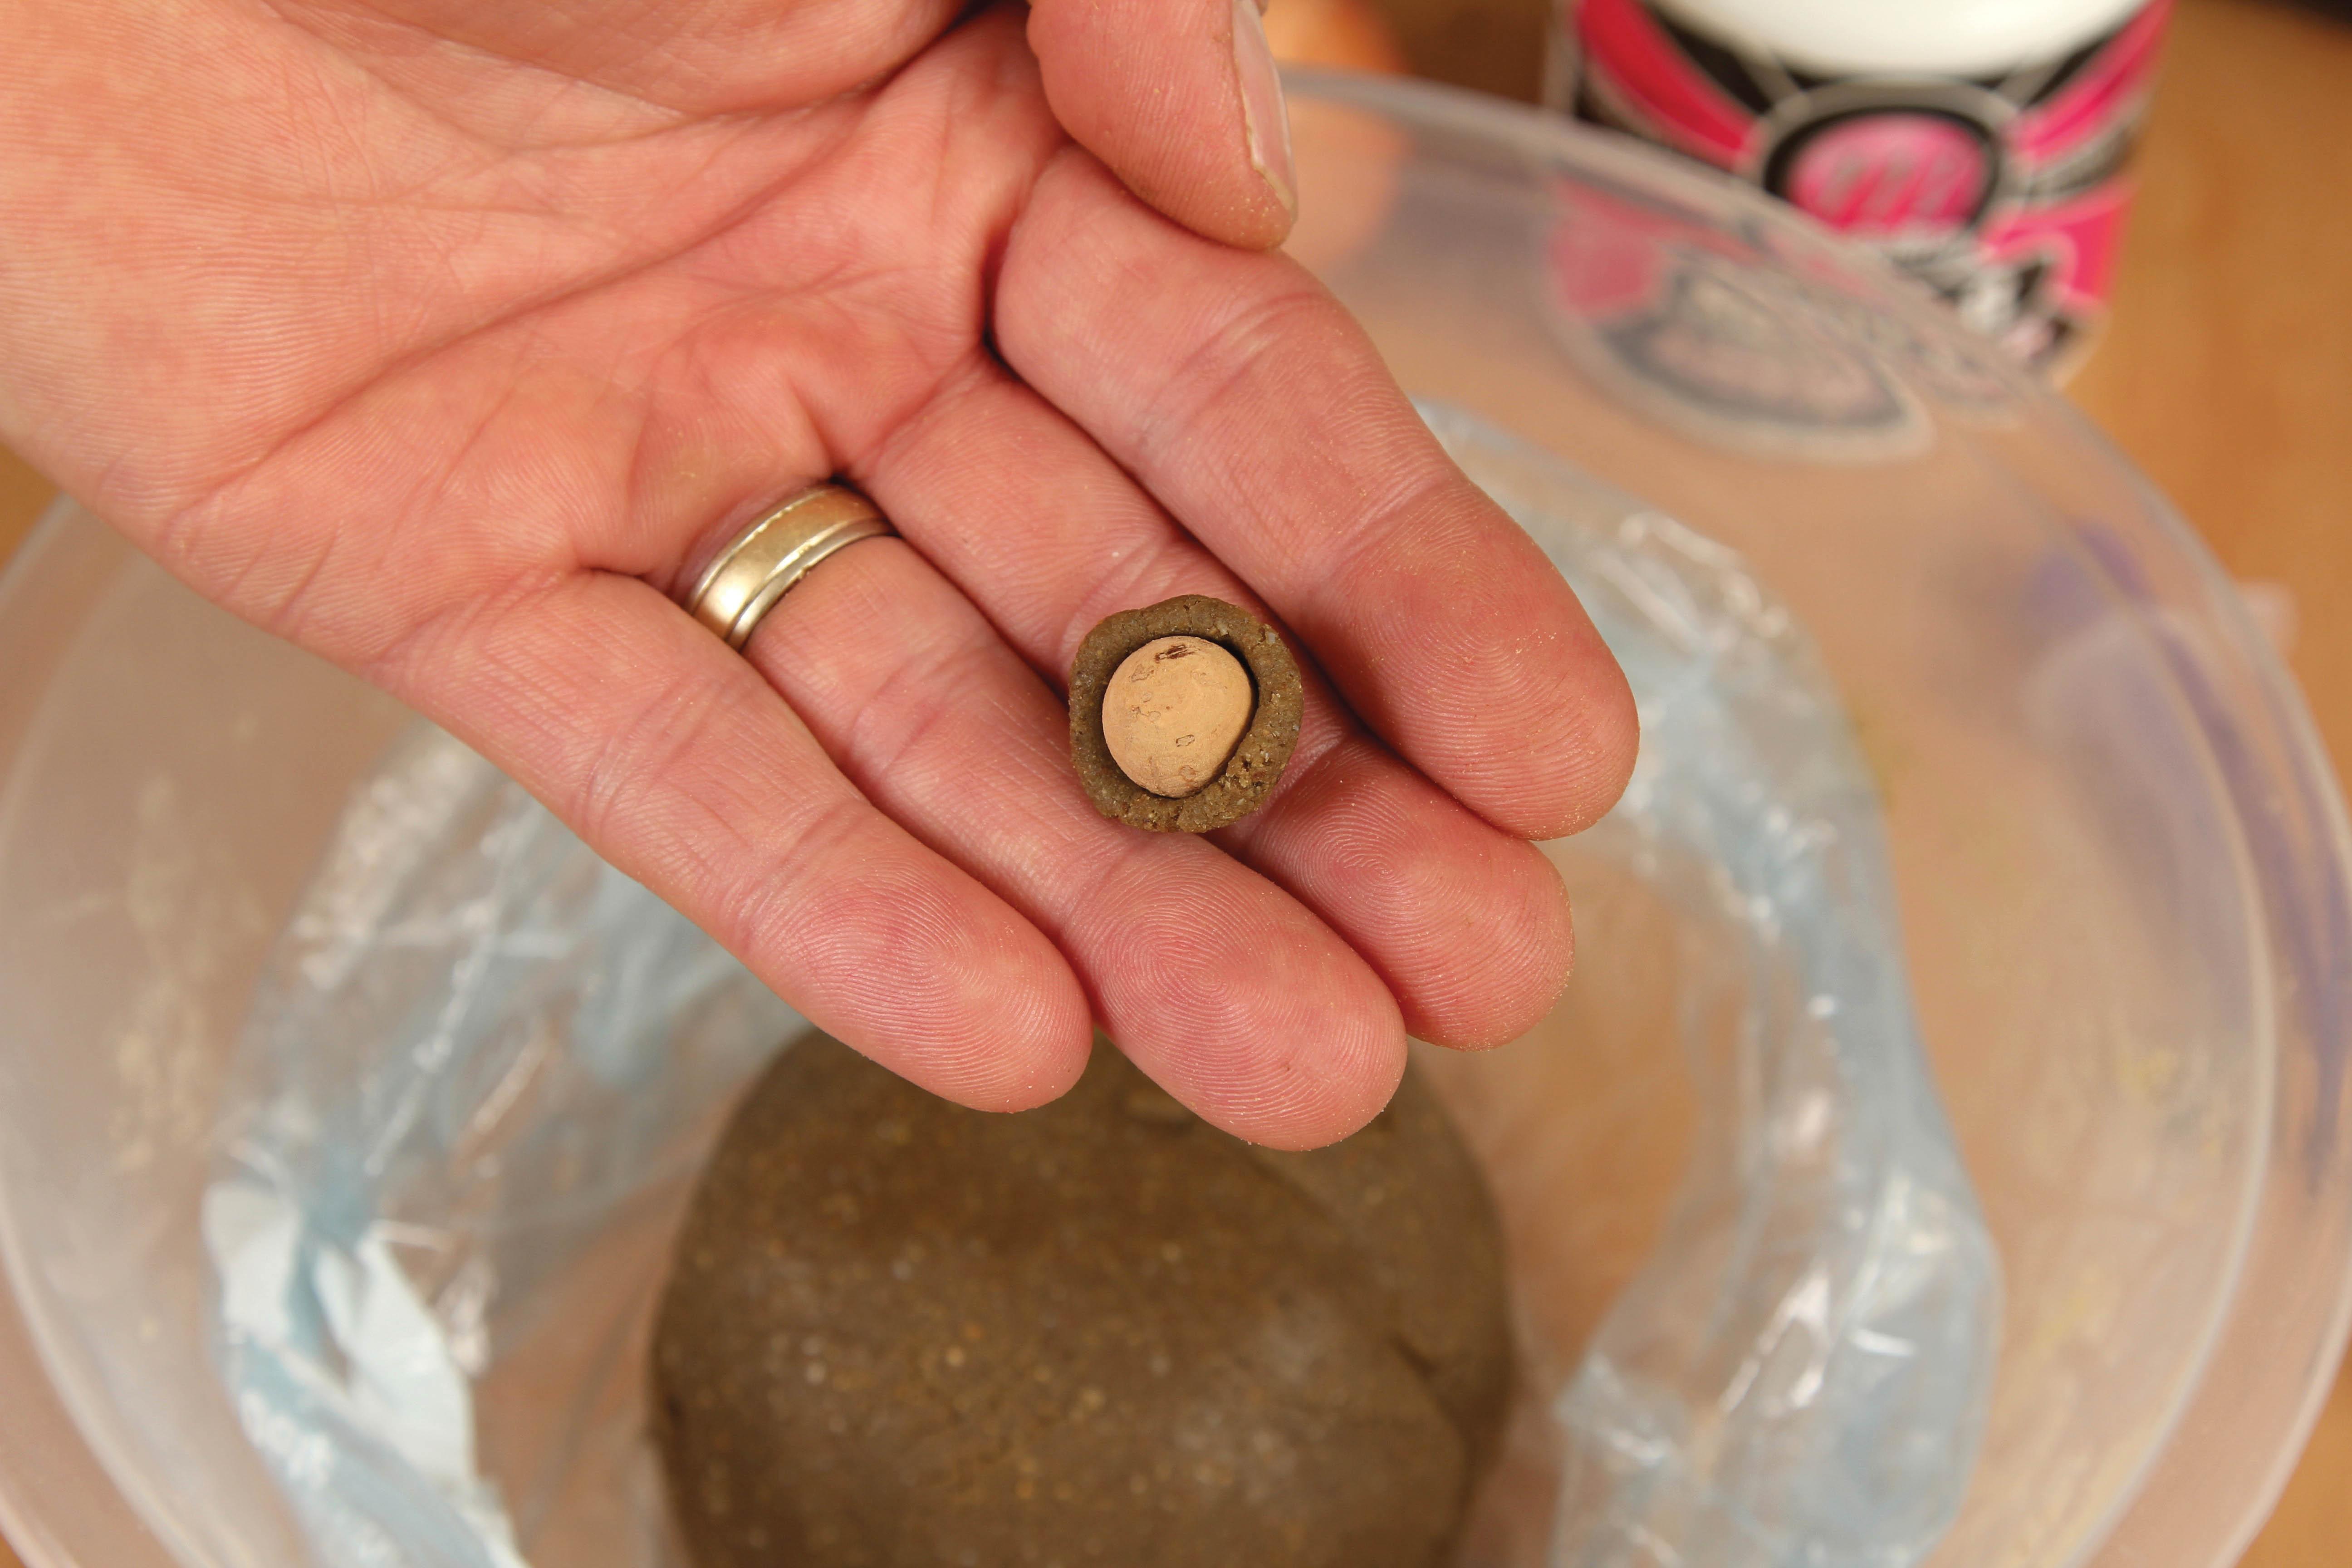
5. A 12mm corkball with a 12mm sausage rolled on a 16mm table is about right.
BOILING THE BAITS
Taking your rolled baits, the following steps will help you achieve a nice finished offering
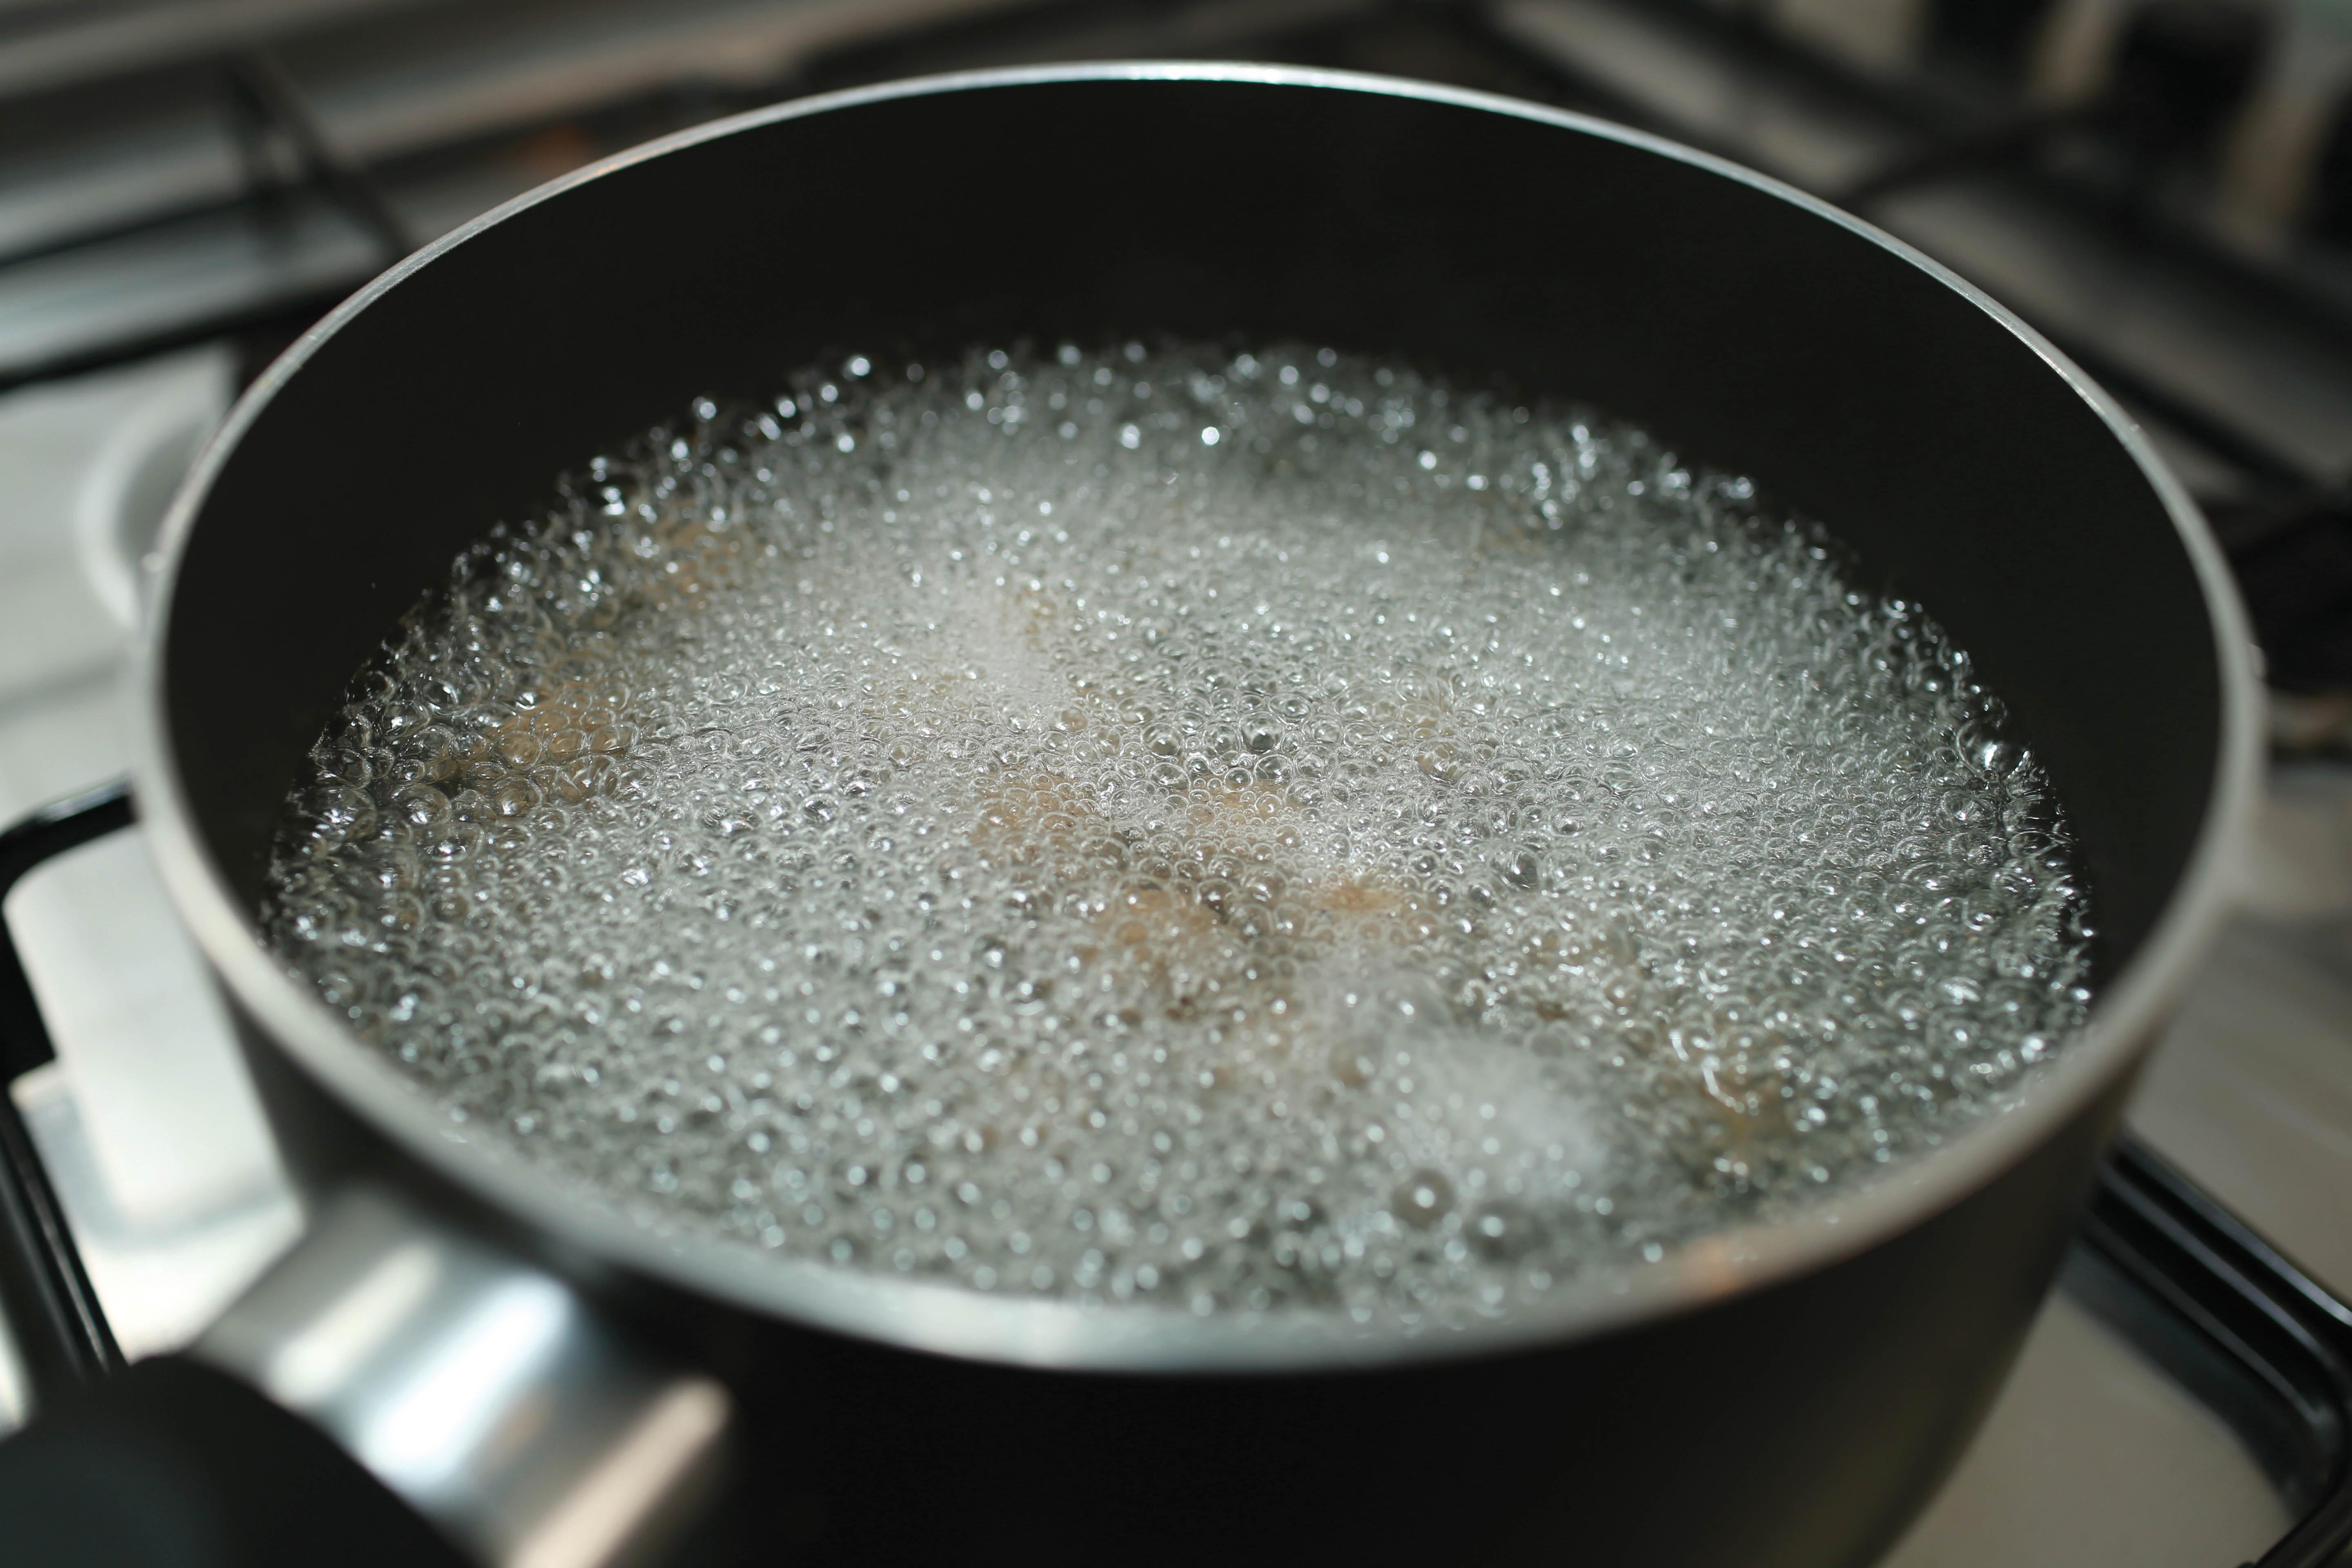
1. Boil your water for a few minutes in high-chlorine areas (or you can use spring water).
2. Some mixes produce misshapen baits in boiling water, so simmer instead.
3. Cook a dozen baits at a time and move them around constantly for an even cook.
4. Cook for 50–60 seconds, depending on the mix type.
5. Tip the cooked baits out on a towel and pat to remove any surplus water.
THE DRY-AND-STORE PROCESS
(You can add a preservative at the making stage if you don’t want to dry your baits)
1. Gardner’s drying trays are stackable and so perfect for air-drying hookbaits.
2. Rotate the trays and move the baits to ensure a consistent dry.
3. Dry until you have the required bait texture.
4. Baits can be stored in small pots with a light topcoat of flavour.
5. It’s worth remembering that heavy food dips will reduce the buoyancy of any hookbait.
HOW TO LOAD THEM UP
Scott Day reveals how he loads his single hookbaits to the max when it comes to added attraction
“When using a high-attract hookbait, I’m presuming that the fish home into them like a cherry on a cake. Therefore it’s all about attracting the fish to my hookbait before anything else. Using this theory I have always played around and experimented with blends of flavours rather than one simple flavour to make the hookbait stand out and become the target.
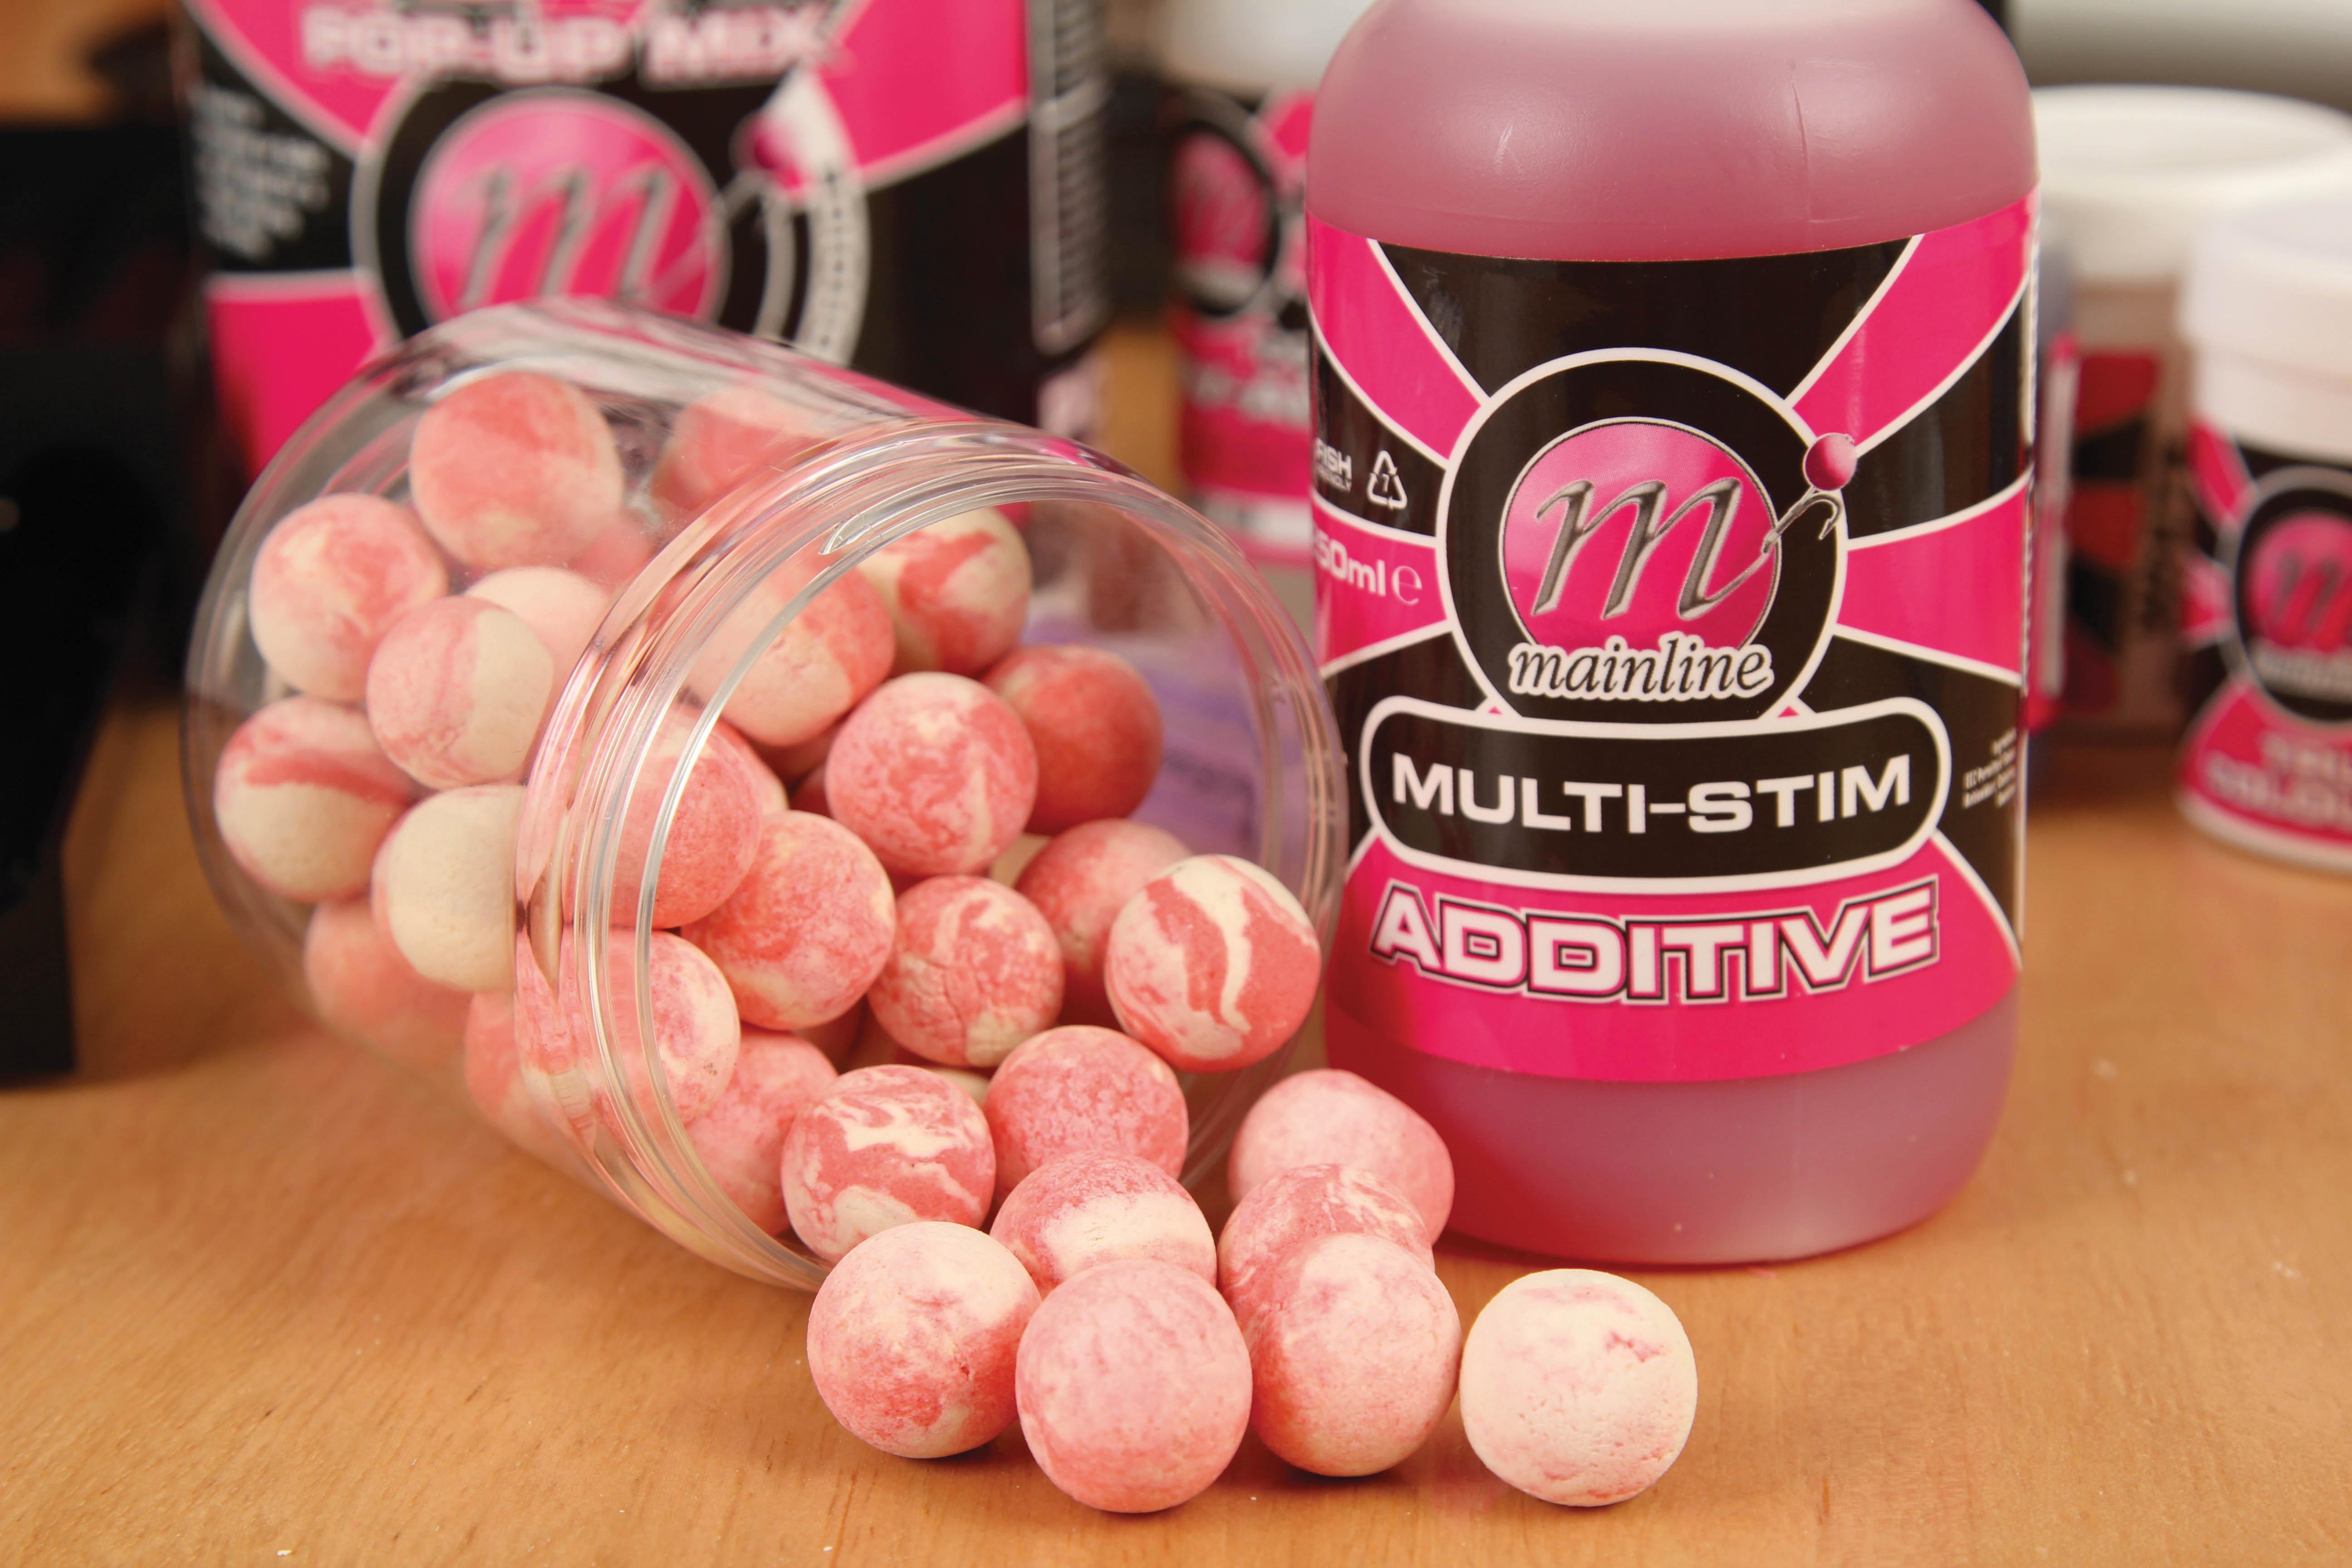
“All my hookbaits use a combination of glycerol, ethyl alcohol sweeteners and liquid stimulators—each of these will complement each other and leak from the bait at differing rates. I’m not shy at glugging my baits and as such the flavour levels are only really required to create the blend of flavour I’m trying to achieve. I will make up my blend in an empty bottle first and use this whilst I’m making the baits and for the glugging process afterwards.
“One of the reasons why I believe my hookbaits are so effective is the glugging and drying process. Once boiled and left to dry for a few days, I place them in a tub and give them a healthy helping of the blended flavours and attractors. They are then left to soak up the liquid. I then repeat the process again and again until the baits have soaked the liquid all the way through. A way to check this is to add a little dye into your glug and you will see when splitting a bait how far the glug has penetrated into the bait. The baits almost become little sponges full of attractors that continue to leak long after many standard baits.”
